Last updated November 18, 2026




Free written scope consultation - allowances, timeline, and change-order rules on paper before a single trade is scheduled
Driveway & Pavers Maintenance Checklist for Anaheim Homeowners
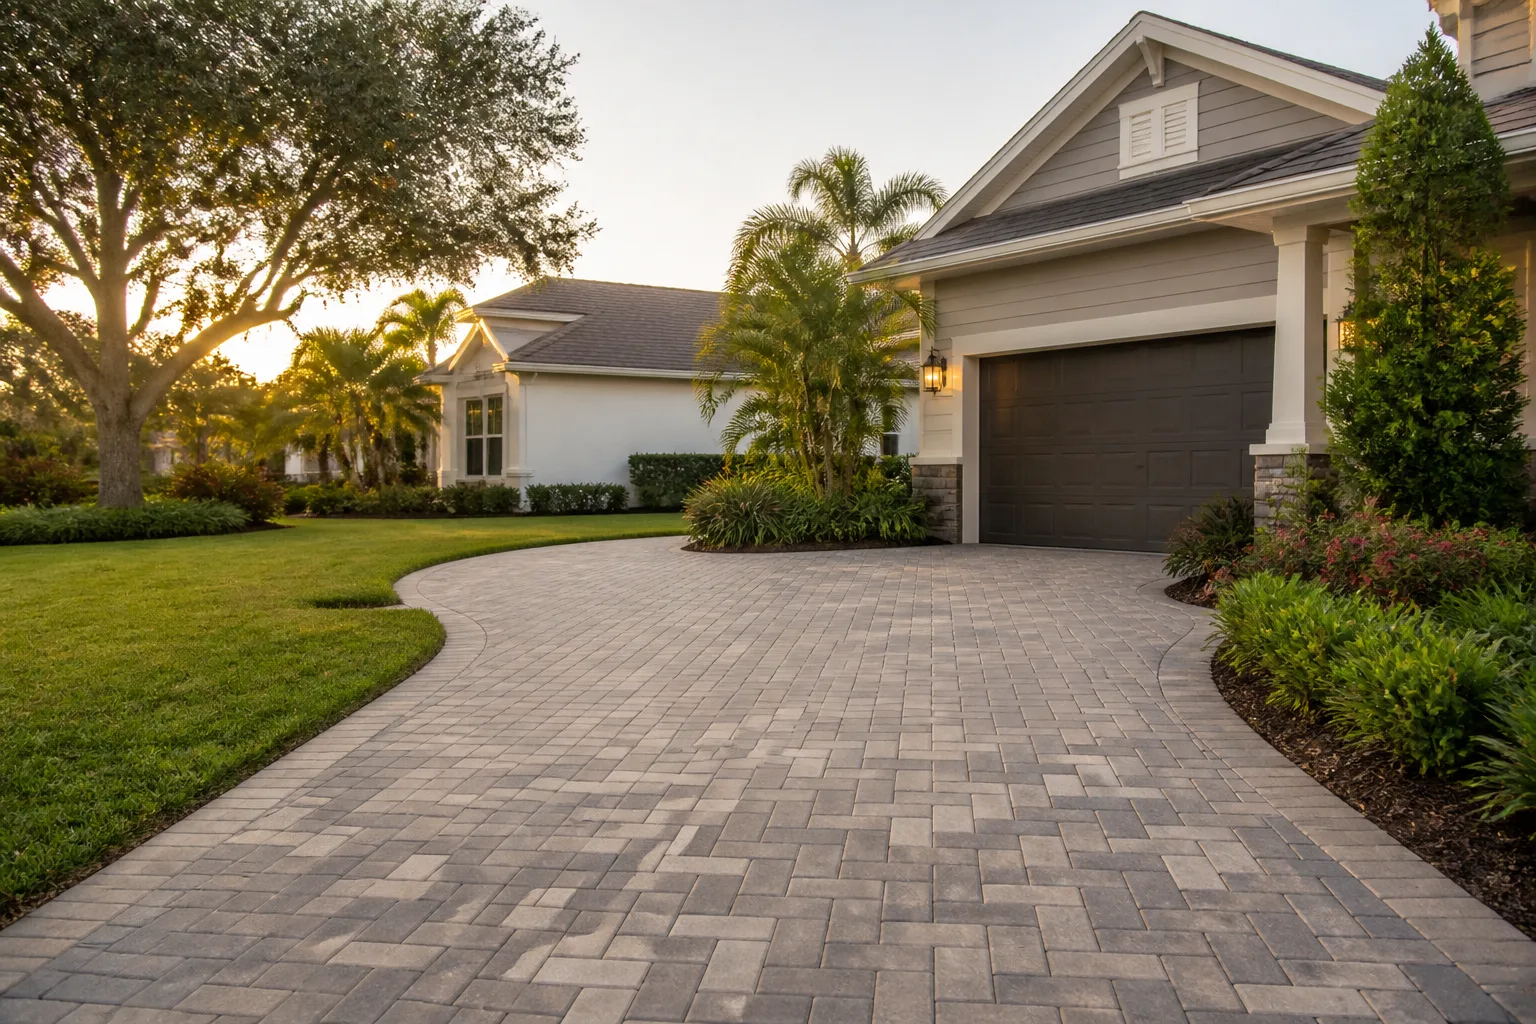
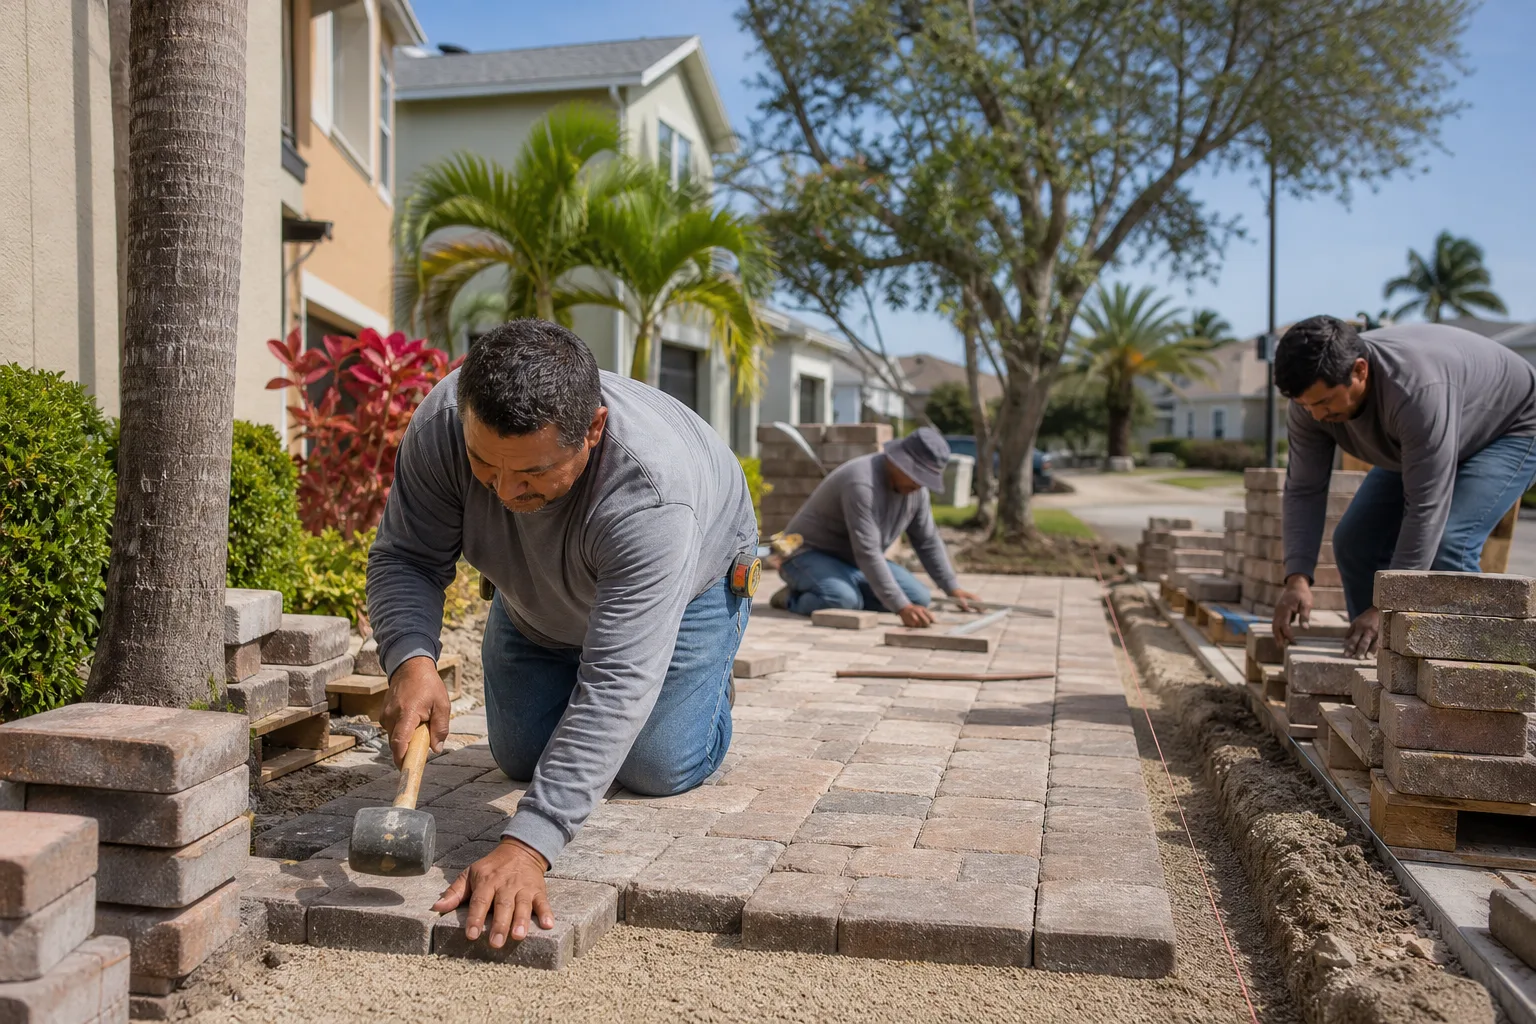
A paver driveway that looked perfect at installation can lose 30% of its structural integrity within five years if the base wasn’t compacted correctly for Anaheim’s expansive clay soil. Sealing won’t fix a base problem, and neither will re-sanding. What separates a Anaheim driveway that lasts 20 years from one that shifts and settles by year six is the maintenance routine in between. This guide is built around the specific failure patterns we see in Anaheim, from UV degradation that runs faster than any national checklist accounts for to pepper tree pods jamming joints before the rainy season.
Quick Answer
A paver driveway in Anaheim needs joint re-sanding every 2 to 3 years, a penetrating or film-forming sealer reapplied every 18 to 24 months (not the 3 to 5 years most national guides suggest), edge restraint checks twice a year, and debris cleared from joints before every rain event. Inspect after every Santa Ana wind event and any overnight freeze. Base compaction problems can’t be fixed by surface maintenance and require a professional evaluation.
Styles & brands we work with
- Kitchen remodeling
- Bathroom remodeling
- Home additions & ADU
- Roofing
- Windows & doors
- Driveway & pavers
- Fence
Table of Contents
- Why Anaheim Driveways Fail Differently
- The UV Problem: Why Your Sealer Wears Out Faster Here
- How to Spot Failing Edge Restraints Before Pavers Shift
- Seasonal Debris: Pepper Trees, Jacaranda, and Joint Staining
- The Right Polymeric Sand Schedule for Anaheim’s Dry Climate
- What to Do After a Santa Ana Wind Event or Rare Freeze
- The Four-Season Maintenance Calendar
- Drainage, Slope, and Anaheim’s Heavy Rain Events
Why Anaheim Driveways Fail Differently
Anaheim sits on a mix of alluvial soils and expansive clay in areas like West Anaheim and the older neighborhoods near downtown. Expansive clay swells when wet and shrinks when dry. Anaheim gets long dry stretches followed by sudden heavy rain, and that wet-dry cycling is what pushes base failure to the surface. A paver installed over a base that wasn’t excavated to the right depth and compacted in lifts will heave and settle within a couple of seasons, no matter how good the pavers themselves are.
We’ve torn out driveways in Anaheim that were only four years old and found base aggregate that had never been adequately compacted. The pavers were top-shelf Belgard products. The base was a Saturday afternoon job. That’s the failure pattern here: the surface looks right, but the foundation underneath is what determines whether you’re re-sanding joints in year five or tearing out the whole driveway.
Two other things make Anaheim harder on driveways than most of the country:
- UV intensity. Anaheim’s sun angle and clear-sky days mean sealers break down from UV exposure at roughly twice the rate they do in cloudy climates. A sealer rated for “3 to 5 years” in a national spec sheet is really an 18 to 24-month product here.
- Sudden rain. The occasional atmospheric river event drops a month of rain in a few days. If joints are open and the base isn’t draining, that water has nowhere to go and starts working under the pavers.
- Expansive clay subgrade. In parts of Anaheim, the clay below the base layer moves with moisture. Proper base depth and geotextile fabric are what keep that movement from telegraphing up through the surface.
If you’re evaluating a new driveway installation or want to know what proper base prep looks like, our Driveway & Pavers in Anaheim page covers the installation side in detail. This guide is about keeping an existing driveway healthy.
The UV Problem: Why Your Sealer Wears Out Faster Here
Most sealer manufacturers publish a recoat window of 3 to 5 years. In Anaheim, that number is optimistic. The combination of high sun angle, 280-plus clear days a year, and dry air means a film-forming acrylic sealer can start to chalk and dull within 12 to 18 months. Once the film breaks down, the paver surface underneath starts absorbing water, and that’s when staining and efflorescence show up.
Here’s how to tell whether your sealer is still doing its job:
- Water bead test. Pour a cup of water on the driveway on a warm afternoon. If it beads and rolls, the sealer is intact. If it soaks in within a minute, the sealer is spent.
- Color check. A healthy sealer keeps the paver color saturated. A chalky gray or washed-out look means the film has oxidized.
- Scratch test. Run a fingernail across a paver in a low-traffic area. If the surface feels chalky or you can scrape material off, the sealer is failing.
- Efflorescence. White mineral deposits on the paver surface mean water is getting into the pavers and pushing salts out. That’s a sign the sealer isn’t sealing.
Penetrating sealers (siloxane or silane-based) hold up better in Anaheim’s UV load than acrylic films, though they don’t give the same wet-look finish. They penetrate into the paver and don’t build a film that can chalk. We generally recommend them for Anaheim driveways that get full afternoon sun. A high-quality sealer applied correctly will last 18 to 24 months here; anything past that is borrowed time. If you’re not sure which sealer was used on your driveway, a professional inspection is worth the cost before you commit to a recoat.
How to Spot Failing Edge Restraints Before Pavers Shift
Edge restraints are the hidden hero of any paver surface. They’re the concrete curb or plastic edge that locks the perimeter of the pavers in place. In Anaheim, edge restraint failure usually shows up before pavers visibly move, which gives you a chance to fix it cheaply instead of rebuilding.
Walk the full perimeter of the driveway twice a year and look for these early warning signs:
- Gaps between pavers and the curb. Even a 1/8-inch gap at the edge means the restraint has lost contact and the paver field is starting to creep.
- Spalling at the edge pavers. Chipped or cracked edge pavers mean the restraint is pushing back against the field, which is the opposite of what it should do.
- Visible separation between the restraint and the base. The restraint should be embedded in the base material. If you can see daylight underneath it, it’s failing.
- Soft spots along the curb line. Step along the edge. If the ground feels spongy after rain, the base under the restraint has migrated.
- An outward lean. A restraint that’s starting to lean away from the driveway is in the process of failing.
Anaheim’s expansive clay is the reason this matters more here than in most of California. When the soil swells, it pushes the restraint outward. When it shrinks, the restraint has room to move back. Over a few seasons of wet-dry cycling, the restraint can work loose. If you catch it early, you can re-embed it. If you wait until pavers are visibly shifting, you’re looking at a partial rebuild of the edge zone.
Seasonal Debris: Pepper Trees, Jacaranda, and Joint Staining
Anaheim has a specific debris calendar, and most maintenance guides written for national audiences don’t mention it. If you have California pepper trees anywhere near your driveway, you know the pods. They drop in late fall and early winter, they wedge into joints, and when they decompose they stain the polymeric sand and the paver surface underneath.
Jacaranda flowers are the other one. Anaheim’s jacarandas are gorgeous for about three weeks in late spring, then they drop a carpet of purple flowers that turn into a sticky, staining mess if they sit in the joints through a warm week. Both of these are manageable if you stay ahead of them.
Here’s the routine that works:
- Blow the driveway weekly during drop season. A leaf blower on medium setting is enough. Don’t use a pressure washer to clear pods; high pressure drives them deeper into joints and blows out sand.
- Hand-pick pods from joints. A flathead screwdriver and five minutes is faster than dealing with the stain later.
- Rinse after jacaranda drop. A garden hose on a cool morning, before the flowers bake into the surface, is enough. Skip the pressure washer here too.
- Check for weed infiltration. Once organic debris settles into a joint, weeds follow. Pull weeds at the root; don’t spray herbicide on the pavers unless you’re sure it won’t stain.
- Re-sand any joint that’s lost material. Debris removal almost always pulls out some polymeric sand. Top it off before the rainy season.
If your driveway is bordered by landscaping, our Fence Installation in Anaheim page covers how fence lines interact with drainage and debris, which matters if trees on the property line are the source.
The Right Polymeric Sand Schedule for Anaheim’s Dry Climate
Most national guides recommend re-sanding every 3 to 5 years. In Anaheim, it’s every 2 to 3 years, and there’s a specific reason. Polymeric sand cures into a semi-flexible joint that’s held together by a polymer binder. The binder is broken down by UV exposure and by the mechanical action of traffic. Anaheim’s UV load accelerates the first; a dry climate accelerates the second because the joints aren’t getting the same moisture cycling that keeps them naturally supple elsewhere.
Signs it’s time to re-sand:
- Joints are more than 1/4 inch below the paver surface.
- Water doesn’t bead on the sand; it soaks straight through.
- Weeds are appearing in joints with any regularity.
- The sand has visibly eroded from high-traffic zones (the first two feet from the street, the drive path).
- After a rain, joints stay wet longer than they should.
The right window for re-sanding in Anaheim is late spring or early fall. Summer heat cures the polymer too fast, and the rainy season should never catch a fresh sand job. If you re-sand in October, you want at least two weeks of dry weather before any real rain.
Use a high-quality polymeric sand, not mason’s sand. Mason’s sand erodes out of the joints within a season and contributes nothing to weed resistance. Polymeric sand cures into a joint that’s actually doing work. The material cost is higher, and it’s the right call.
What to Do After a Santa Ana Wind Event or Rare Freeze
Santa Ana winds are Anaheim’s most underrated driveway hazard. They hit 40 to 60 mph in a bad event, and they carry enough grit to sandblast the surface of a paver driveway over a long enough stretch. The winds themselves don’t usually cause structural damage, but they cause two things that do.
First, they blow debris into joints. Palm fronds, seed pods, dust, and grit all collect in the same joints, and the wind pressure packs them tight. Second, they can lift restraint caps on an aging edge. If your restraints were already starting to loosen, a Santa Ana event is what finishes the job.
After a wind event, walk the driveway and:
- Clear all joints of debris. A leaf blower on high setting is fine here.
- Inspect the perimeter for lifted or shifted restraints.
- Check the paver field for any pavers that have rocked loose. Tap them with a rubber mallet; a hollow sound means the base under that paver has failed.
- Look for surface scratches from wind-driven grit. If you find them, a penetrating sealer will partially mask them; a rebuild of the affected zone is the only full fix.
Freezes are rare in Anaheim, but they happen, usually in December or January. A hard freeze with wet joints can heave pavers. After a freeze, wait for the driveway to thaw completely, then check for pavers that have lifted. Don’t drive on a frozen paver driveway if you can avoid it. The weight of a vehicle on a frozen surface is what actually causes cracks.
If you’re planning a broader exterior project where the driveway and other elements are all being evaluated, our Home Additions & ADU in Anaheim page covers how exterior hardscape interacts with additions and structural changes.
The Four-Season Maintenance Calendar
Here’s the maintenance schedule we recommend for Anaheim driveways, organized by season.
Spring (March through May)
- Clear jacaranda flowers and any remaining winter debris from joints.
- Water bead test on sealer. If water soaks in, plan a recoat before summer.
- Walk the perimeter and inspect edge restraints.
- Pressure-wash (low pressure, wide nozzle) to remove winter grime. Avoid high-pressure jets on joints.
- Re-sand any joints that have lost more than 1/4 inch of sand.
Summer (June through August)
- Light weekly blow-off to keep grit and dust from building in joints.
- Check sealer condition in high-sun zones, especially the driveway’s open exposure near the street.
- Skip any heavy maintenance. Heat cures polymer too quickly; this is the wrong window for re-sanding.
Fall (September through November)
- This is the right window for re-sanding and re-sealing, before the rainy season.
- Clear pepper tree pods as they drop. Weekly blow-offs during peak drop.
- Inspect restraints again; soil expansion from fall rain can shift them.
- Check drainage. The first rain event will show you where water pools.
Winter (December through February)
- Clear debris after every wind event.
- Inspect after any freeze (rare, but real in Anaheim).
- Watch for pooling water after heavy rain; any standing water for more than an hour is a drainage problem, not a paver problem.
- Keep pepper tree pods off the driveway; they stain if they sit through a wet week.
Drainage, Slope, and Anaheim’s Heavy Rain Events
Drainage is where most Anaheim driveway problems actually originate. The paver surface is doing exactly what it’s supposed to do; the slope underneath is what’s pushing water in the wrong direction. A driveway should slope a minimum of 1.5% to 2% away from the structure and toward the street or a drain. If it’s flatter than that, water sits, and sitting water is what causes base failure.
After a heavy rain event, do a two-minute inspection:
- Look for standing water anywhere on the driveway. Any pool that lasts more than an hour after rain stops is a drainage issue.
- Check for water wicking up between pavers and along the edge restraints.
- Look at the base of the edge restraints; if the soil underneath is visibly wet hours after rain stopped, water is getting under the pavers.
- Check the transition to the street. A driveway that’s below the street grade will pond; a driveway that’s too far above grade will shed water onto the sidewalk and neighbors.
In Anaheim, the rare heavy rain events (the ones that drop 2-plus inches in 24 hours) are what expose dormant drainage problems. If water sits through one of those events, get a professional assessment before the next one. A drainage fix on a paver driveway is affordable; a base replacement after two years of water infiltration is not.
Common Mistakes to Avoid
- Pressure-washing at full pressure. High-pressure jets blow out joint sand and can spall the paver surface. Use a wide nozzle on medium, and let the water lift dirt rather than force it.
- Using mason’s sand instead of polymeric. Mason’s sand washes out within a season in Anaheim. It looks fine for six weeks, then it’s gone. Polymeric sand is not optional in this climate.
- Sealing over a wet driveway. Trapped moisture under a sealed film leads to efflorescence and film failure. Only seal when the pavers are fully dry, ideally with two dry days before and after.
- Ignoring small joint erosion. A 1/4-inch joint drop seems cosmetic until the winter rain hits. Then it’s a base infiltration problem.
- Letting pepper tree pods sit through a rain. They turn into a sticky, staining paste that bonds to the pavers. Clear them before any rain event, not after.
- Assuming the install is the whole story. A great installation over an under-compacted base still fails within five years in Anaheim. If you’re buying a home with a paver driveway, verify the base or budget for a rebuild.
- Skipping the perimeter walk. Edge restraints fail silently. Two walks a year, spring and fall, is the minimum to catch them before the paver field moves.
See the difference
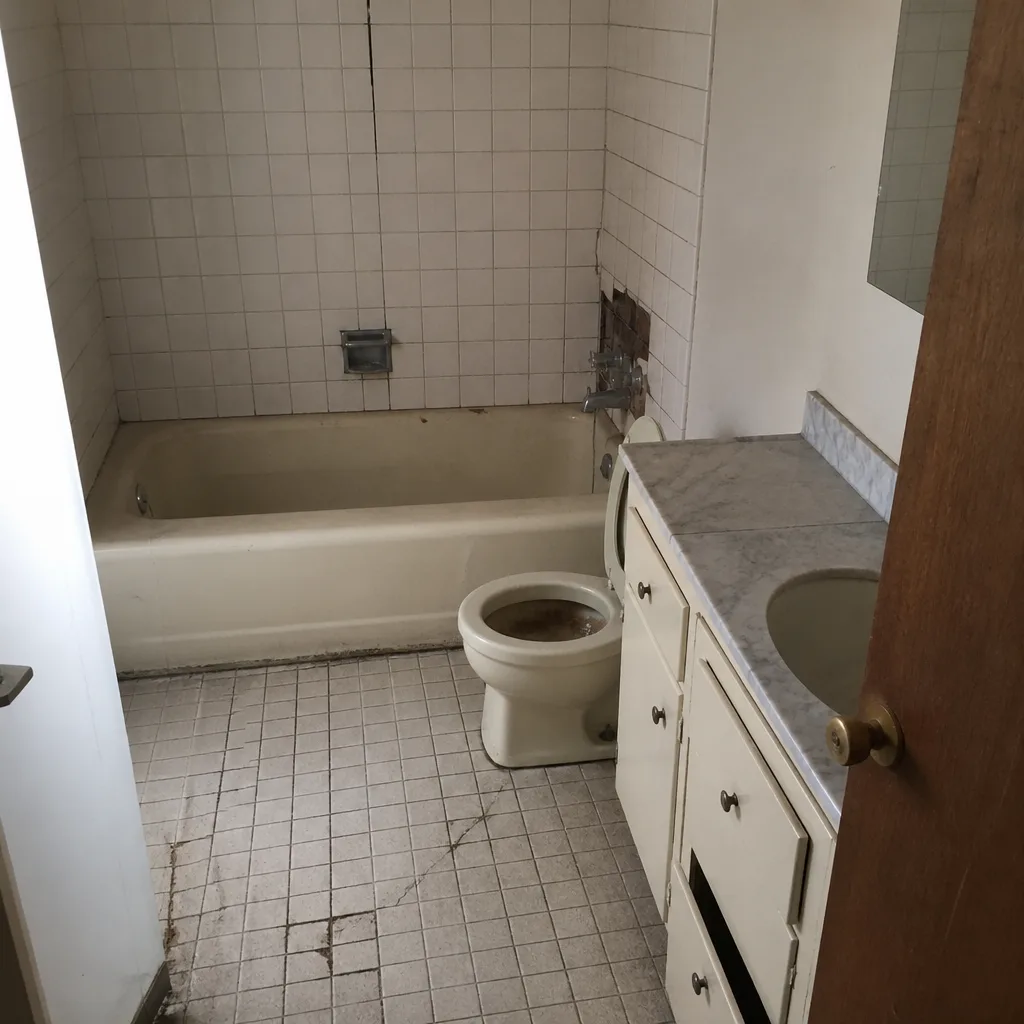 Before
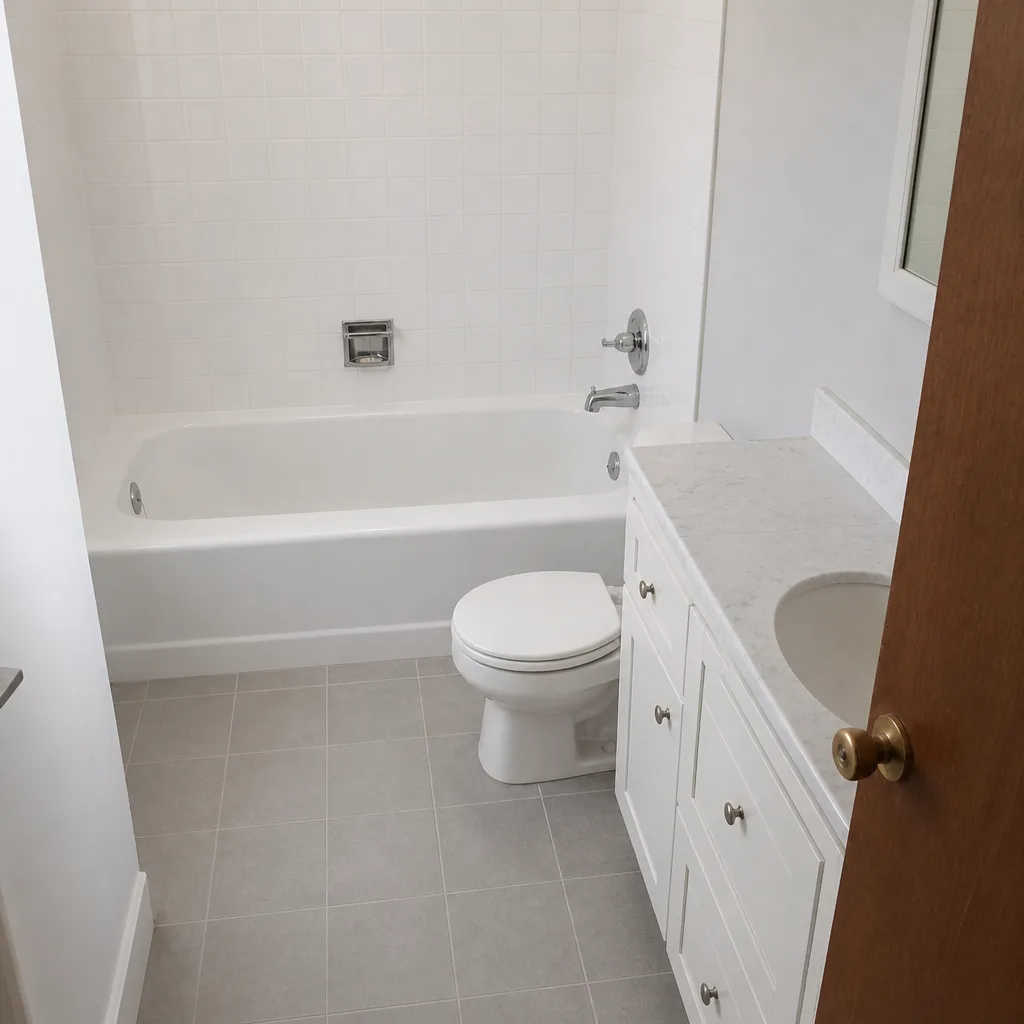 After
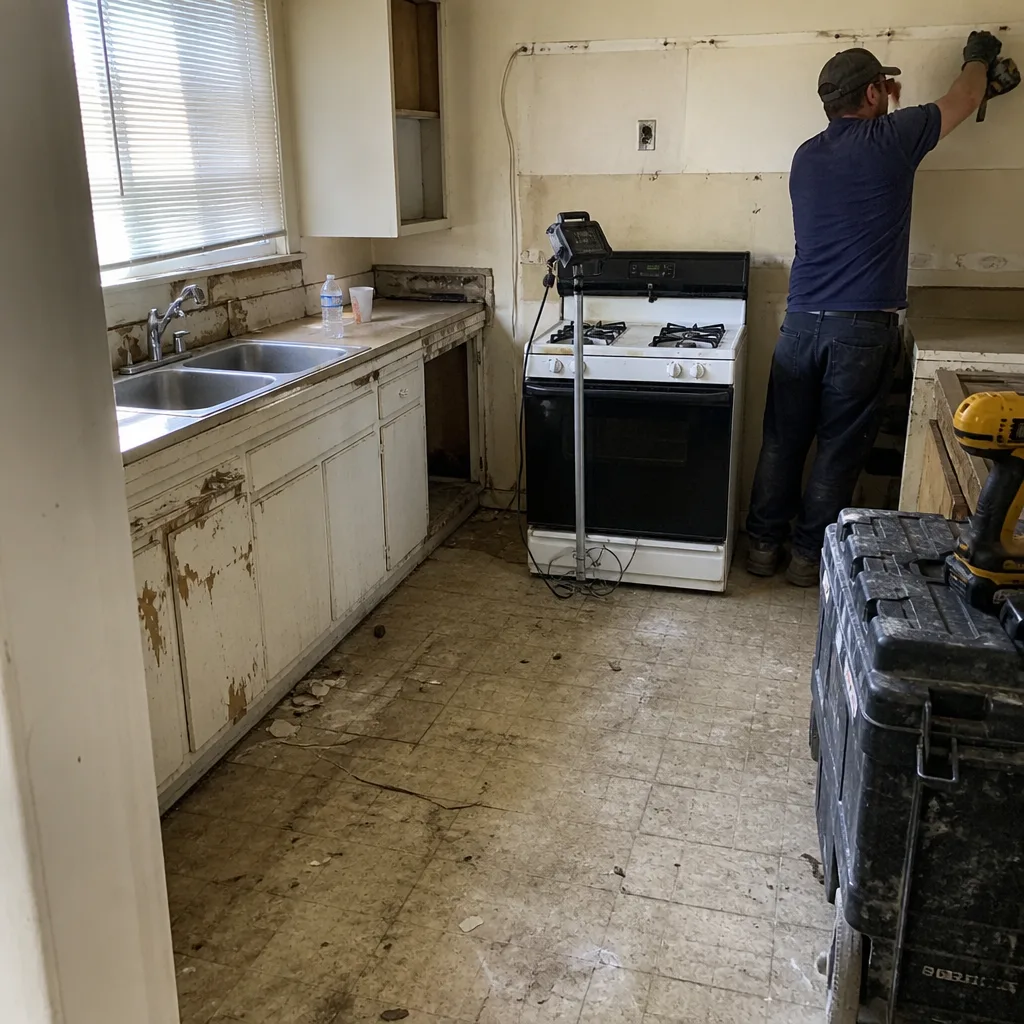 Before
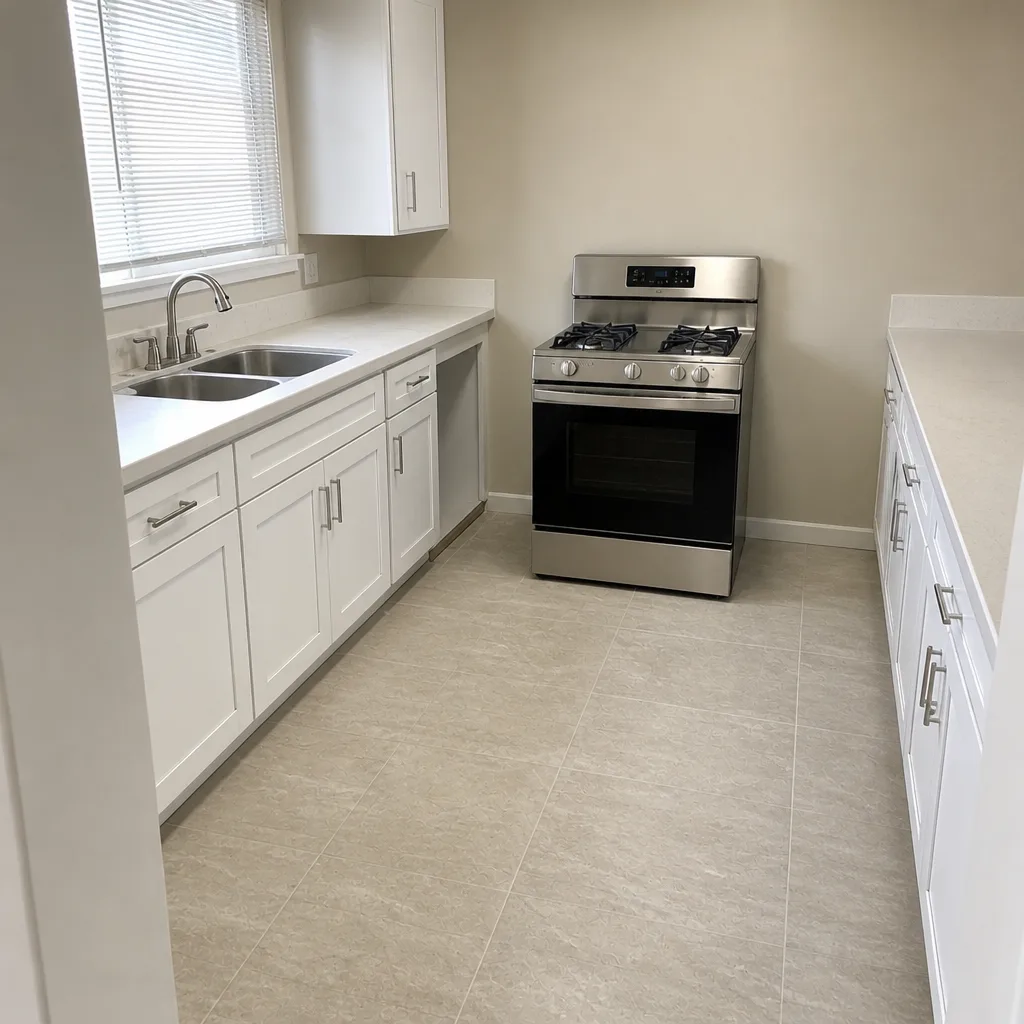 After
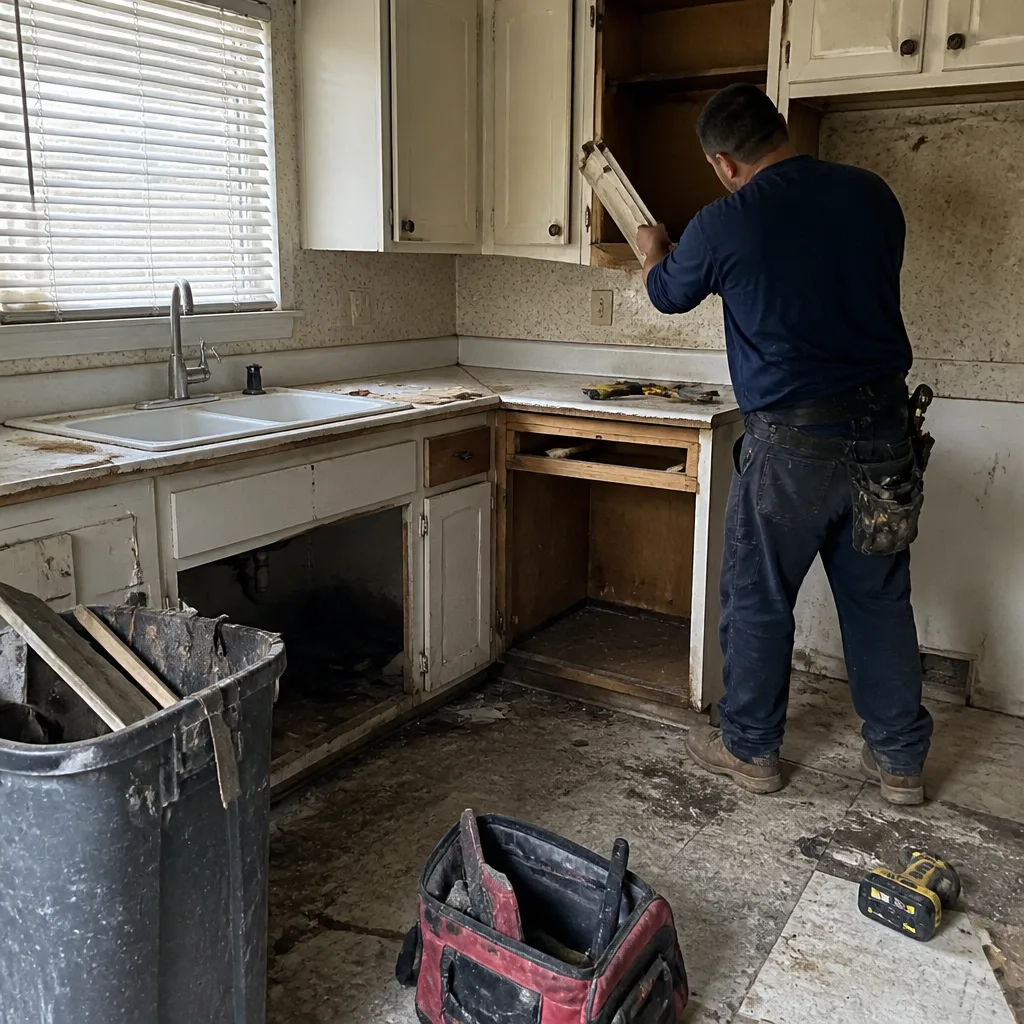 Before
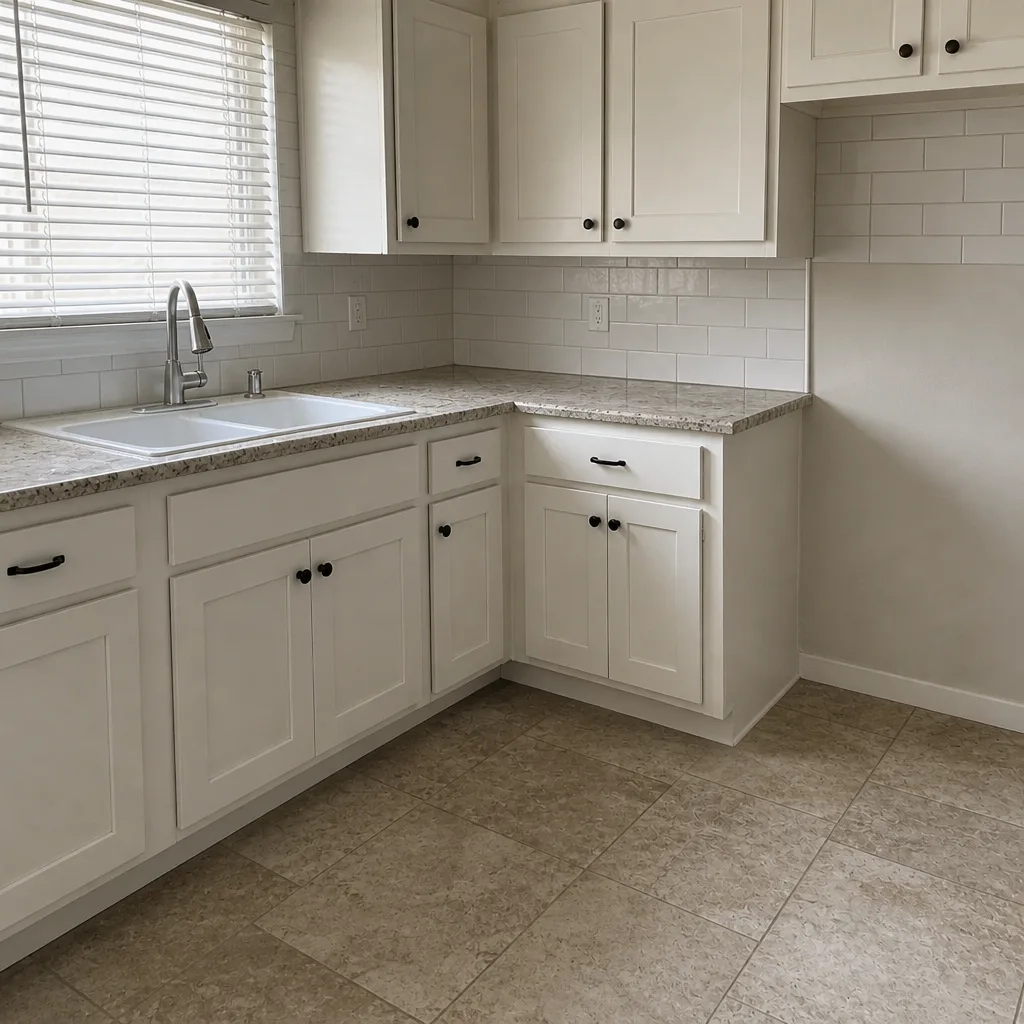 After
When to Call a Professional
Some driveway maintenance is a homeowner job: blowing off debris, pulling weeds, checking sealer, looking for standing water. Some of it needs a professional. Call us if you’re seeing pavers that rock when you step on them (base failure), restraints that are lifting or leaning (rebuild zone), a section of the driveway that’s settled more than 1/4 inch (base problem), recurring weeds in one area (sand failure or base infiltration), or joint sand that erodes faster than every two years (underlying drainage problem). We’ve seen all of these in Anaheim, and the right time to call is early, before the failure works its way across the driveway.
Groundwork Construction Co. of Anaheim offers free estimates in Anaheim. Our technicians have up to 12 years of experience, arrive background-checked and in uniform, and every driveway project we install is covered by our 730-Day Done Right Promise. Call (888) 300-3178 to schedule a free estimate.
Frequently Asked Questions
Every 18 to 24 months. Anaheim’s UV exposure breaks down sealer roughly twice as fast as national manufacturer timelines account for. If you can pour a cup of water on the driveway and it soaks in within a minute, the sealer is spent and it’s time for a recoat. Call (888) 300-3178 to schedule a free sealer evaluation.
Typical maintenance costs in Anaheim run $250 to $500 for a professional re-sand and $400 to $900 for a full re-seal, depending on driveway size and material. Restraint repair is usually $150 to $400 per affected zone. A base failure repair is a much larger project, which is why catching problems early matters. Call (888) 300-3178 for a free written estimate with line-item pricing.
Pavers themselves rarely crack from heat; concrete slabs do. Pavers are designed to flex with thermal movement. What can crack is a paver if it’s sitting over a failed base and a vehicle drives on it before the base is fixed. If you’re noticing broken pavers in one area, that’s a base problem, not a heat problem.
Late spring (April to May) or early fall (September to October). Summer heat cures polymeric sand too fast and the joint bond suffers. Winter rains can come before the sand fully cures. The two weeks before the rainy season starts is the ideal window for Anaheim.
Routine maintenance (re-sanding, re-sealing, minor restraint repair) doesn’t require a permit. Full replacement or significant base work usually does, depending on scope. We pull the permits and pass the inspections as part of any installation project so you don’t have to think about it.
Tap each paver with a rubber mallet in a one-foot grid across the driveway. A hollow sound means the base has failed under that paver. Other signs: pavers that rock when you step on them, a section of the driveway that’s settled visibly below the surrounding pavers, and recurring puddles in one spot after rain. Any of these is worth a professional assessment before the problem spreads.
The Bottom Line
Anaheim’s UV intensity, expansive clay, and sudden rain events create a failure pattern that generic maintenance checklists don’t address. The paver surface is the easy part; the base and the joints are where the driveway actually lives or dies. Re-seal every 18 to 24 months, re-sand every 2 to 3 years, walk the perimeter twice a year for restraint failure, clear pepper tree pods and jacaranda flowers before they stain, and address drainage the first time water pools. Those five habits are what separate a Anaheim driveway that lasts 20 years from one that starts failing at year five. If the base is already moving, no amount of surface maintenance will save it.
If you’re ready to schedule a free estimate or want a professional read on a driveway you’re not sure about, call Groundwork Construction Co. of Anaheim at (888) 300-3178. Live person, 24/7. Upfront pricing, no surprises.
Written by the team at Groundwork Construction Co. of Anaheim.