Last updated November 18, 2026



Free written scope consultation - allowances, timeline, and change-order rules on paper before a single trade is scheduled
Fence Installation Troubleshooting: Common Problems and How to Fix Them
A leaning fence post is not a post problem 70% of the time. It’s a footing problem. And this is where most homeowners get it wrong: they shim the post, brace it back to plumb, call it done, and then watch the same lean return within a single season, sometimes within a single hard rain. The post was never the culprit. The concrete collar holding it, the soil draining around it, and the lateral load pushing against the panel above it were. Fix the symptom and the cause keeps working against you.
What follows is the failure chain, worked from the bottom up. We’ll walk through how to tell a footing failure from soil heave from lateral load, how to handle ground-line rot without pulling the whole post, why gate sag is almost never a gate frame problem, what Anaheim’s dry heat does to wood and vinyl panels, and how to handle a shared-post failure without turning it into a neighbor dispute. Every section is a standalone answer, so you can jump to the problem you actually have.
Quick Answer
Most fence failures – leaning posts, sagging gates, rot at the ground line, warped panels – can be corrected at the post or panel level instead of replacing the entire fence, but the repair only holds if you fix the root cause. That means diagnosing whether a lean comes from footing failure, soil heave, or lateral panel load before touching the post. In Anaheim, the two most common culprits we see are undersized concrete footings in sandy soils and heat-driven panel movement on west-facing runs.
Styles & brands we work with
- Kitchen remodeling
- Bathroom remodeling
- Home additions & ADU
- Roofing
- Windows & doors
- Driveway & pavers
- Fence
Table of Contents
- Diagnosing a Leaning Fence: Footing, Soil Heave, or Lateral Load?
- Post Rot at the Ground Line: Repair Method Without Full Replacement
- Gate Sag: Why It’s Almost Always Hardware and Post Anchors
- Warped Fence Panels in Anaheim’s Dry Heat
- Failing at the Neighbor’s Shared Post: Fixing It Without a Dispute
- The Footing Repair Sequence That Actually Holds
- Maintenance That Prevents the Repeat Failure
Diagnosing a Leaning Fence: Footing, Soil Heave, or Lateral Load?
The direction and pattern of a lean tells you the cause before you ever dig. A post that leans uniformly across the entire run, tops tilted the same way, sits on footings that are rotating or undersized. A single post leaning while its neighbors stay plumb is usually soil heave or localized water. And a run that leans only mid-span, with end posts still straight, is being pushed by lateral load – often a panel acting like a sail in wind or, in Anaheim, a gate or solid-panel run catching canyon-wind gusts off the Santa Ana corridor.
Work through these three checks in order before you touch a shovel:
- Check the base, not the top. Push the leaning post hard near the ground. If the concrete collar moves or crumbles, the footing has failed. If the post wiggles inside a solid collar, the wood has shrunk or rotted. If nothing moves at the base but the post still leans, you have a lateral load problem higher up.
- Look at the soil line. Cracks radiating from the post base, a soil mound pushed up on one side, or a visible gap on the other side point to soil heave or water pocketing. In Anaheim’s clay-and-sand mix, irrigation runoff pooling on one side of a fence frequently causes exactly this.
- Measure the lean across the run. A 4-foot level held against each post tells you whether one post is off or the whole run is tipping as a unit. One post means local cause; a unit-run lean means footings or lateral load.
Do not shim or brace a post until you know which of these three you have. Shimming a footing-failure post just moves the lean to the next weakest point and can crack the panel rails. Correct diagnosis is what separates a fix that lasts from a fix that returns.
Post Rot at the Ground Line: Repair Method Without Full Replacement
Ground-line rot is the single most common post problem in Anaheim because that’s where wood stays wet longest. The concrete collar traps moisture at the base, and even pressure-treated 4×4 posts will soften there if the cap or soil drainage fails. The good news: rot at the ground line can often be corrected without pulling the entire post, as long as the rot is confined to the lower 12 to 18 inches and the top of the post is still sound.
Here’s the repair method when a post passes the structural test:
- Probe the post. Push a screwdriver into the post on all four faces just above the concrete collar. Solid resistance means the wood is sound. Mushy or soft above the soil line on any face means you’re into a structural repair, not a cosmetic one.
- Cut a clean joint. If rot is confined to the base and the upper post is solid, cut the post cleanly above the rot zone (typically 12 to 18 inches above the collar) and splice in a new pressure-treated section sized to match. Use a galvanized structural splice plate with lag bolts, not a decorative plate.
- Address the moisture source. Reset the concrete collar so water sheds away from the post, add a gravel drain ring at the base, and cap the top of the post. Rot returns when the wet zone returns.
- Check the rail attachments. Reattach rails to the solid section of the post, never to the spliced joint, so load is transferred to sound wood.
When is it structurally unsound? If the rot extends above 18 inches, if the post has lost more than a third of its cross-section on any face, or if the panel and rails are hanging off the rotted zone, splice repair is a false economy. A post carrying a gate or a tall privacy panel needs replacement, and that’s a job better planned than forced.
Gate Sag: Why It’s Almost Always Hardware and Post Anchors
Homeowners look at a sagging gate and reach for the gate frame. In our experience, the gate frame is the culprit less than a third of the time. Most gate sag comes from three places: a hinge post that has shifted in its footing, hinge hardware that has worn or pulled out of soft wood, or a latch that no longer aligns because the hinge post has rotated. Diagnose in this sequence:
- Test the hinge post for movement. Open the gate 90 degrees and push it against the post. Any movement at the base means the hinge post is the problem, not the gate. Fix the footing before touching the gate.
- Inspect the hinges. Worn or loose screws at the hinge plate are the next most common cause. Back the screws out, ream the holes with a dowel and wood glue, and reinstall. If the hinge itself is bent or pitted, replace the hardware.
- Check for a diagonal brace. On wood gates, the absence of a diagonal brace from the top hinge corner down to the bottom latch corner lets the gate rack under its own weight. Add the brace before adjusting anything.
- Confirm post anchors. Gate posts need deeper footings and, where relevant, adjustable post bases. A standard 2-foot footing that carries a heavy gate will shift in Anaheim’s shifting clay soils over time.
Only after all four checks point away from the hardware and posts should you look at adjusting the gate frame. In practice, a gate that’s sagging from hardware and a settled hinge post will keep sagging no matter how many times you tune the frame.
Warped Fence Panels in Anaheim’s Dry Heat
Wood and vinyl panels both move with weather, and Anaheim’s hot, dry summers and west-facing fence runs make that movement visible fast. Boards cup, bow, and open at the seams as they dry in summer, then close back up in winter. Some warping is purely aesthetic and self-corrects. Some is structural. Knowing which is which saves a lot of unnecessary panel replacement.
- Aesthetic warping: single boards cupping, minor bowing across a panel, paint or stain lifting on the sunny face, or gaps opening between boards in summer. These don’t threaten the fence’s structural function. Minor boards can be re-secured with an added rail or a relief cut, and seasonal gaps close on their own.
- Structural warping: an entire panel bowing more than 2 inches out of plane, panel rails pulling away from posts, the panel twisting the post out of plumb, or panel boards loosening enough to move independently. These mean the panel needs repair or replacement because the load path is failing.
The Anaheim-specific cause is almost always heat and UV on the sun-exposed side of the panel without a corresponding finish on the shaded side, which drives uneven moisture loss. High-quality western red cedar or premium treated pine from a manufacturer like Barrette or Master Halco, finished on both faces, is far less prone to structural warp than unfinished builder-grade paneling. That’s one reason we’re careful about material selection before the panel ever goes up. Our Fence Installation in Anaheim service selects material and finish for the specific sun exposure of each run.
Failing at the Neighbor’s Shared Post: Fixing It Without a Dispute
A shared post sitting on or near the property line is the most common source of fence conflicts, and it’s also the failure most likely to be handled wrong. Two things go wrong: someone repairs a post that isn’t actually on their side of the line, or someone replaces a shared fence without written agreement, and the repair becomes a legal problem instead of a construction problem.
Handle it in this sequence:
- Confirm ownership before touching anything. Pull the plat map or property survey for your parcel. In Anaheim, the city’s building department and your recorded deed will tell you where the line actually sits. A post you assume is shared is often wholly on one side.
- Talk to the neighbor first, in writing. A short, factual note explaining the failure, the proposed repair, and the cost split (if the fence is on the line) prevents the repair from becoming a dispute. Keep it friendly and specific.
- Check local rules on fence height and placement. Anaheim has specific rules for fence height in front yards and along corner lots. A shared-post repair that shifts the fence line can move it out of compliance.
- Document the repair. Photograph the failure, the repair, and the finished joint. If the relationship ever sours, that documentation is what protects you.
We’ve seen this play out dozens of times, and the repairs that go smoothly are the ones where the neighbor was brought in before the first shovel hit the dirt, not after. If the shared post is failing because the whole run is failing, treat it as a planned replacement and agree on the scope together. Our Groundwork Construction Co. of Anaheim home page lays out how we approach shared-fence scope decisions when both sides are involved.
The Footing Repair Sequence That Actually Holds
Footing repair is where the fix either sticks or fails. Most footing repairs that fail within a year were done with the wrong concrete mix, the wrong depth for Anaheim’s soil profile, or no drainage correction at the base. Here’s the sequence that holds:
- Expose the existing footing. Dig out the collar 6 to 8 inches down on all four sides. A footing that’s less than 18 inches deep in Anaheim’s sandy soils is likely undersized for a wind-loaded privacy fence.
- Remove the top of the existing collar to expose the post wood and check for rot above the collar. If the post is sound, leave it; if it’s rotted at the ground line, splice or replace now rather than after the new pour.
- Set a deeper, wider footing. For a standard Anaheim privacy fence, a footing 24 to 30 inches deep and 10 to 12 inches wide is the starting point. Larger gate posts need more. Rebar through the pour prevents the collar from cracking.
- Slope the concrete top away from the post. A flat collar traps water at the base. Slope the crown 2 to 3 inches down from the post so water sheds and the wood stays dry. In Anaheim, this single step prevents more rot than any coating.
- Correct the drainage before you backfill. If water pools on one side of the fence line (common where lawn irrigation runs along a low grade), regrade the soil or add a shallow swale. A perfect footing in a wet pocket still heaves next season.
- Backfill and compact in lifts. Backfill in 4-inch lifts and compact each one. Loose backfill lets the post walk out of plumb over a single winter.
Get these six steps right and the footing problem is gone for good. Skip one – usually drainage – and the lean comes back. For homeowners planning a full fence rebuild rather than a targeted repair, our Driveway & Pavers in Anaheim service frequently coordinates with fence footing work because the same grading and drainage decisions affect both the driveway and the fence line.
Maintenance That Prevents the Repeat Failure
Every repair above is easier to repeat if you prevent it. In Anaheim, the maintenance list is short and specific:
- Cap the post tops. Post tops that are open to rain soak wood and lead to rot from the inside. Post caps are inexpensive and prevent the top-down rot that undermines the whole post.
- Keep the base dry. Clear soil and mulch away from the post base so the collar drains. Redirect sprinklers away from the fence line so irrigation isn’t constantly wetting the collar.
- Re-seal or re-stain on the sun side. West-facing wood and vinyl panels in Anaheim need a finish refresh every 2 to 3 years. A finished panel on the sun side and the shaded side loses moisture more evenly.
- Lubricate hinges and check screws seasonally. Gate hardware that isn’t checked annually is where sag starts. Two minutes with a screwdriver and a little lubricant on the hinge pins saves gate frame work later.
- Look for the pattern of shift early. A post that’s 1/4 inch off plumb in spring is a repair. A post that’s 2 inches off plumb by fall is a footing replacement. Catch it early.
A fence built with quality materials and a solid footing should hold its line for 20 years or more. A fence built with undersized footings, long-span panels, and unsupported gates will show problems in year two or three. That’s why we treat the footing and drainage design as the primary work, not an afterthought. Our Home Additions & ADU in Anaheim team coordinates fence and site-work planning the same way, because site grading decisions and fence placement should be made together on any project that touches the property line.
Common Mistakes to Avoid
- Shimming or bracing a post without diagnosing the footing. This is the most common mistake we see in Anaheim. The lean returns within one season, and the bracing has now cracked panel rails that were otherwise fine.
- Trying to fix a gate frame when the hinge post is the problem. Tuning a gate frame on a hinge post that’s shifted in its footing wastes time and shortens gate life. Test the post first.
- Installing panels tight against the ground. In Anaheim’s summer heat, panels need 1 to 2 inches of clearance to prevent moisture wicking and to allow seasonal movement. Panels set flush to soil rot at the bottom rail.
- Skipping drainage correction at the footing. A footing that drains well lasts the life of the fence. A footing in a wet pocket fails regardless of concrete quality. Correct the grade and drainage before the pour.
- Replacing a shared fence without a written neighbor agreement. Anaheim property line fences require confirming ownership first. A friendly written note before work starts prevents a legal problem that costs far more than the fence.
- Choosing materials for price alone. Builder-grade paneling on a west-facing Anaheim run warps in 3 to 4 years. Premium treated wood or vinyl from a brand like Barrette or Ameristar costs more up front and lasts a decade longer.
- Ignoring Anaheim’s fence height rules in front yards and on corner lots. A repaired or replaced fence that shifts slightly can move out of compliance. Verify the local rule before the work, not after.
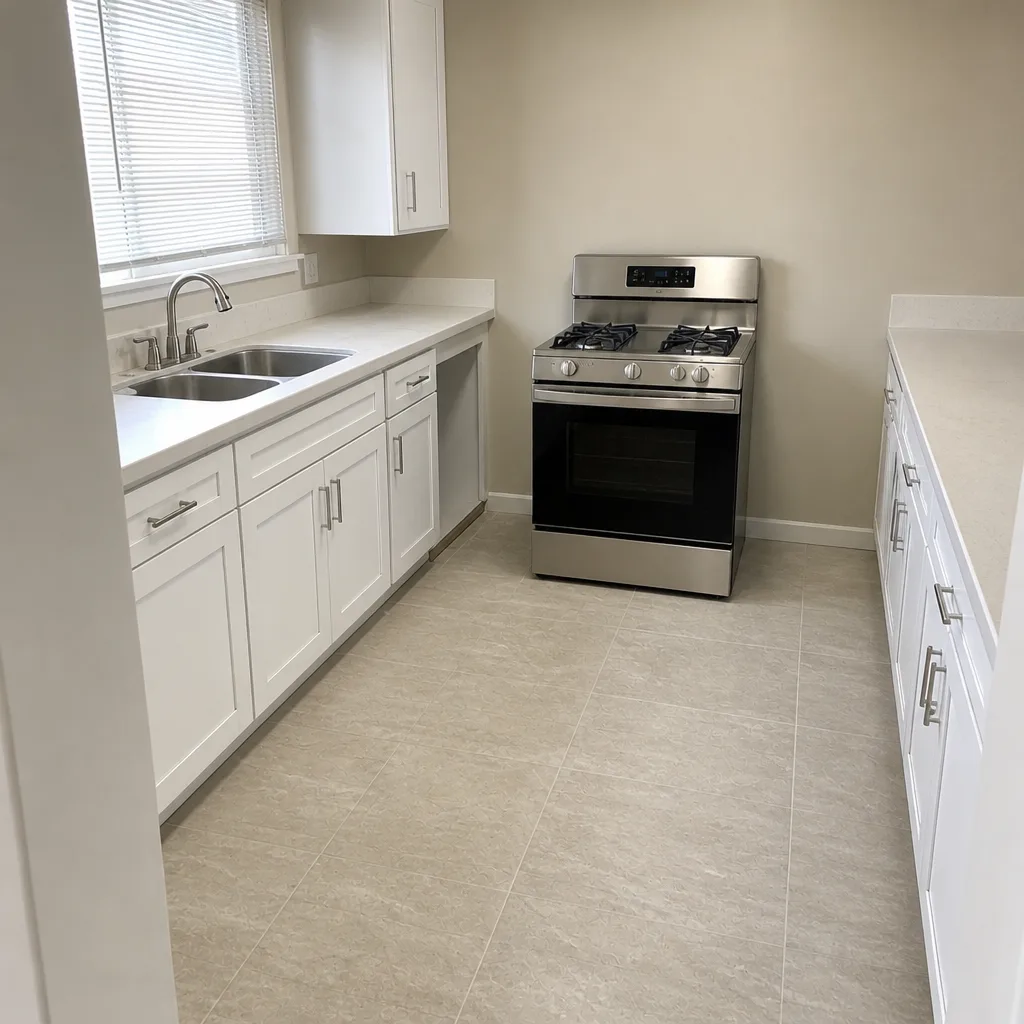
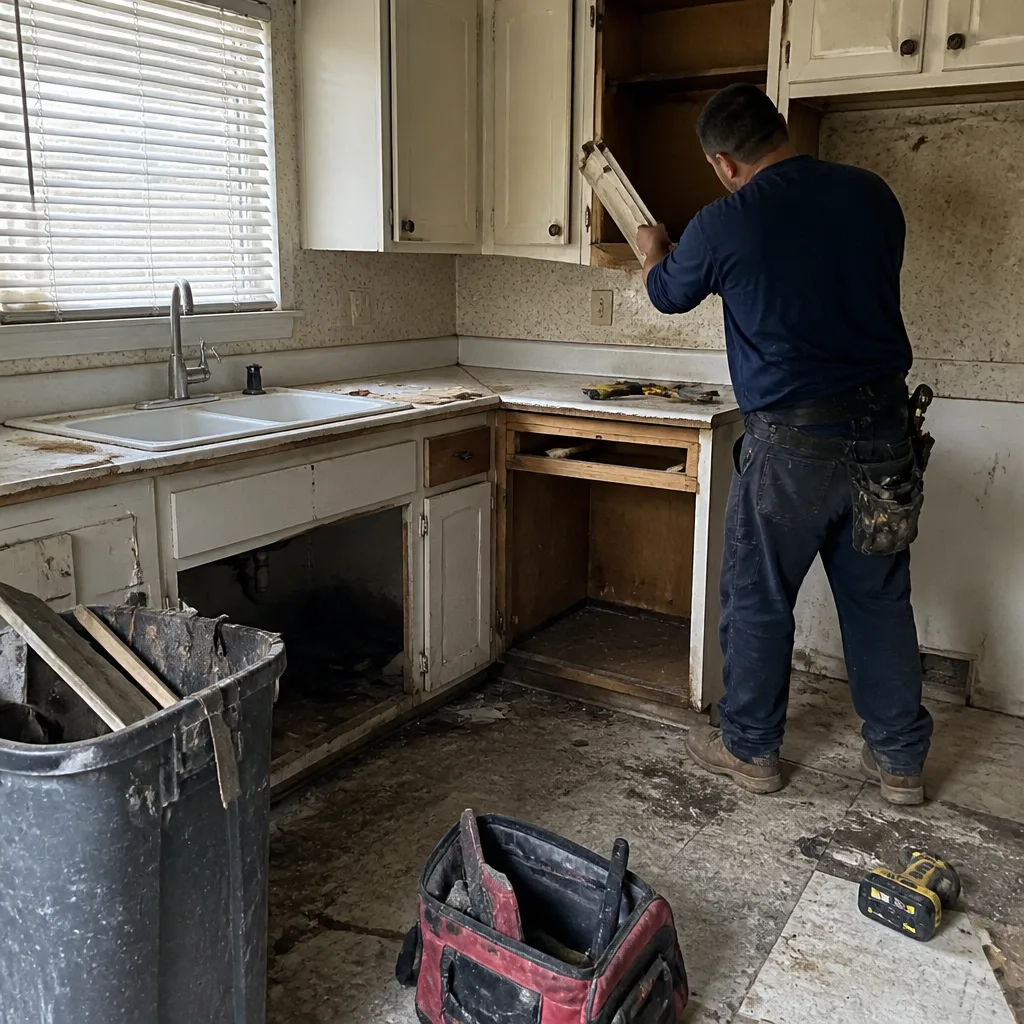
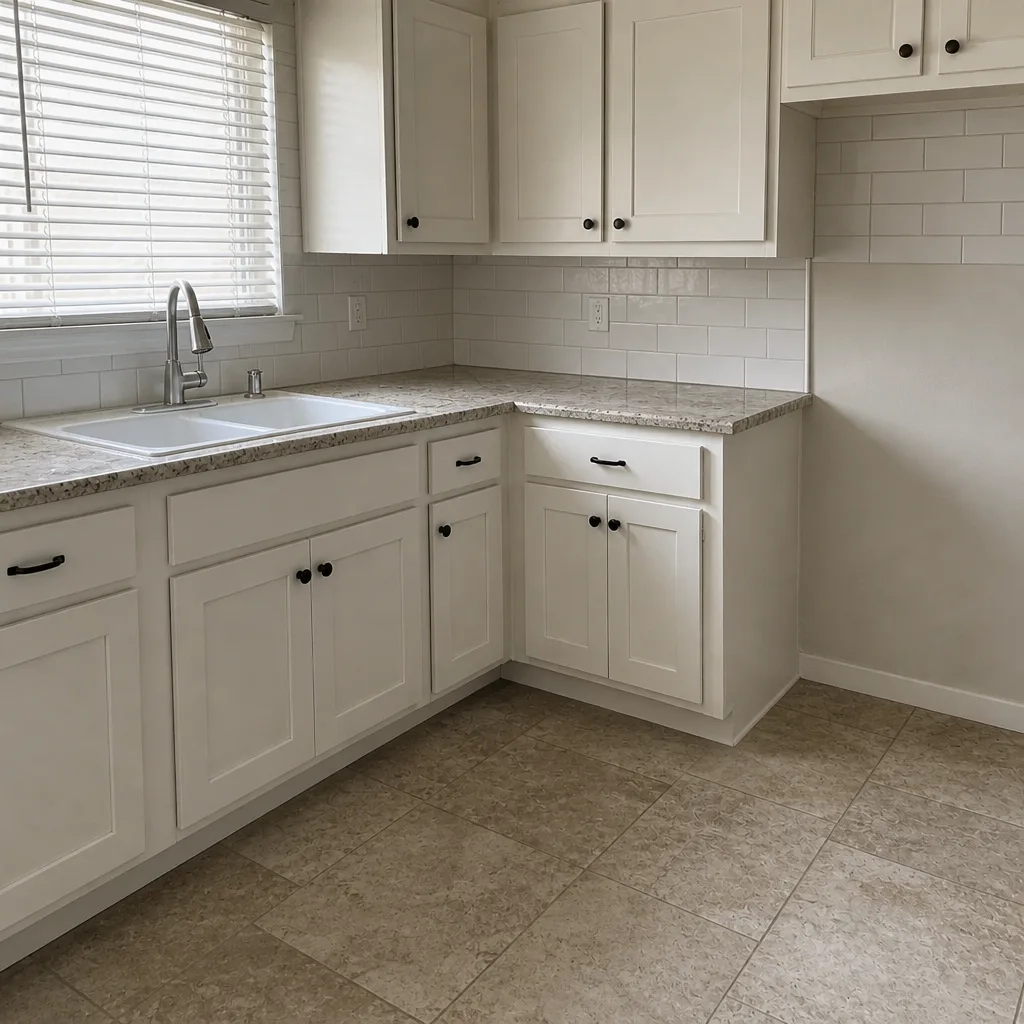
See the difference
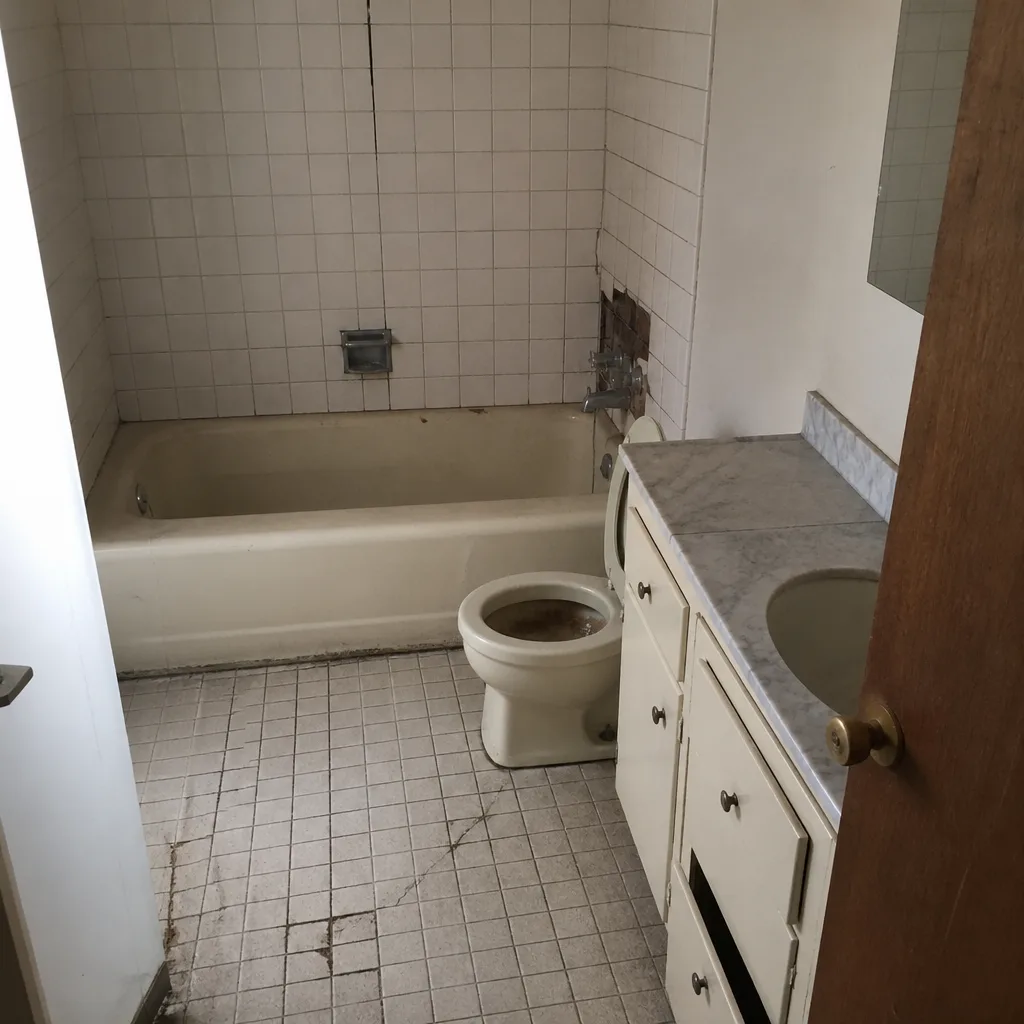 Before
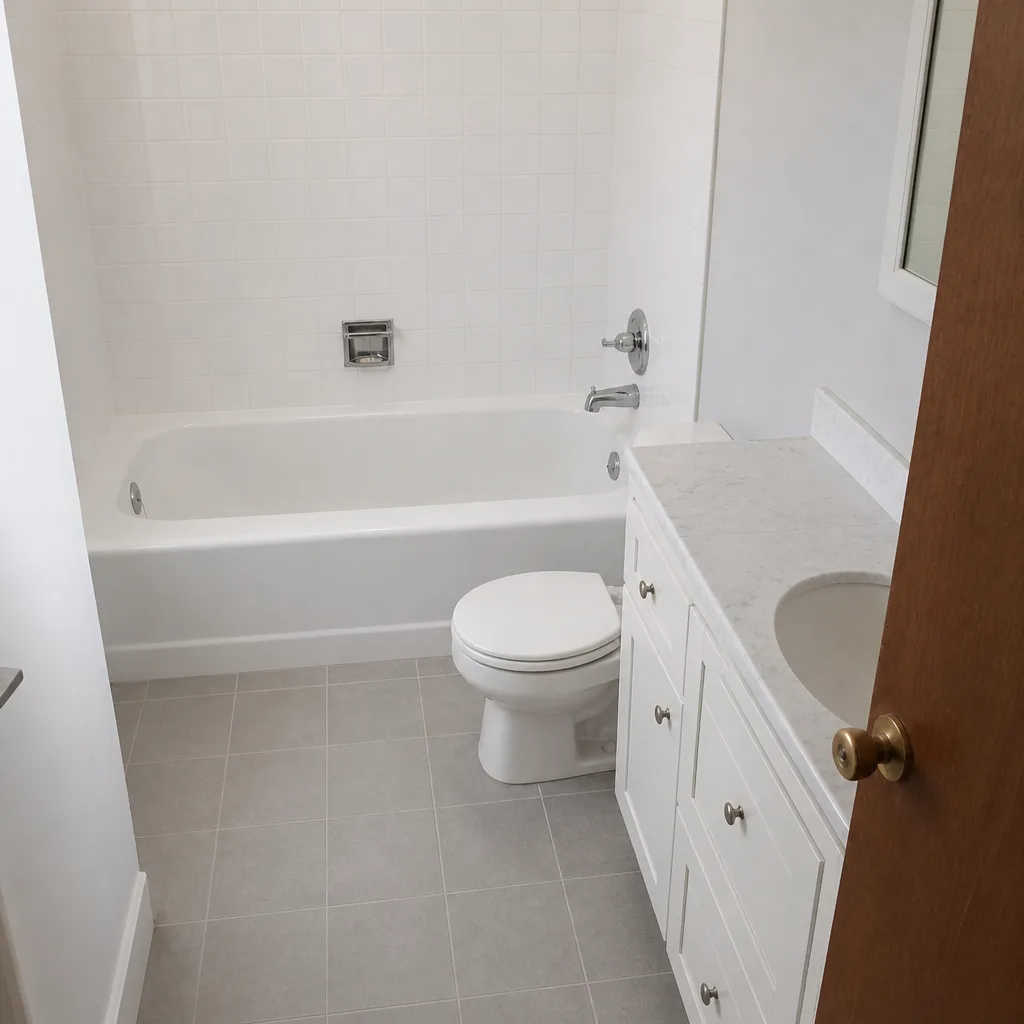 After
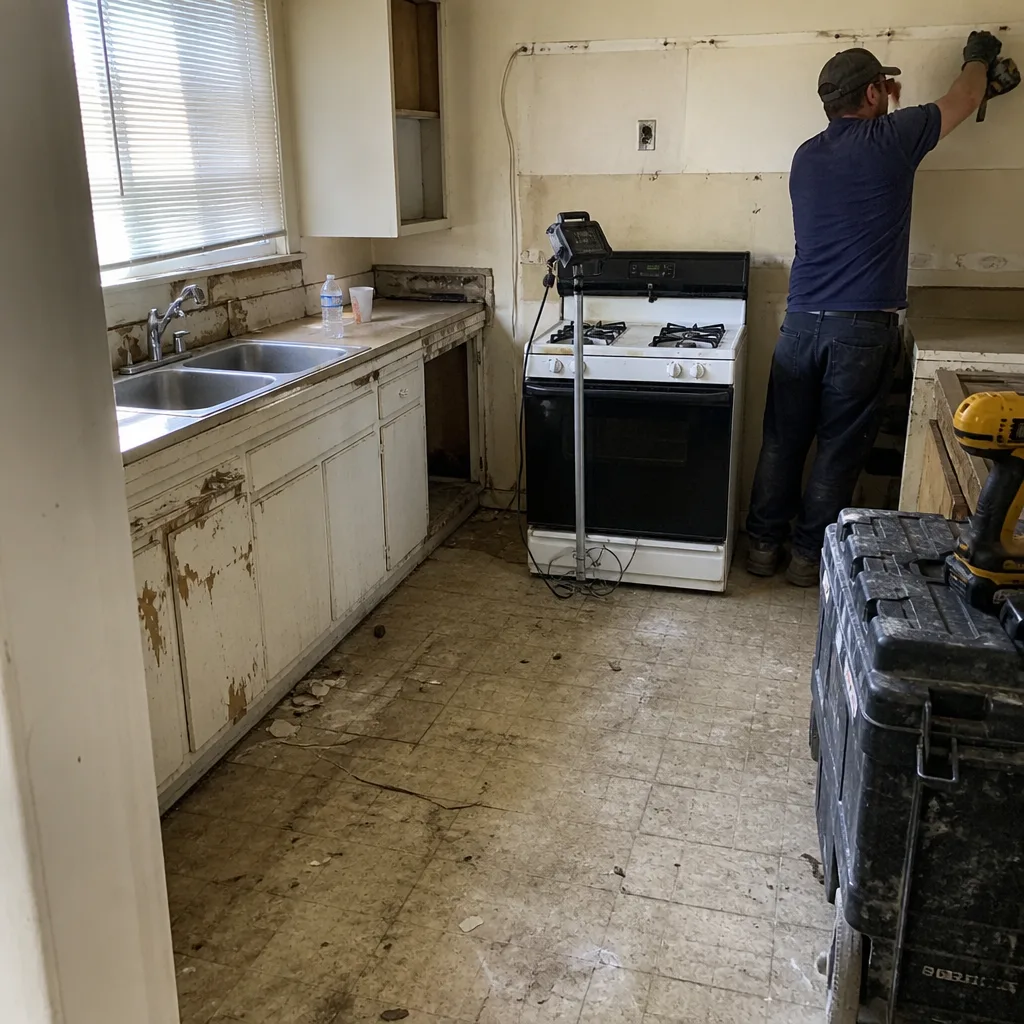 Before
 After
 Before
 After
When to Call a Professional
Some fence repair is genuinely a homeowner task: tightening a hinge, re-securing a board, adding a diagonal gate brace. Others require a professional because the failure is structural. Call for help when a footing has failed and the post is rotating out of plumb, when rot extends above the ground-line splice zone, when a gate hinge post has shifted in its footing, when a shared-post failure touches the property line and neighbor agreement, or when the fix involves a new concrete pour and drainage correction. Fence footings near utility lines, gas lines, and property corners need a professional on site, both for safety and for code compliance. Groundwork Construction Co. of Anaheim offers free estimates in Anaheim – call (888) 300-3178 and we’ll walk the fence with you, diagnose the failure, and quote the repair in writing before any work starts.
Frequently Asked Questions
Yes, in most cases. A leaning post is typically a footing problem, and a footing repair or splice can restore plumb without touching the rest of the fence, provided the post is structurally sound above the ground line. The repair only holds if you correct the footing and drainage, not just the lean.
Probe the post with a screwdriver on all four faces just above the concrete collar. If rot is confined to the lower 12 to 18 inches and the upper post is solid, a structural splice holds. If rot extends higher, if the post has lost more than a third of its cross-section, or if the panel is hanging off the rotted zone, the post needs replacement.
Because the cause is usually the hinge post shifting in its footing or the hinge hardware pulling out, not the gate frame. Adjusting the frame on a shifted post just resets the sag until the post moves again. Test the post and hardware first, then adjust the frame only if both are sound.
Minor warping in Anaheim’s dry heat – single boards cupping, seasonal gaps opening in summer – is aesthetic and often self-corrects as the wood reabsorbs moisture in winter. Warping that bows a full panel more than 2 inches out of plane, pulls rails from posts, or twists the post out of plumb is structural and needs repair or replacement.
Confirm ownership and the property line first, usually through your recorded deed or a survey. Then talk with your neighbor in writing before any repair, agree on scope and cost split if the fence is on the line, and check Anaheim’s local rules on fence height and placement. Documentation before the repair prevents the dispute from becoming a legal problem.
A footing poured at 24 to 30 inches deep, 10 to 12 inches wide, crowned to shed water, and set in properly compacted backfill should hold for the life of the fence – typically 20 years or more. A shallow footing without drainage correction fails within a season or two.
The Bottom Line
Most fence failures in Anaheim don’t require full replacement. They require correct diagnosis. Fix the footing before you touch the post. Fix the hinge post before you touch the gate. Fix the drainage and finish on both faces before you blame the panel. That single rule – fix the cause, not the symptom – is why the repairs we make hold for the life of the fence instead of for one season. Back every repair with quality materials from verified brands, a written workmanship guarantee, and a contractor who answers the phone. Groundwork Construction Co. of Anaheim stands behind every job with our 730-Day Done Right Promise, from foundation to finish line. Call (888) 300-3178 for your free estimate – upfront pricing, no surprises, and a live person on the line whenever you call.
Written by the team at Groundwork Construction Co. of Anaheim.