Last updated November 18, 2026





Free written scope consultation - allowances, timeline, and change-order rules on paper before a single trade is scheduled
DIY vs Professional Windows & Doors: What’s Safe to Do Yourself
A window can look perfect from across the room and still fail the first hard rain. We’ve pulled units in Anaheim that were dead plumb, level, and visually flawless, only to find the rough opening had no sill pan and the flashing was lapped the wrong way. The homeowner didn’t know anything was wrong until a water stain bloomed on the drywall eighteen months later. That gap between “looks finished” and “actually sealed” is the whole story of DIY window and door work. This guide covers where you can genuinely save money, where the risk isn’t worth it, and how California’s permit and energy rules change the math in Anaheim.
Quick Answer
Simple swaps like replacing weatherstripping, caulking around existing frames, installing interior casing, or changing out door hardware are safe and genuinely worth doing yourself. Full window or exterior door installation is a different job: it involves flashing, sealing, structural shimming, and Title 24 energy compliance, and a mistake typically won’t show up for 12 to 18 months, usually as rot or water intrusion. In Anaheim, most full-frame window and door replacements also need a permit, which makes the DIY route riskier than a YouTube video makes it look.
Styles & brands we work with
- Kitchen remodeling
- Bathroom remodeling
- Home additions & ADU
- Roofing
- Windows & doors
- Driveway & pavers
- Fence
Table of Contents
- Why Windows and Doors Fail Long After the Install Looks Done
- What’s Actually Safe to Do Yourself
- Same-Size Replacement vs. Full-Frame: When DIY Is Even Possible
- The Flashing and Sealing Steps DIY Videos Skip
- What Pre-Hung Door Videos Don’t Tell You
- California Permits, Title 24, and What Unpermitted Work Costs You
- The Real Cost Comparison: DIY vs. Professional in Anaheim
- When to Call a Professional
Why Windows and Doors Fail Long After the Install Looks Done
The failure mode for a badly installed window isn’t visible. It’s slow. Water gets behind the flange or under the sill, finds the wood framing, and starts working on it. In Anaheim’s climate, you get months of dry weather where nothing seems wrong, then a series of winter storms pushes water into the same gap over and over. By the time you see a soft spot on the sill or a bubble in the paint, the damage has been building for over a year.
We’ve seen this pattern repeatedly in older Anaheim neighborhoods like the Colony District, where homes from the 1950s and 1960s have original wood-framed openings. A homeowner swaps in a new vinyl unit over a weekend, feels good about it, and then notices the stucco around the frame is cracking by the following spring. The unit itself is fine. The rough opening wasn’t prepped to shed water.
Doors have a similar problem, with one extra wrinkle. An exterior door that isn’t shimmed and sealed correctly doesn’t just leak. It can rack out of square over a season or two, which means the lock stops lining up, the door drags on the threshold, and the weather seal breaks down. That’s a slow-motion failure that’s easy to blame on the door when the real problem is the install.
Here’s what makes this especially frustrating: none of these failures show up during a home inspection or a walkthrough. A buyer looking at a house in Anaheim won’t see the missing sill pan. They’ll see a nice new window. The problem surfaces after they move in, after the sale is closed, after the money has changed hands.
What’s Actually Safe to Do Yourself
Plenty of window and door work is genuinely DIY-friendly, and doing it yourself saves real money without risking your home’s envelope. The line is straightforward: anything that touches the weather barrier, the structural opening, or the electrical/energy code is professional territory. Anything cosmetic or maintenance-level is yours for the taking.
Safe DIY tasks that save money:
- Interior casing and trim. Installing or replacing the wood trim around a window or door on the interior side is finish carpentry. A homeowner with a miter saw and some patience can do this well. Caulk and paint hide minor imperfections, and if you’re not happy with it, you can pull it and try again.
- Hardware replacement. Swapping out door handles, deadbolts, hinges, window latches, and cranks is simple. If the door is functioning and sealed correctly, changing the hardware doesn’t affect the envelope.
- Weatherstripping. This is one of the highest-return DIY jobs out there. Old, flattened weatherstripping lets in air and moisture and makes the door feel drafty. Replacing it takes maybe an hour and costs very little.
- Caulk maintenance. Checking and refreshing the exterior caulk line around windows and doors each fall is basic maintenance. In Anaheim, the dry summer sun breaks down caulk faster than most people expect. A tube of exterior-grade caulk and a rainy afternoon can prevent a lot of water intrusion.
- Interior painting and touch-up. Cosmetic, low-risk, and money-saving.
These are the tasks where you get a real return on your time without putting the building envelope at risk. None of them require permits. None of them create hidden water paths. And if you get something slightly wrong, you can fix it without calling anyone.
What these tasks have in common is that they don’t touch the rough opening or the flashing. The moment your project involves pulling a window or door out of the wall, the risk profile changes entirely.
Same-Size Replacement vs. Full-Frame: When DIY Is Even Possible
Not all window replacements are the same job, and the difference matters enormously for whether DIY is even a realistic option. The two broad categories are same-size “pocket” replacements and full-frame replacements, and only one of them has any business being a homeowner project.
Same-size replacement means the new window is the same dimensions as the old one, and the existing frame and flashing stay in place. The old sash comes out, the new unit slides in, and you finish the interior. This is the closest thing to a genuine DIY window scenario, and it’s what most “window replacement” YouTube content shows.
Full-frame replacement means the entire window assembly comes out, including the frame, and the rough opening gets rebuilt with new flashing and sealing. This is where the real work is, and it’s also where most of the failures happen. If the existing flashing is compromised, or if the opening is out of square, or if the original install was done poorly, full-frame replacement is not a one-weekend project.
Here’s the reality check for Anaheim homeowners: most older homes in the city don’t qualify for a clean same-size swap. The original openings have shifted, the framing is aged, and the flashing from the previous install may be thirty years old. When we assess a window project in Anaheim, we’re often looking at a full-frame job even when the homeowner thought it was a simple swap.
How to know which one you’re dealing with:
- Measure the existing frame opening carefully. If a same-size unit is available and the frame is structurally sound, you might be a same-size candidate.
- Check the exterior flashing and sill. If you can’t see a continuous, properly integrated weather barrier, plan on full-frame.
- Look for signs of past water intrusion: soft framing, discoloration around the opening, cracking stucco. Any of those means the old flashing has likely already failed.
- Check the age of the home. Anything built before roughly 1980 in Anaheim should be evaluated for hidden water damage before a swap is attempted.
The Flashing and Sealing Steps DIY Videos Skip
This is where the gap between a successful install and a future repair bill gets wider than most DIYers realize. Flashing is the layer that directs water away from the opening and down the exterior wall. It’s the single most important part of a window installation, and it’s also the part most often skipped, rushed, or done wrong in amateur work.
The correct sequence for a new window opening involves several steps that online tutorials frequently leave out entirely:
- Sill pan installation. Before the window goes in, a sloped sill pan or sill flashing goes down first. Water that gets in has to escape. Without a sill pan, water pools against the framing at the bottom of the opening.
- Flashing tape lapped correctly. Flashing tape has to overlap in a specific order (bottom to top, so water sheds outward, never inward). A video that shows tape going on in the wrong lap direction is teaching you how to build a leak.
- Housewrap integration. The exterior weather barrier has to tie into the window flange correctly. Skip this and the whole wall behind the window becomes a water collection zone.
- Backer rod and sealant in the right places. Sealant at the wrong joints traps moisture instead of keeping it out. The gaps that need it versus the gaps that need to drain are not interchangeable.
- Air sealing on the interior side. California’s Title 24 energy rules require certain air-sealing measures, and interior air sealing is part of the package. An install that’s visually done but not air-sealed will fail an energy inspection and may fail a permit inspection.
The reason these steps get skipped in DIY content is that none of them are visible from inside the house. They happen behind the drywall and stucco, and they only matter when it rains. In Anaheim’s case, a poorly flashed window in a 1960s home often doesn’t produce obvious symptoms until the winter after next, which means a homeowner may go two full summers believing the job went fine.
The other install detail that produces failures is the actual shimming and securing of the window. A window that’s not properly shimmed against the frame doesn’t just run less smoothly; it can rack under temperature changes, which stresses the sealant and the flashing. This is one of the reasons professional installers take longer than a homeowner expects and why most jobs take the better part of a day even for a single window.
What Pre-Hung Door Videos Don’t Tell You
Pre-hung exterior doors look like an easy install. The door comes already in its frame, the video walks through setting it in the opening, shimming it, nailing it off, and adding trim. Plenty of homeowners have done this successfully. But the videos consistently skip or rush the parts that determine whether the door is still working five years from now.
What licensed carpenters do that videos often don’t show:
- Verifying the rough opening. The opening has to be square, plumb, and the right size. If it’s not, the door needs to be planed, the opening needs to be modified, or the whole thing needs reframing. Videos assume it’s square.
- Checking the threshold and sill pan. Exterior doors need a sill pan just like windows. Water sheds off the door and onto the threshold, and if the threshold isn’t integrated with the flashing correctly, the water goes into the wall.
- Properly shimming at hinges and the lock side. Shimming isn’t a random wedge here and there. It goes at specific points to support the door in a stable position. Over-shimming or skipping shims means the door sags or racks out of square over time.
- Flashing tape around the frame before trim. The exterior trim on a door sits over flashing tape, and the tape has to integrate with the exterior weather barrier. This gets skipped in a lot of DIY door installations, and it’s one of the most common sources of water damage around doors.
- Confirming the strike plates and deadbolt alignment after installation. A door that closes doesn’t necessarily lock correctly. A deadbolt that doesn’t fully engage is a security gap.
- Sealing the gap between the frame and the rough opening. There’s a correct product and a correct amount for this gap, and both matter for air sealing and durability.
For patio doors and sliding doors, the list gets longer. Larger openings, more weight, more flashing detail, and more opportunity for a mistake that stays hidden. A sliding door that looks fine and slides fine can still be letting in water at the track.
None of this is meant to say a careful, experienced homeowner can’t install a pre-hung exterior door. Some can. The point is that the video makes it look like a two-hour job because it skips the steps that take the other six hours and determine whether the job holds up.
California Permits, Title 24, and What Unpermitted Work Costs You
California has some of the strictest residential energy code requirements in the country, and window and door replacements fall squarely under them. Title 24 governs the energy performance of your home’s envelope, and when you replace windows, the new units have to meet specific U-factor and solar heat gain coefficient requirements unless you qualify for an exemption. This is not optional paperwork. It’s the law.
For Anaheim specifically, most window and door replacements require a permit from the city’s building division. The permit isn’t just a fee; it’s a checkpoint that ensures the work is inspected and compliant. A permit inspection looks at things like the flashing, the air sealing, the energy performance documentation, and the structural integrity of the opening.
What happens when a window or door install isn’t permitted:
- Resale problems. When you sell a home in Anaheim, unpermitted work often comes up during the buyer’s inspection or the title search. At minimum, it can delay the sale. At worst, the buyer negotiates a price reduction or walks based on the risk of unknown work.
- Insurance complications. If water intrusion causes damage and the insurance company discovers the window was installed without a permit, coverage can be denied or limited. This is a real risk with real dollar amounts attached.
- Title 24 compliance issues. An unpermitted window install may not meet current energy requirements or may not have the documentation. That can create headaches if you later need a home energy score or are doing a larger renovation that triggers a compliance review.
- Inspection standstills. If you’re doing other permitted work on the same home, an unpermitted window install can hold up inspections on unrelated projects until the issue is resolved.
The permit piece is where a lot of confident DIYers get caught. The install itself might be fine. But without the permit, the inspection, and the Title 24 documentation, the work is legally incomplete, no matter how good it looks.
The Real Cost Comparison: DIY vs. Professional in Anaheim
DIY always looks cheaper up front. Materials cost what they cost either way. What changes is labor, permits, and the hidden cost of a failure you don’t discover for 12 to 18 months. Here’s the honest version of that comparison for Anaheim homeowners.
DIY scenario, same-size window:
- Window unit: varies widely by size, frame material, and brand
- Flashing tape, sealant, and fasteners: modest
- Interior drywall repair and trim materials
- Permit if one is pulled (most Anaheim replacements need one)
- Risk: if flashing is done wrong, water intrusion repair in the future can cost as much as the original install
Professional scenario, full-frame window replacement:
- Material and unit cost: same as DIY
- Labor: this is the number DIY is trying to avoid
- Permit and inspection management: included in most professional quotes
- Workmanship warranty: this is the piece DIY doesn’t have
- Risk: if something goes wrong within the warranty period, the installing company fixes it at no additional cost to you
The DIY savings only hold if the install doesn’t fail. Once you price in a repair for water intrusion or rot, or the complications from an unpermitted install at resale, or an insurance claim that gets denied, the math changes. This is why we tell Anaheim homeowners to think about window work in terms of risk-adjusted cost, not just today’s material bill.
For projects large enough to include a bigger scope, like an addition that involves new window openings or a full envelope upgrade, the DIY conversation is essentially moot. That’s part of why we wrote up Home Additions & ADU in Anaheim separately: those projects involve structural, permitting, and inspection workflows that no homeowner should be taking on.
If you’re comparing window replacement to other exterior upgrades, the same logic applies to Driveway & Pavers in Anaheim and to Fence Installation in Anaheim. Materials are one part of the cost. The installation is where the real money and the real risk live.
Common Mistakes to Avoid
- Assuming a same-size swap means no flashing work. Even a same-size window replacement can require flashing repair if the existing flashing is aged or compromised, which it often is in older Anaheim homes.
- Trusting a video that shows shimming without showing how to check for square. Shimming a door or window within an opening that’s out of square means the door or window will still be out of square when you’re done.
- Skipping the permit. Anaheim requires permits for most window and door replacements. Unpermitted work can hold up a home sale and can compromise insurance coverage.
- Using interior sealant on exterior gaps. Interior-grade caulk fails quickly outside. Anaheim’s summer sun will break it down in a single season.
- Installing windows in dry weather and calling it done. Water intrusion only shows up in the rainy season. An install needs to be tested under actual weather, and the failure pattern can take 12 to 18 months to surface.
- Ignoring the Title 24 energy requirements. New windows have to meet specific performance thresholds. Buying from a box store without checking these can make the install non-compliant even if it looks fine.
- Removing interior trim and then finding the framing is bad. Always pull trim and inspect the framing before starting a swap. Water damage is common behind older trim in Anaheim homes, and it’s very easy to find once you look.
See the difference
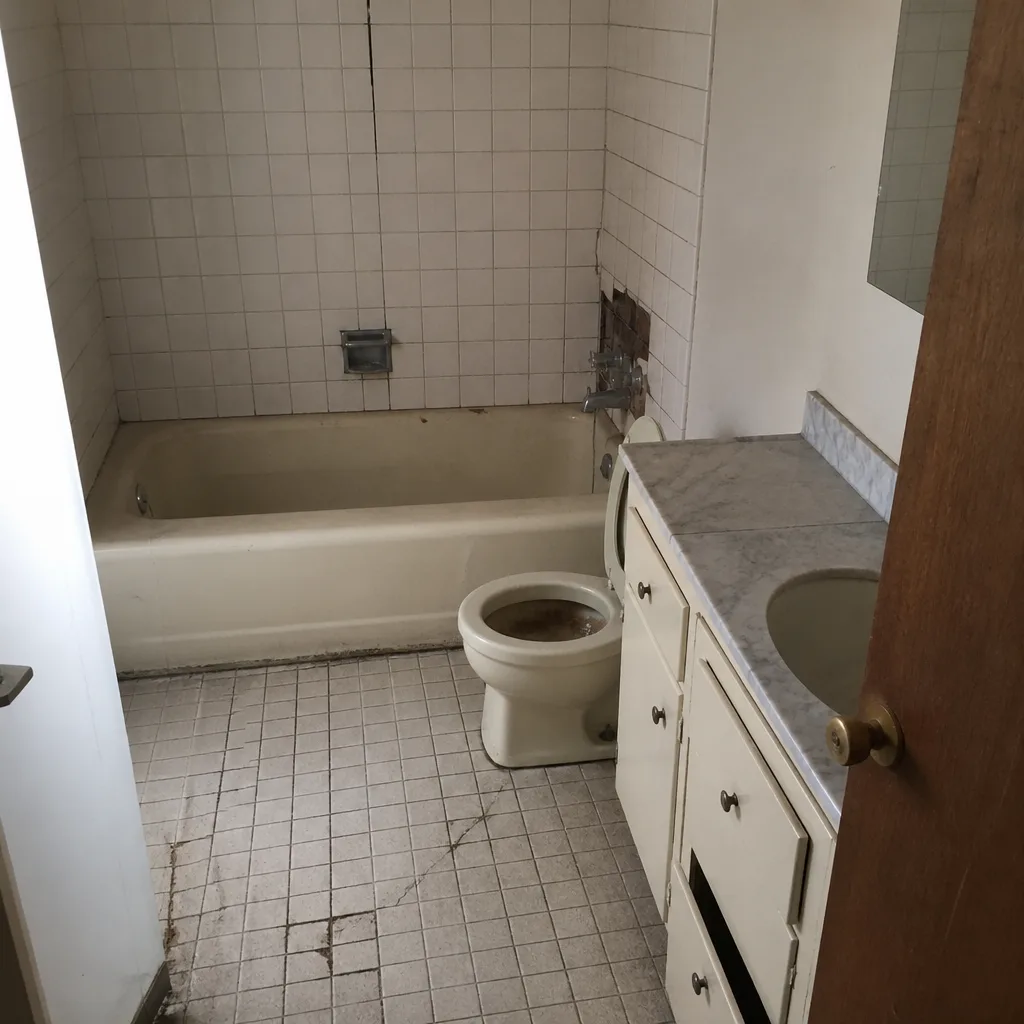 Before
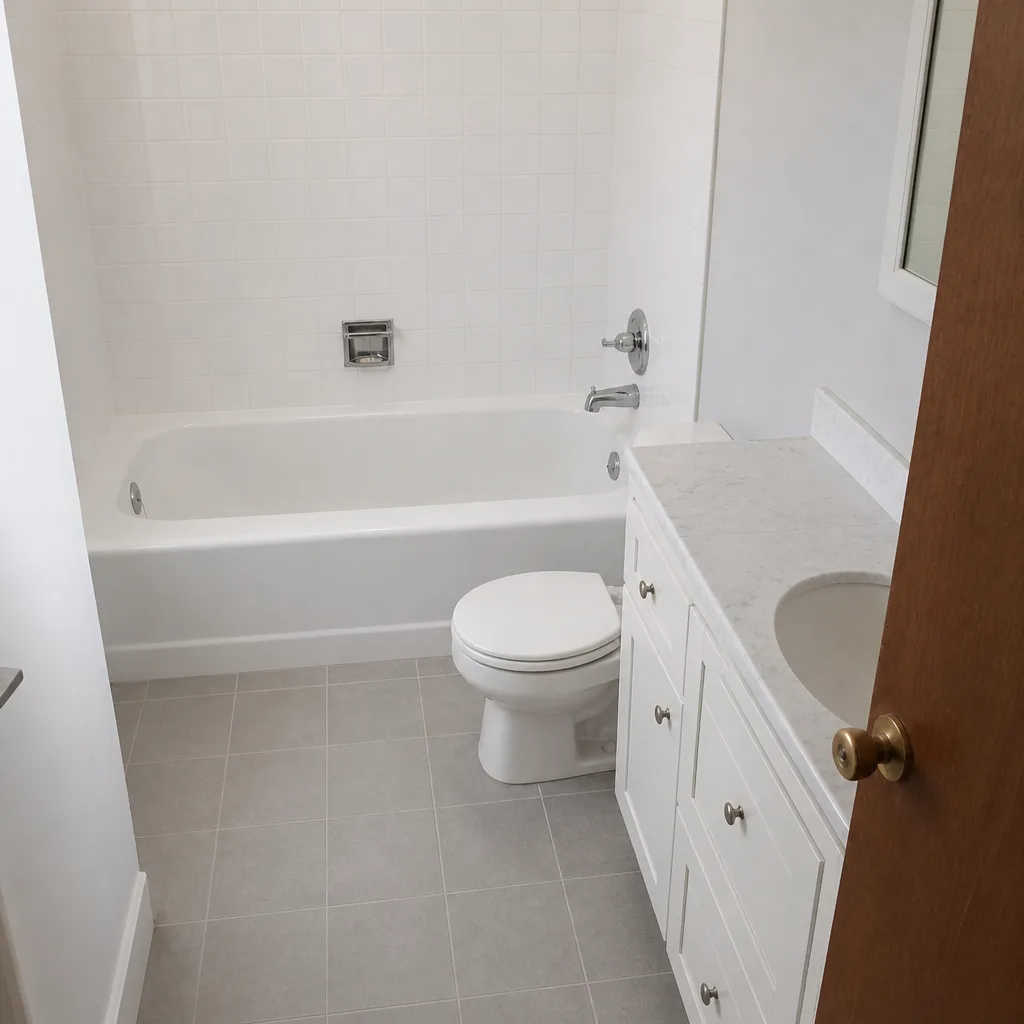 After
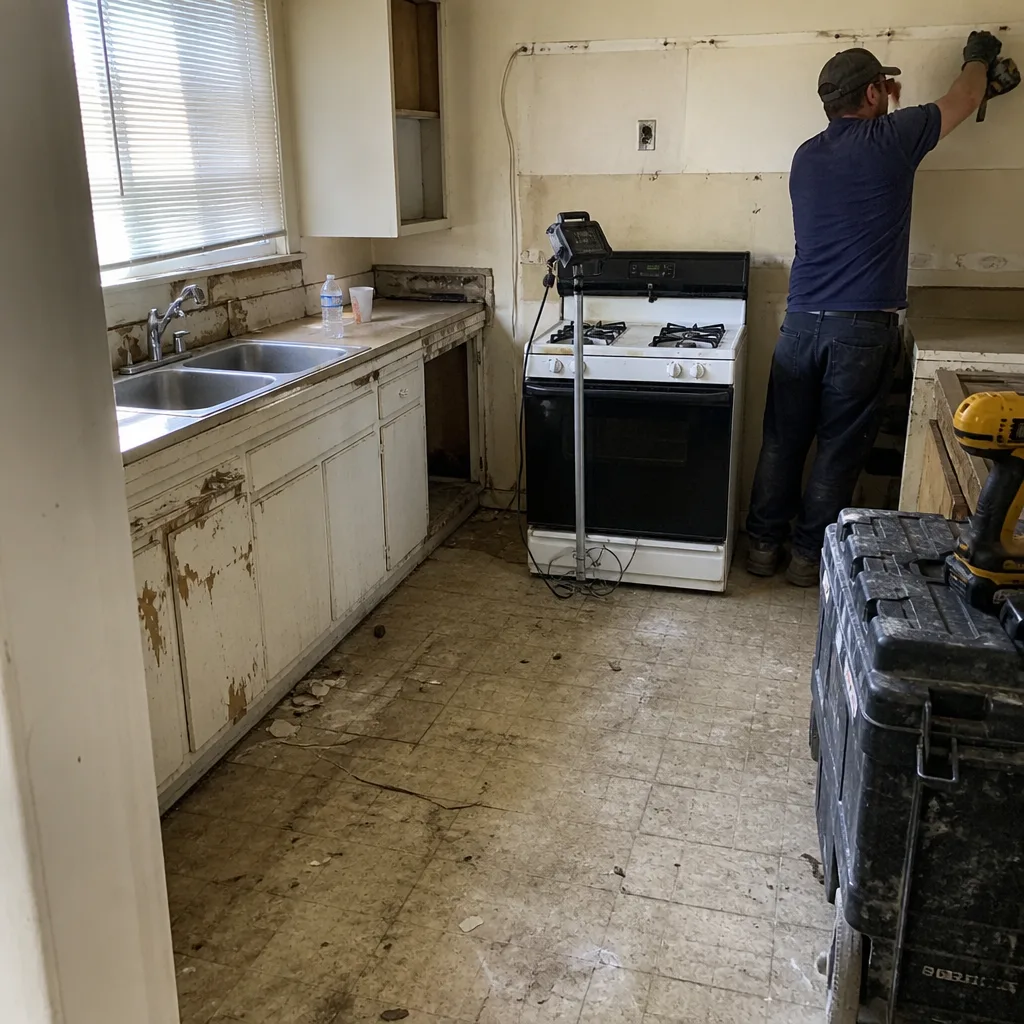 Before
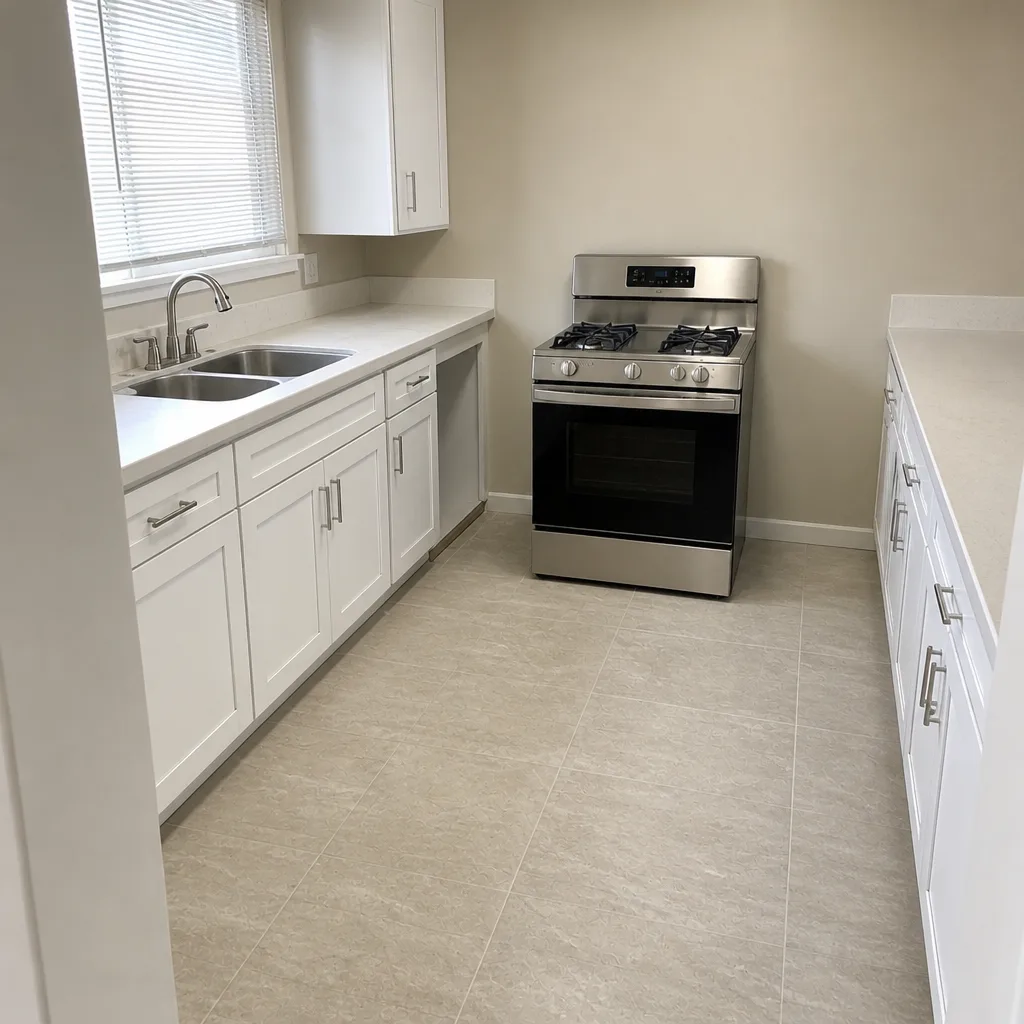 After
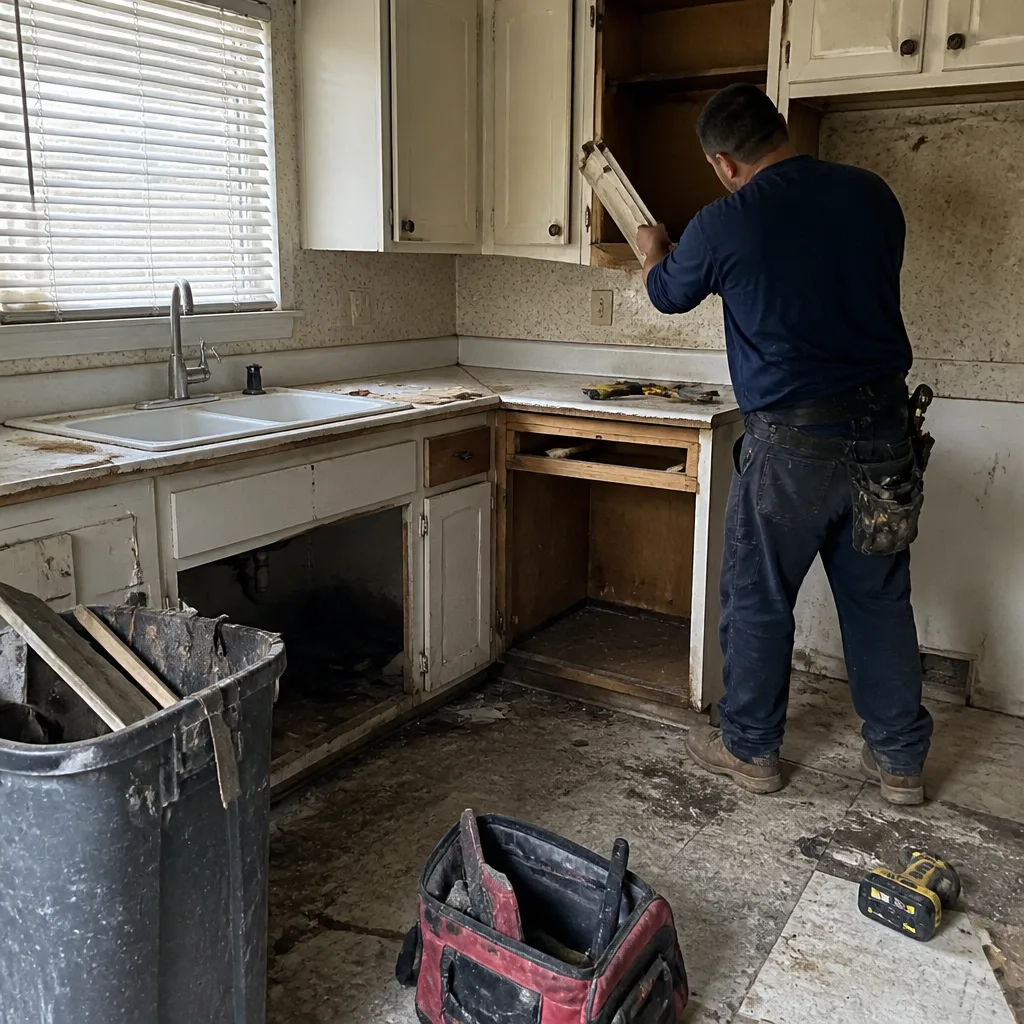 Before
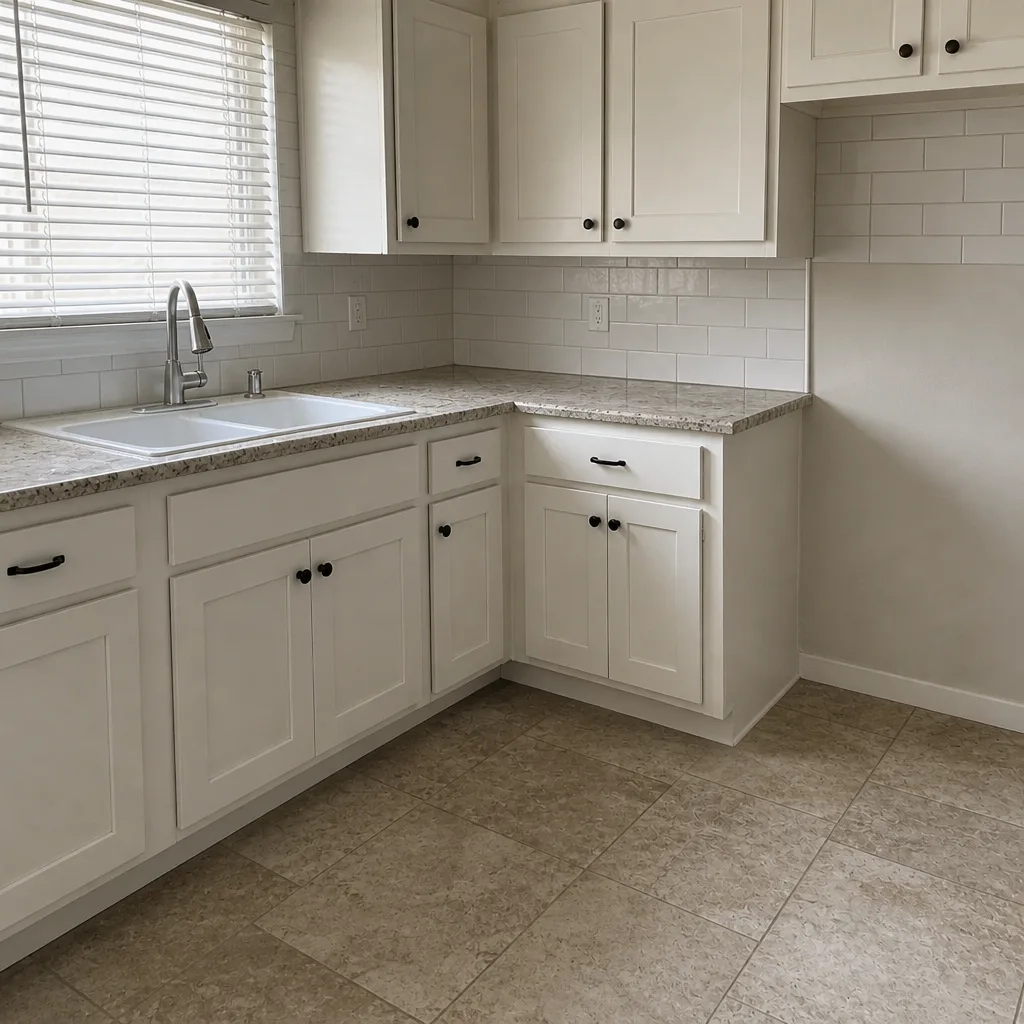 After
When to Call a Professional
Call a professional when any of these apply: the window or door is a full-frame replacement, the existing flashing looks compromised, there’s evidence of prior water intrusion (soft framing, paint bubbling, discolored drywall), the opening isn’t square, or the project involves an exterior door where weather sealing will be critical. Also call a professional for any project that requires a permit, which is most window and door replacements in Anaheim. The risk of getting the flashing wrong outweighs the labor savings the first time water gets behind the wall. We handle Title 24 documentation, pull the permits, and back the work with the 730-Day Done Right Promise, so if something fails, we come back and fix it.
Groundwork Construction Co. of Anaheim offers free estimates in Anaheim. Call (888) 300-3178 to schedule one.
Frequently Asked Questions

You can legally replace windows yourself in Anaheim, but most replacements require a permit and inspection, and the flashing and air-sealing details have to be done correctly to pass. The realistic DIY window is a same-size pocket replacement where the existing frame and flashing are still in good shape. For any window opening that needs full-frame replacement, or where the flashing is aged, the risk of hidden water intrusion isn’t worth the labor savings.
In most cases, yes. Anaheim’s building division requires permits for window and door replacements because the work touches the energy envelope and is subject to Title 24 compliance. A permit inspection looks at the flashing, air sealing, and energy performance documentation. Unpermitted work can complicate a future sale and can affect insurance coverage if there’s water damage later.
Because water intrusion is slow. A window with missing or improperly lapped flashing lets water into the wall behind the window, and in Anaheim’s climate that water dries out during the summer before producing visible symptoms. The damage usually becomes obvious during or after the next rainy season, which can be 12 to 18 months after the install.
Pre-hung door installation is DIY-friendly in theory, but the videos consistently skip the steps that matter: verifying the opening is square, integrating the sill pan with the flashing, and proper shimming at specific points. If the opening is square and you’re careful with the flashing and sealing, a homeowner who’s comfortable with carpentry can do a pre-hung door. If any of those conditions isn’t met, it’s a professional job.
The material cost is the same. The difference is labor, permit handling, and the risk of a hidden failure. DIY saves the labor but doesn’t have a workmanship warranty, and if the install fails, the repair can run as much as the installation. Professional replacement includes the permit management and a warranty, so the risk-adjusted cost is often closer than the raw numbers suggest.
Yes. When you sell, buyers and inspectors will note unpermitted window or door work, and it can lead to a price reduction or a delayed sale. Insurance companies can also limit coverage if water damage is tied to unpermitted work. In Anaheim, where most window and door work requires a permit, the safer path is to pull the permit and have the work inspected. Call (888) 300-3178 if you want a free estimate on doing it right the first time.
The Bottom Line
Window and door projects split cleanly along one line: anything cosmetic or maintenance-level is genuinely DIY-friendly, and anything that touches the rough opening, the flashing, or the energy envelope should be done by a professional. The failures in DIY window work are almost always invisible for over a year, which makes them especially risky for confident homeowners. In Anaheim, permits and Title 24 requirements add another layer of complexity. Do the trim, hardware, weatherstripping, and caulk yourself. Bring in a professional for the install itself, especially if the home is older or the existing flashing shows any sign of wear.
For the broader picture of how Groundwork Construction Co. of Anaheim handles full-scope projects, from a single window to a whole envelope upgrade, see our Groundwork Construction Co. of Anaheim home. If you’re ready to price an install, call (888) 300-3178 for a free estimate.
Written by the team at Groundwork Construction Co. of Anaheim.