Last updated November 18, 2026

Free written scope consultation - allowances, timeline, and change-order rules on paper before a single trade is scheduled
Fence Installation Maintenance Schedule: What to Do and When
The worst thing you can do for a wood fence in Southern California is seal it at the wrong moisture level. It traps humidity inside the grain and accelerates the rot it was supposed to prevent, and it happens to thousands of Anaheim homeowners every spring. A cedar or redwood fence left alone in Anaheim’s dry summers and wet winters has a realistic lifespan of about eight years. That same fence, given three well-timed tasks a year, routinely reaches twenty-five. This guide lays out the exact season-by-season schedule we use, how to test moisture before you ever open a can of sealer, and which tasks actually protect the structure versus which just make the fence look nicer.
Quick Answer
Plan on inspecting your fence twice a year, in fall before Santa Ana wind season and in spring after the winter rains, and sealing it once every two to three years when the wood reads below 15% moisture on a pin meter. That is the whole schedule: two inspections, one treatment cycle, plus a quick hardware check each season. Everything else in this guide is detail on what to look for during those two visits and why the timing matters so much in Anaheim.
Styles & brands we work with
- Kitchen remodeling
- Bathroom remodeling
- Home additions & ADU
- Roofing
- Windows & doors
- Driveway & pavers
- Fence
Table of Contents
- The Anaheim seasonal maintenance calendar
- Testing wood moisture before you seal
- Inspecting post footings and catching rot early
- Hardware maintenance: hinges, caps, and tension rods
- Structural vs. cosmetic upkeep: what to prioritize
- Material-specific schedules: wood, vinyl, and composite
- Common mistakes to avoid
- When to call a professional
The Anaheim Seasonal Maintenance Calendar
Anaheim runs on two weather patterns that matter to a fence: a long dry stretch from roughly May through October, and a wet window from November into March. The Santa Ana winds arrive in fall and can push gusts hard enough to stress every fastener and hinge on your property. Your maintenance schedule should sit on either side of those two events, not in the middle of summer when the wood is at its driest and most brittle.
Here is the calendar we recommend to Anaheim homeowners, broken out by season:
- Fall (October, before Santa Ana season): Walk the full fence line and check every post, rail, and picket for movement. Tighten hinges and gate hardware. Clear debris from the base of the fence so water can drain. This is when you catch a loose post before a windstorm finishes the job.
- Winter (December through February): Minimal active work. After each significant rain, do a quick visual check for standing water at post bases and any sign of puddling along the fence line. Anaheim’s clay-heavy soils drain slowly, and a post sitting in a puddle for a week is a post that’s starting to rot.
- Spring (March through April, after the rains stop): This is your moisture-testing window. Give the wood at least a week of dry weather, then test. If the reading is right, this is the season to clean and seal. It’s also the time to inspect for winter damage: split rails, popped fasteners, and any new rot at ground level.
- Summer (June through September): Light maintenance only. Rinse dust off vinyl and composite, spot-treat any stains, and keep an eye on gate sag. Don’t seal in summer heat; the wood is too dry and the coating won’t absorb evenly.
Two inspections and one treatment window a year is all this takes. The autumn inspection is the one people skip, and it’s the one that costs them the most, because a fence that fails in a Santa Ana wind event usually had a warning sign in October that nobody looked at.
Testing Wood Moisture Before You Seal
This is the single most important step in the entire schedule, and it’s the one almost nobody does correctly. Sealing a wood fence when the moisture content is too high traps water vapor inside the grain. The wood can’t dry from the inside out, and the rot starts from within, hidden under a fresh coat of sealer that makes the fence look perfect. In our experience, this is the number one cause of premature fence failure in Anaheim, and it happens most often in spring when homeowners seal too soon after the last rain.
The target reading is simple:
- Below 15% moisture content: Safe to seal. This is where you want to be.
- 15% to 20%: Borderline. Wait another week of dry weather and retest.
- Above 20%: Do not seal. The wood is still holding too much water.
You can pick up an inexpensive pin-style moisture meter at any hardware store for less than the cost of a single can of sealer. Test in several spots along the fence line, not just one. Sun-exposed sections of fence along a south-facing wall will read much drier than shaded sections near a mature tree or a north-facing property line. In Anaheim, the difference between a sun-baked stretch in the flats and a shaded run under an old pepper tree can be ten percentage points or more on the same day.
What happens structurally if you ignore this? The sealer forms a film that prevents the wood from breathing. Moisture trapped inside feeds the fungi that cause rot, and it also causes the wood to swell and contract unevenly, which cracks the sealer and lets more water in. You’ve now created a cycle where the fence fails from the inside while the surface still looks treated. A properly sealed fence should be inspected for moisture every two to three years, and resealed when the water beads up less or the surface starts to look dull and dry.
Inspecting Post Footings and Catching Rot Early
The posts carry the load. When a post footing fails, the entire fence section goes with it, and that’s a replacement job, not a repair. The good news is that post rot gives you plenty of warning if you know where to look. Almost all of it starts in the first twelve inches above grade, where the wood meets the soil and stays damp the longest.
Here’s the inspection sequence we walk on every Anaheim fence we look at, and you can do the same:
- Start at ground level. Look at the base of each post. Healthy wood is firm and dry to the touch. Look for discoloration, a soft or spongy feel when you press with a screwdriver handle, or any sign of white or orange fungal growth.
- Probe gently. Use a thin screwdriver and press it lightly into the wood at the ground line. If it sinks in easily or brings up soft, stringy wood, that post has rot. Don’t force it, just test the resistance.
- Check for movement. Grab each post and push it firmly from side to side. A solid post in good soil shouldn’t move more than a fraction of an inch. A post that rocks in its footing has lost load capacity, and it needs attention before the next wind event.
- Look at the concrete collar. If the post is set in concrete, check for cracks where the concrete meets the post. A separation there lets water run straight down into the footing.
- Check the neighbors. If one post is showing rot, the two on either side are usually on the same curve. Inspect them all at once rather than waiting for the fence to start leaning.
In Anaheim, the posts most at risk are the ones set in heavy clay soil without proper drainage, and any post that has vegetation piled against it. Ivy or jasmine growing up a post holds moisture against the wood and hides rot until it’s too late. Keep the base of every post clear, and you’ll head off most of the problems before they start. If you’re already seeing posts that lean or rock, that’s a job that belongs in the hands of an experienced installer; a full replacement may be the smarter move than patching a footing that’s already failing. Our Fence Installation in Anaheim team can tell you which one you’re looking at during a free estimate.
Hardware Maintenance: Hinges, Caps, and Tension Rods
Here’s a fact that surprises most homeowners: the hardware on a fence fails faster than the fence itself. Gate hinges, post caps, tension rods, and latches are the parts that take the most wear and the least attention. A gate that gets opened a dozen times a day goes through more cycles in a year than the fence boards ever will, and the hardware is usually the first thing to go.
The hardware schedule is short but consistent:
- Every fall and spring: Check every gate hinge for looseness. Tighten the screws. If a screw spins freely, the hole has stripped and the hinge is about to let go. Fill the hole with a wood plug and reset the screw, or replace the hinge.
- Every fall: Lubricate gate hinges and latches with a silicone spray or a dry lubricant. Don’t use standard oil; it attracts dust and grit in Anaheim’s dry season and turns into a grinding paste.
- Every spring: Inspect post caps. A loose or cracked cap lets water into the top of the post, and water in the top of a post is the slow road to a hollow post. Reseat or replace any cap that’s lifted.
- Every two to three years: Check tension rods and turnbuckles on any gate that has them. A gate that’s starting to sag is usually a tension adjustment away from being square again, and it’s a five-minute fix if you catch it early.
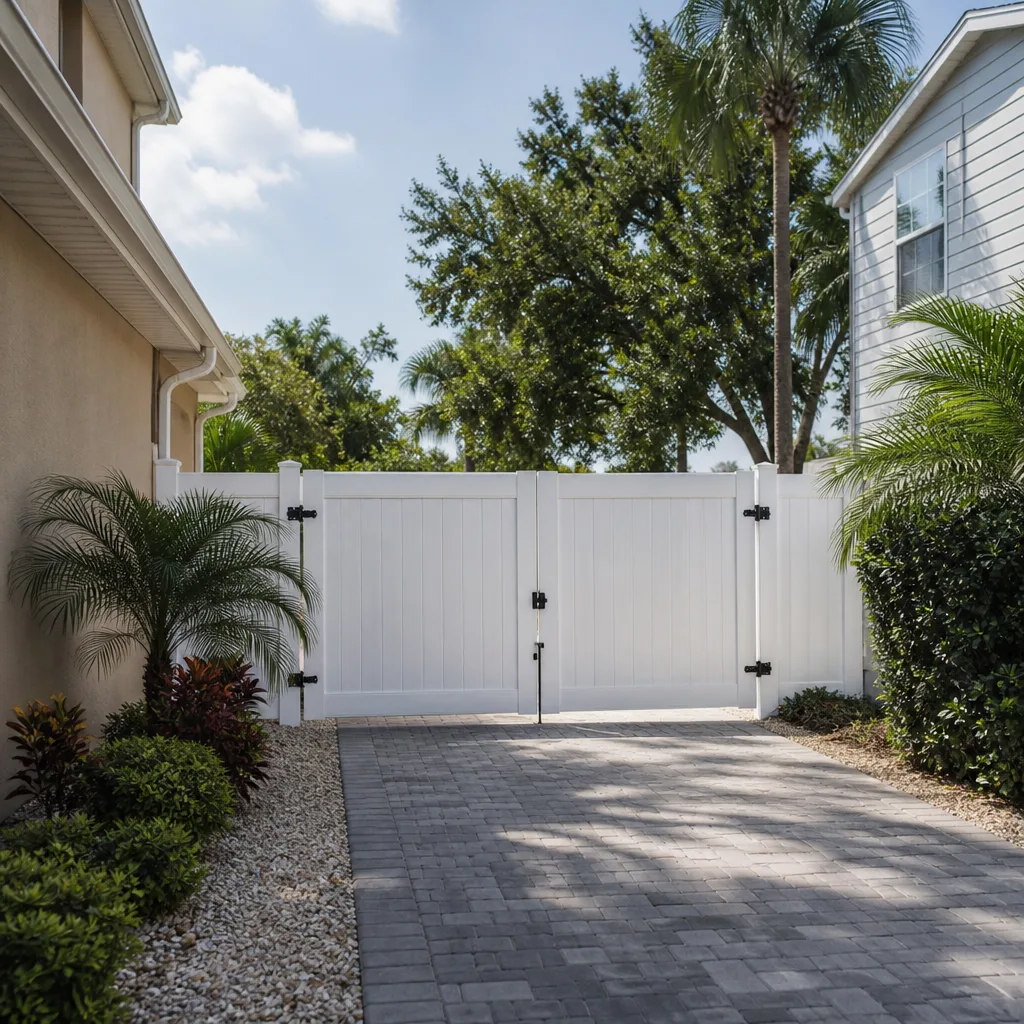
The gate is the highest-traffic component on any fence, and it deserves more attention than the rest of the run. A gate that swings freely and latches cleanly is also a security feature. A gate that’s dropped and dragging is a sign the frame or the hinges are failing, and that’s the moment to address it before the whole structure is compromised. If your gate hardware is beyond saving, consider upgrading to a quality hardware set when you next install or replace; the difference in lifespan between builder-grade hinges and a solid set is measured in years. For comparisons on materials that hold up to Anaheim’s climate, our Driveway & Pavers in Anaheim page also covers how we approach outdoor hardscape materials that face the same sun and rain.
Structural vs. Cosmetic Upkeep: What to Prioritize
Not every maintenance task is worth doing, especially when the budget is tight. The distinction that matters is between tasks that preserve the fence’s structural integrity and tasks that only preserve its appearance. If you have to choose, always spend on the structure first. A fence with a few cosmetic blemishes will stand for another decade; a fence with a failing post or a rotting bottom rail is on a clock no amount of cosmetic work will reset.
Here’s how we sort the tasks, in priority order:
- Structural priorities (do these first): Post footing integrity, bottom rail condition, gate frame and hinge security, and any fastener that’s pulling out. These are the parts that hold the fence up and keep it standing through a wind event.
- Protective priorities (do these next): Sealing at the correct moisture level, clearing drainage at the base, and keeping vegetation off the wood. These protect the structure and extend the time between repairs.
- Cosmetic upkeep (do these last): Staining for color, pressure-washing for appearance, replacing a picket that’s cosmetically flawed but structurally sound, and painting or touching up hardware. These make the fence look better but don’t affect how long it lasts.
There’s a reason we put sealing in the protective tier and not the cosmetic tier. A properly applied sealer at the right moisture level is a structural investment. It slows moisture cycling, which is what causes wood to crack, split, and eventually rot. Staining for a color refresh without addressing moisture content is purely cosmetic, and if the moisture reading is wrong, it’s actually harmful. In Anaheim, where the dry season is long and intense, the UV exposure alone will degrade unprotected wood faster than it would in a cooler climate, so the seal is doing real work, not just keeping the fence pretty.
Material-Specific Schedules: Wood, Vinyl, and Composite
The schedule in this guide assumes a wood fence, which is still the most common choice in Anaheim for good reason: it’s repairable, it takes a finish, and it looks right in the neighborhoods. But if your fence is vinyl or composite, the schedule shifts. The good news is that these materials need less frequent treatment. The trade-off is that when they fail, the repair is usually less forgiving.
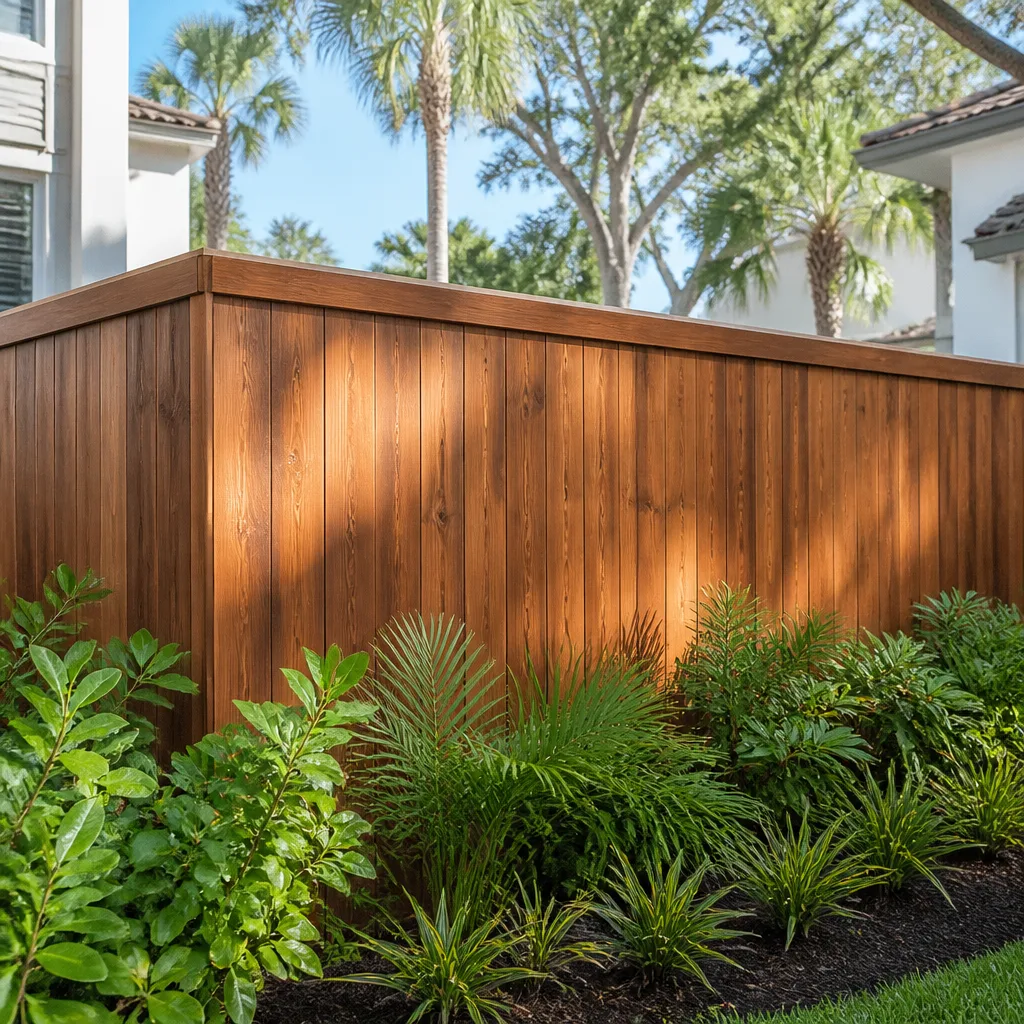
Wood (cedar, redwood, or pressure-treated pine): The full schedule applies. Two inspections a year, moisture testing, sealing every two to three years. This is the most maintenance-intensive option, and it’s also the one that benefits the most from a disciplined routine.
Vinyl: An occasional rinse with a garden hose is enough to keep vinyl looking clean. Inspect the posts and rails twice a year for cracks or separation at the joints; vinyl can get brittle in prolonged sun exposure, and a hairline crack at a post can widen over a summer. Vinyl doesn’t need sealing or staining, which is its main advantage. If you’re comparing options, brands like Bufftech and ActiveYards make vinyl lines that hold up well in Southern California sun, and we install those on Anaheim projects regularly.
Composite: Composite fence panels need a rinse a few times a year and an annual inspection of the fasteners and post connections. Composite won’t rot, but it can fade or chalk over many years of UV exposure, and the color can shift in the strongest sun. It’s the lowest-maintenance option and the highest upfront cost. Many homeowners weighing the long game find that the reduced maintenance over twenty years offsets the initial price.
Whichever material you choose, the same inspection rhythm applies: check the structure twice a year, and treat or clean on the material’s own cycle. For Anaheim properties considering a full replacement or a new build, our Home Additions & ADU in Anaheim page shows how we handle exterior work that needs to tie into the property’s overall look and code compliance.
Common Mistakes to Avoid
- Sealing right after rain. This is the biggest one. Anaheim’s winter rains leave the wood saturated for days, sometimes weeks in shaded areas. Wait for a dry stretch and test with a meter before you seal. Sealing wet wood traps the moisture and accelerates rot.
- Pressure-washing a wood fence at high pressure. A pressure washer at full blast will gouge the grain and drive water into the wood. If you wash, use the lowest pressure setting and keep the nozzle moving, and do it at least a week before sealing.
- Ignoring the bottom rail. The bottom rail sits closest to the ground and takes the most splash-back from rain and irrigation. It’s the first part of the fence to rot, and it’s hidden behind the pickets. Look underneath the fence, not just at the face.
- Piling soil or mulch against the posts. Homeowners add landscaping and bury the bottom of the fence posts in the process. That’s the recipe for post rot in any climate, and especially in Anaheim’s clay soils where moisture lingers.
- Letting a gate sag for a season. A gate that’s starting to catch or drag is telling you the hinges or frame are moving. Fix it in the fall before the Santa Ana winds stress it further. A five-minute hinge tighten beats a gate rebuild.
- Skipping the fall inspection. Fall is when the fence is about to face its biggest stress test of the year. A loose post or a failing hinge caught in October is a cheap fix; caught in November after a wind event, it’s a repair.
- Sealing for color instead of protection. A fresh coat of stain over a fence that needs structural repair is money spent on the wrong problem. Fix the structure first, then treat the surface.
When to Call a Professional
Some maintenance jobs are homeowner work. Others are worth a call, and knowing the difference saves money and prevents injury. Call a professional when you find posts that rock or lean in their footings, when the bottom rail has rot that spans more than a short section, when a gate frame is out of square and the hinges won’t hold, or when the fence line has sustained damage from a fallen tree or a vehicle. A fence that’s failing its load-bearing posts is a job for an experienced installer, not a weekend project, because a poorly set post will fail again within a season.
Groundwork Construction Co. of Anaheim offers free estimates in Anaheim. Call (888) 300-3178 to schedule yours. Our technicians have up to 12 years of experience, and every project is backed by our 730-Day Done Right Promise. If it isn’t done right, we make it right. That’s a written commitment, not a slogan, and it’s why so many Anaheim homeowners call us when a fence repair becomes a fence replacement.
See the difference
 Before
 After
 Before
 After
 Before
 After
Frequently Asked Questions
Every two to three years, when the moisture content reads below 15% on a pin meter. Anaheim’s dry summers and wet winters age a finish faster than a more moderate climate would, so the two-to-three-year window is realistic. Test the moisture first, and seal in spring after the rains have passed and the wood has had at least a week of dry weather. Call (888) 300-3178 for a free estimate if you’re unsure whether your fence needs a seal or a structural repair.
Below 15% is the safe zone. Between 15% and 20% is borderline and worth waiting another week for. Above 20%, do not seal. The sealer traps the moisture inside the grain and the wood rots from the inside out, which is harder to catch and more expensive to fix than an untreated fence. A pin-style moisture meter costs less than a can of sealer and is the best tool you can own for this job.
Press a thin screwdriver lightly into the wood at ground level. Healthy wood resists. Soft or spongy wood means rot has started. Then push the post side to side; a post that rocks or moves has lost load capacity in its footing. Check the first twelve inches above grade, since that’s where rot begins on almost every fence in Anaheim.
Structural tasks are post footing integrity, bottom rail condition, gate frame and hinge security, and fastener tightness. Protective tasks are sealing at the right moisture level and clearing drainage at the base. Cosmetic tasks are staining for color, pressure-washing for appearance, and paint touch-ups. Prioritize structural first, protective second, and cosmetic last. If your budget is limited, spend it on the structure.
Twenty-five years is a realistic target with the two-inspection, one-seal cycle done consistently. Without it, eight years is the typical lifespan, and often less in areas with poor drainage or heavy vegetation against the fence line. The difference is almost entirely the timing of the seal and the early detection of post rot, not the quality of the original installation.
Groundwork Construction Co. of Anaheim handles fence installation and replacement, and our free estimate will tell you whether a repair or a replacement is the better call. Call (888) 300-3178 to schedule; calls are answered by a live person 24/7, and pricing is upfront with no surprises. Projects over $10,000 qualify for $1,000 off, and 0% financing for 18 months is available.
The Bottom Line
A fence doesn’t need constant attention. It needs three well-timed tasks: a fall inspection before Santa Ana season, a spring moisture test before you consider sealing, and a hardware check twice a year. Do those and a wood fence in Anaheim has a realistic shot at twenty-five years. Skip them, especially the moisture test, and eight years is the honest number. The rest is detail. If your fence is past the point of maintenance and heading toward replacement, or if you want a professional eye on what you’ve got, Groundwork Construction Co. of Anaheim is here to help. Call (888) 300-3178 for a free estimate, and we’ll give you a straight answer on what your fence needs next.
Start with our Groundwork Construction Co. of Anaheim home page to see everything we do, from foundation to finish line.
Written by the team at Groundwork Construction Co. of Anaheim.