Last updated November 18, 2026
Free written scope consultation - allowances, timeline, and change-order rules on paper before a single trade is scheduled
DIY vs Professional Driveway & Pavers: What’s Safe to Do Yourself
Renting a plate compactor for the weekend feels like the kind of hustle that saves $2,000. It usually doesn’t. Under-compaction is the leading cause of full driveway paver failure, and it’s invisible until it’s expensive – a year or two later, when the field settles unevenly, joints open, and the whole surface has to come up. We’ve rebuilt driveways in Anaheim where the pavers themselves were fine and the base underneath was the problem. This guide is the honest breakdown: which tasks a capable homeowner can genuinely handle, which ones quietly wreck driveways, and where the line sits. You’ll leave knowing exactly what’s safe to do yourself and what to hand off.
Quick Answer
Cleaning, joint sand replenishment, sealing, and swapping individual pavers on an established driveway are genuinely DIY-safe. Base excavation, compaction, grading, edge restraint, and laying a new field are not – they’re where DIY fails most often and where failure is expensive to reverse. The smartest route for most Anaheim homeowners is a hybrid: you handle the routine maintenance, a licensed contractor handles the structural phases and pulls the permits that require a license.
Styles & brands we work with
- Kitchen remodeling
- Bathroom remodeling
- Home additions & ADU
- Roofing
- Windows & doors
- Driveway & pavers
- Fence
Table of Contents
- Which Driveway and Paver Tasks Are Genuinely DIY-Safe?
- Why Base Preparation and Compaction Is Where DIY Fails
- The Real Cost Math: DIY vs Professional Installation
- What Permits Does Anaheim Require for Driveway Work?
- The Hybrid Approach: DIY Where It Counts, Pro Where It Matters
- A Year-Round Maintenance Schedule for Anaheim Driveways
- Anaheim Soil, Sun, and Why They Change the Rules
- Common Mistakes to Avoid
Which Driveway and Paver Tasks Are Genuinely DIY-Safe?
Some paver work rewards a careful homeowner. These are the jobs where a mistake is small, fixable, and cheap – and where doing them yourself genuinely saves money.
Joint sand replenishment. Over a season or two, joint sand washes out and settles. Refilling those joints keeps pavers from shifting against each other and blocks weeds. It’s a bag-of-sand job, a push broom, and a couple of hours on a Saturday. Do it in dry weather so the sand actually drops into the gaps.
Surface cleaning. A stiff broom for loose debris, a garden hose or a light pressure wash on low setting for grime. Keep the pressure low and the nozzle moving – blasting a paver surface at full pressure strips the factory finish and can dislodge joint sand faster than it helps.
Individual paver swaps. A cracked or stained paver on an otherwise sound driveway is a genuine DIY win. Pry it up, pull out the old bedding sand, reset a replacement on a fresh sand bed, tap it level, and re-sand the joints. On an established Anaheim driveway, we’ve seen homeowners swap a handful of chipped pavers in an afternoon and have it look like new.
Sealing (with care). Sealing locks in joint sand and slows staining, but only after the pavers are fully clean and dry. Apply it on a mild, dry day, not in the middle of an Anaheim heat wave – sealer applied to hot pavers cures unevenly and clouds.
What these tasks have in common: they work on top of an already-sound base. None of them touch the structural layer underneath.
Why Base Preparation and Compaction Is Where DIY Fails
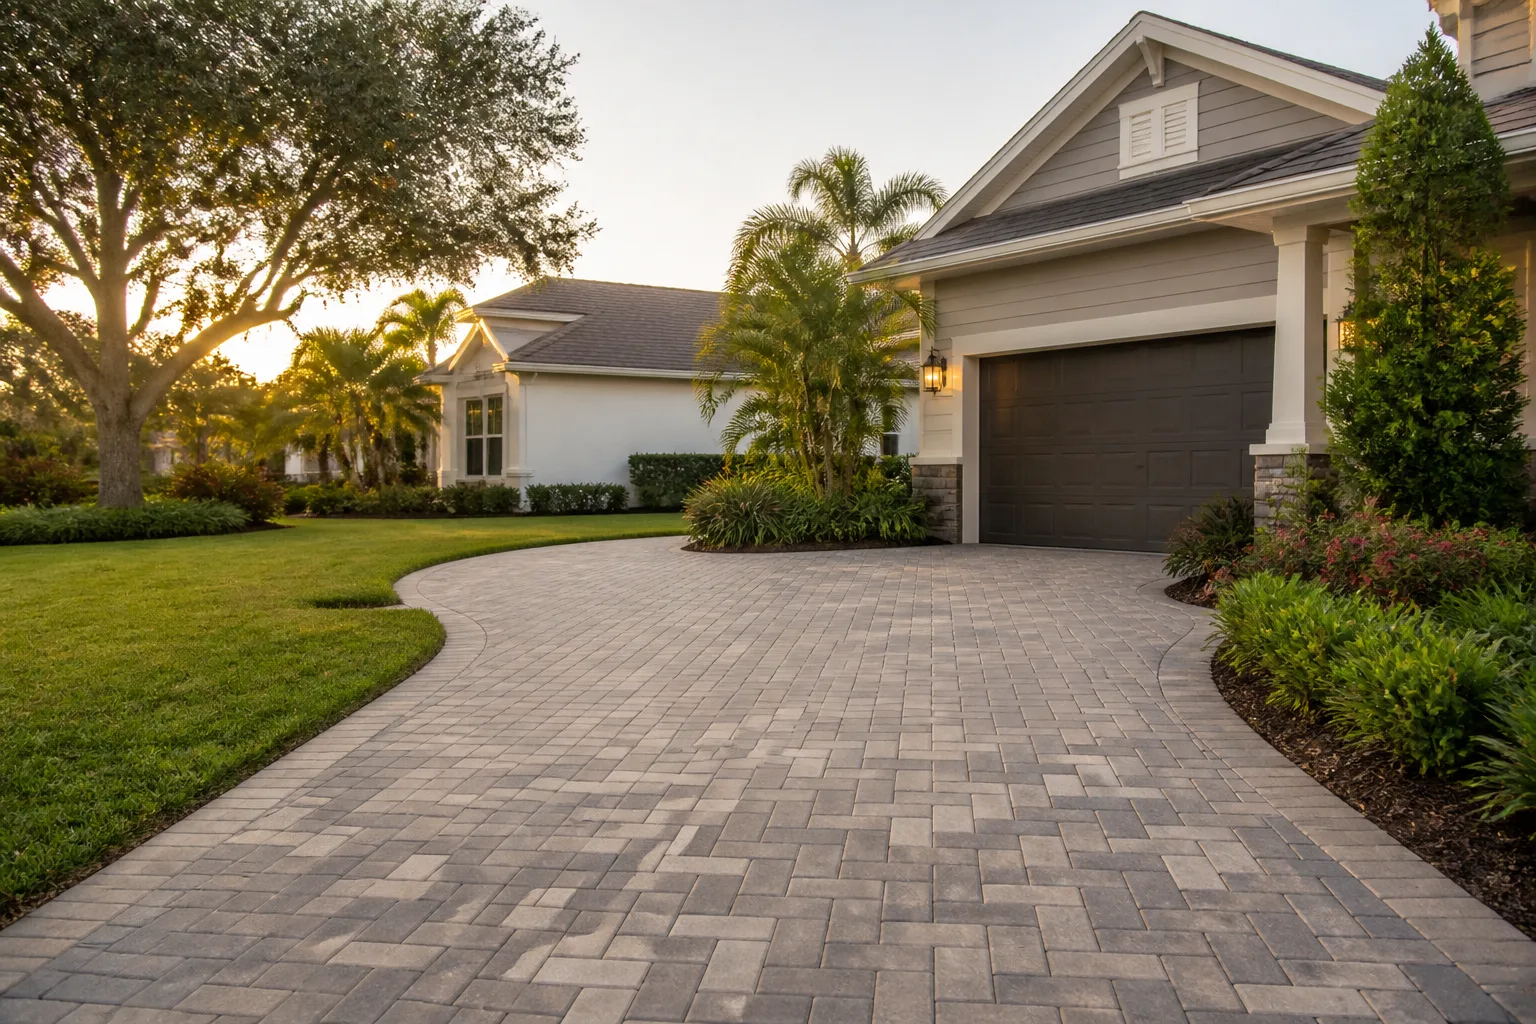
Here’s the counterintuitive part. The pavers on top are the easy, satisfying, visible part. The base underneath – the excavated, graded, compacted aggregate – is where driveways actually live or die. If you want to understand the whole assembly before deciding, our overview of Driveway & Pavers in Anaheim walks through the layers, but the short version is this: a paver driveway is only as good as the crushed stone base it sits on, and that base is only as good as how well it’s compacted.
A driveway in Anaheim typically carries a car, an SUV, or a loaded pickup. That’s a few tons rolling across a surface, day after day. The base has to distribute that load into the soil underneath without moving. If the base is loose or uneven, the load gets concentrated, the pavers flex, and eventually you get settlement, heaving, and joints that spread. None of it shows up in the first month. It shows up in year two.
What “good enough” compaction looks like versus structurally sound compaction, in practice:
- “Good enough” is a single pass with a rented plate compactor, judged by feel and by how flat it looks. It leaves air pockets and loose zones you can’t see.
- Structurally sound is compacted in lifts – usually 2 to 4 inches at a time, not the whole depth at once – with a heavy plate or vibratory roller, moisture-conditioned, and each lift tested for density and flatness before the next layer goes down.
- The difference isn’t visible to the eye. That’s exactly why DIY goes wrong here. You can’t eyeball under-compaction. You can only find it later, when the field settles.
There’s a second reason this phase punishes DIY: the tooling. A rented plate compactor with a worn plate, run by someone who’s used it twice, doesn’t move enough material to compact a real lift properly. We’ve pulled up DIY driveways in Anaheim where the base was effectively undisturbed soil with a dusting of stone on top. That’s a full redo.
The Real Cost Math: DIY vs Professional Installation
The DIY-vs-pro conversation usually starts and ends with the paver price. That’s the wrong number. The comparison that matters includes tool rental, material waste, and the probability of a redo. Here’s the honest breakdown for a typical Anaheim two-car driveway in the 400 to 600 square foot range.
The line items a full DIY project usually forgets:
- Plate compactor or roller rental – weekend rates plus weekend-only availability, and you need it multiple times across the build.
- Excavation – hand-digging a proper base depth on 500 sq ft is a multi-day job. If you rent a mini-excavator, add rental time, delivery, and learning curve.
- Base material – aggregate delivered by the yard, plus enough for compaction (compacted volume is less than loose volume). Order short and you’re driving back to the yard.
- Bedding sand – screeded, not dumped.
- Edge restraint and spikes – the hidden part that stops a driveway from spreading outward. Frequently skipped by DIYers.
- Paver waste – figure 5 to 10 percent overage for cuts, breakage, and layout. Pros order cut-to-fit; DIY cuts produce more waste from mistakes.
- Polymeric sand – plus the cost of doing it twice if the first fill was contaminated by rain or over-wash.
Waste and redo risk. This is the number people don’t budget for. Under-compacted base often doesn’t fail in year one. It fails in year two or three, after the homeowner has moved on and forgotten how much they saved. At that point, the whole field comes up for rework – and now you’ve paid for materials twice and labor once. That redo risk is the reason a professional estimate, even with its overhead, frequently ends up cheaper over ten years than a DIY build with a 30 percent chance of failure.
On cost, Groundwork Construction Co. of Anaheim quotes up front and puts it in writing, so the number you see is the number you pay. There’s a free project estimate and design consult, plus our standing promotions – $1,000 off projects over $10,000 and 0% financing for 18 months – which change the comparison math significantly on a full paver replacement. Our technicians have up to 12 years of experience in this work, and every job is covered by the 730-Day Done Right Promise. If it’s not done right, we make it right. That’s a workmanship guarantee longer than the typical failure window of a DIY build.
The one number that should decide it: if you’re replacing the whole driveway, the 730-Day Done Right Promise means you’re not betting your own labor against structural failure. That’s the trade. We’ve seen homeowners spend $3,000 to $5,000 on DIY materials and rentals trying to beat a pro quote, and then pay more than the original quote to have the base redone properly in year three.
What Permits Does Anaheim Require for Driveway Work?
Permit rules vary by project type and by which zone your property is in, so the first move is always to confirm with the City of Anaheim’s building and public works departments before you buy anything. But the general pattern matters, because it determines what a homeowner can pull alone versus what requires a licensed contractor on the record.
What a homeowner can typically pull themselves:
- Cosmetic resurfacing and repairs on an existing permitted driveway that don’t change the footprint, grade, or drainage.
- Re-sanding, sealing, cleaning, and single-paver swaps – maintenance, not construction.
What usually requires a licensed contractor and a permit:
- New driveway construction or widening that changes the footprint or connects to the public right-of-way.
- Changes to grade or drainage that could affect storm runoff or neighboring properties.
- Work within the city right-of-way, including driveway aprons, sidewalk cuts, and curb impacts. These almost always require a right-of-way permit pulled by a licensed, bonded contractor with proof of insurance on file with the city.
Why the right-of-way matters in Anaheim. A lot of Anaheim homes have driveway aprons that meet the sidewalk and street. That transition zone is city property, and the rules for cutting or modifying it are stricter than for the driveway on your own lot. Pulling a right-of-way permit isn’t a paperwork formality – it’s how the city checks insurance, bonding, and compliance before anyone cuts concrete they don’t own.
What good looks like from our side: permits pulled before work starts, inspections scheduled and passed at each stage, and documentation at the end. Our home page lays out how we run projects and what accountability actually looks like on a construction job. We handle the permit process as part of the project.
The Hybrid Approach: DIY Where It Counts, Pro Where It Matters
Most guides treat DIY versus professional as a binary. It isn’t. The best value for a lot of Anaheim homeowners is a hybrid: you take the maintenance and cosmetic work, a licensed contractor takes the structural phases. Here’s how to structure it without stepping on the line.
- Define the phases. Maintenance (sand, seal, clean, swap) is yours. Structure (excavate, compact, grade, edge restraint, lay field, cut, install, sand) is the contractor’s.
- Get the structural phases in writing first. A line-item estimate that separates base prep, materials, labor, disposal, and finish work. This is what “upfront pricing, no surprises” actually means in practice.
- Lock the permit question before anything moves. Ask the contractor directly: will you pull the permits and schedule the inspections? If the answer is vague, walk.
- Handle maintenance yourself between projects. Re-sand joints annually in dry weather, sweep regularly, and seal on a schedule. These prolong the field for years at very low cost.
- Call the pro the moment you see movement. A paver rocking, joints opening, a depression near the driveway edge – those are signs the base is failing, not a cosmetic issue. Catching it early is cheap. Catching it a year late is a rebuild.
- Don’t try to retrofit a DIY base into a pro finish. If a contractor is laying the pavers, they should build the base. Mixing the two is where disputes come from.
The hybrid model works because it respects the split within the work itself. A paver driveway isn’t one skill – it’s two. Half of it is patient maintenance anyone can do. Half of it is a structural engineering problem that hides its failures for years.
A Year-Round Maintenance Schedule for Anaheim Driveways
Anaheim’s climate is forgiving most of the year, but the dry season and the occasional winter rain pattern mean a smart schedule is mostly about prepping before the rain and catching problems before they go deep. Here’s what we recommend to homeowners we work with.
Spring (March to May): Full inspection after the winter rains. Walk the driveway and look for any rocking pavers, sunken spots, cracks in edge restraint, or joints that have washed clean. Sweep thoroughly. This is the best season to re-sand – mild, dry, and before the hot summer.
Summer (June to September): Skip the sealer in the hottest weeks. Sealer applied to pavers that are too hot cures unevenly and can cloud. Focus on weed management in joints and on cleaning stains early – tire marks and oil spots lift more easily before they’ve baked in over a season.
Fall (October to November): Pre-winter prep. Re-sand any joints that have thinned, check drainage and grading toward the street, clear debris from the transition at the sidewalk so water doesn’t pool. This matters more than most homeowners think – if the driveway is graded to hold water over a low spot, that’s the spot that will heave.
Winter (December to February): Inspection after each significant rain. Water is the real enemy of paver driveways – standing water, poor drainage, and joints that have lost sand let moisture enter the base, and moisture in the base leads to settlement and frost heave in colder stretches. Anaheim is mild compared to most of the country, but not immune.
If you have a fence adjacent to the driveway, that’s the best time to check it too. Water and settling one side of a post are a common pair, and our overview of Fence Installation in Anaheim covers what to look for. And if you’re planning bigger changes around the property – more parking, a wider driveway, a detached structure at the back – that work belongs on the same planning calendar. Our guide to Home Additions & ADU in Anaheim covers how driveway access and grade affect larger projects.
Anaheim Soil, Sun, and Why They Change the Rules
Anaheim’s soil and climate affect driveway durability more than most homeowners realize, and they change the DIY versus pro calculus in specific ways.
Soil. Much of the Anaheim area sits on clay-rich soils that expand when wet and shrink when dry. That movement is exactly what a properly compacted base is designed to absorb. On a well-built base, the clay underneath moves but the pavers don’t. On an under-compacted base, the movement reaches the surface – usually as a low spot that appears after the first rainy season. If you’re in an area with heavier clay, the base layer depth and compaction matter more, not less.
Sun. Anaheim’s long, hot summers are hard on sealers and on polymeric joint sand. Sealer breaks down faster in the heat, which means resealing more often than a homeowner in a cooler climate. Polymeric sand needs to set before it gets wet, and if you install it in June and it gets washed by an irrigation overshoot, it’s not going to hold. Timing matters more here than in most places.
Rain pattern. Anaheim gets most of its moisture in a concentrated wet season. That means drainage design is about handling a burst, not a steady drizzle. Grading matters. If a DIY driveway is graded flat or slightly toward the house and a single heavy storm hits, you’ll find out immediately. We’ve seen Anaheim driveways hold up through multiple seasons because the grade and drainage were designed for the rain we get, not the rain someone in another state assumed.
Heat and concrete joints. Many Anaheim homes have a concrete apron or sidewalk transition. Paver driveways tie into that transition, and getting the joint details right is where a lot of DIY work shows its seams – literally, as a crack or a step where the new paver surface meets the old concrete.
Common Mistakes to Avoid
- Compacting the whole base in one lift. A compacted driveway is built up in 2- to 4-inch lifts, each compacted before the next goes down. If you compact the full depth at once, the top looks firm and the bottom stays loose.
- Skipping edge restraint. Edge restraint is the invisible piece that stops the pavers from creeping outward over the years. Without it, the field spreads, the joints open, and the outer pavers start to fail. It’s the single most common omission in a DIY build.
- Running a pressure washer at full blast. It strips finish and blows out joint sand faster than it cleans. Low pressure, moving nozzle, garden hose when possible.
- Sealing too soon or on wet pavers. Sealer on damp pavers gets trapped and clouds. Wait for a completely dry, mild day, and skip the Anaheim summer peak.
- Ignoring a rocking paver. A rocking paver is a base problem showing up at the surface. Replacing the single paver without investigating the base underneath is a temporary fix and a costly lesson.
- Pulling permits that require a licensed contractor. Right-of-way work and grade changes almost always require a licensed, bonded contractor. Pulling the permit without the license is a problem when the inspection comes.
- Ordering exact paver quantities. Without 5 to 10 percent overage for cuts and breakage, you’ll be short mid-project and ordering a small batch that may not match color. Paver batches vary.
See the difference
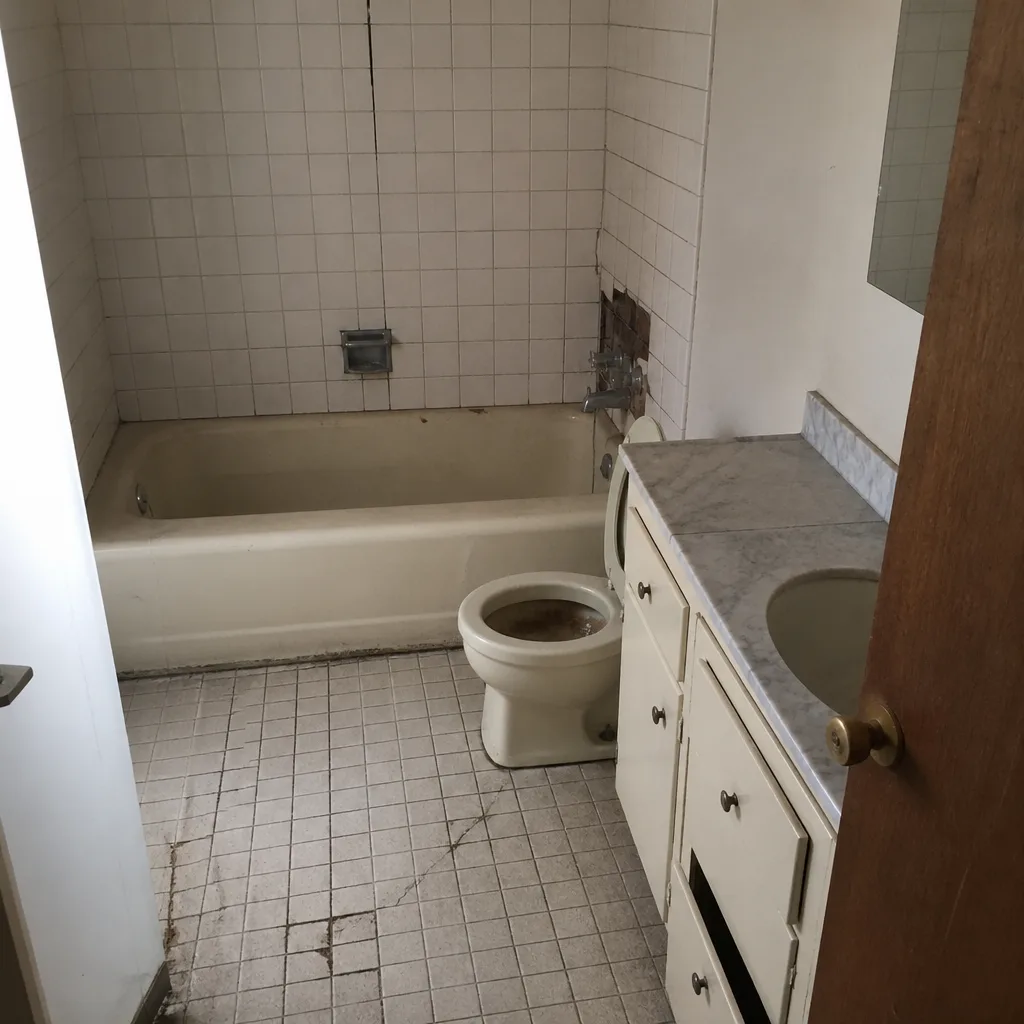 Before
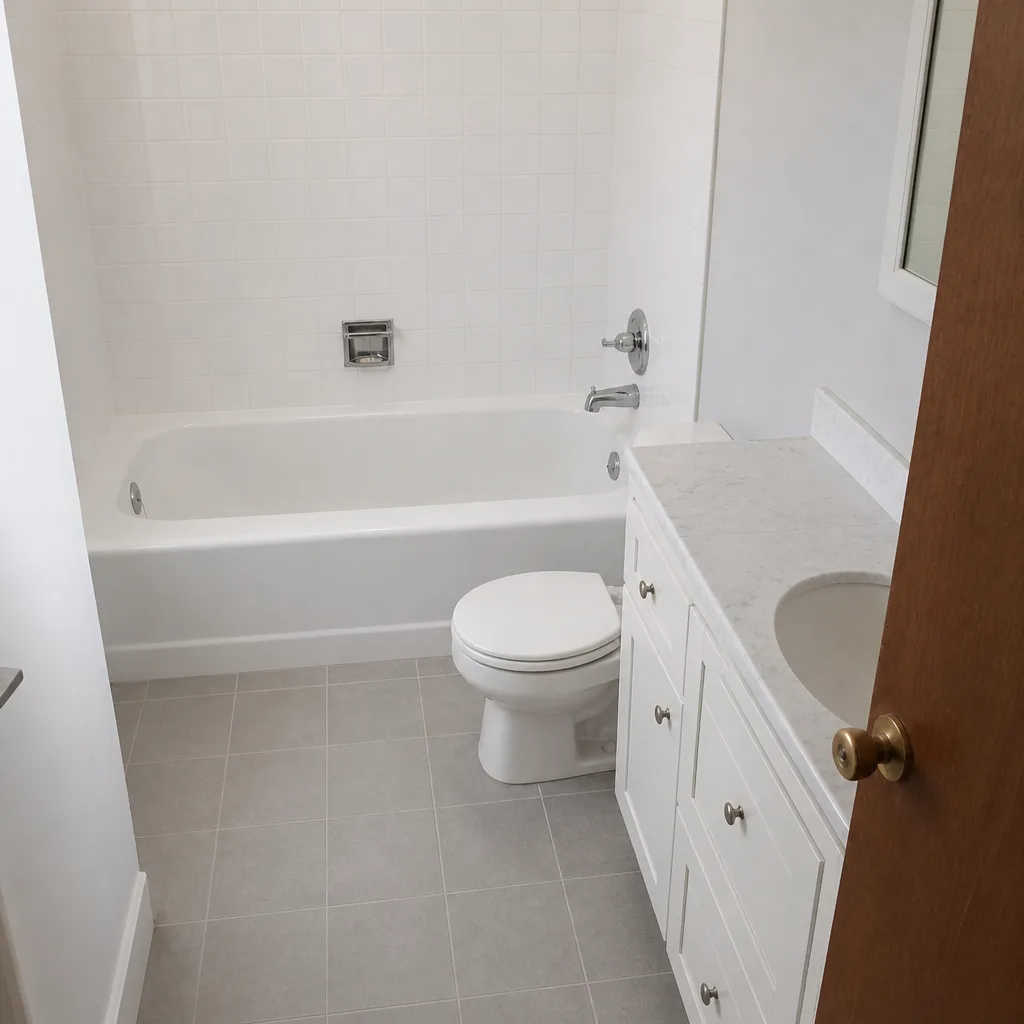 After
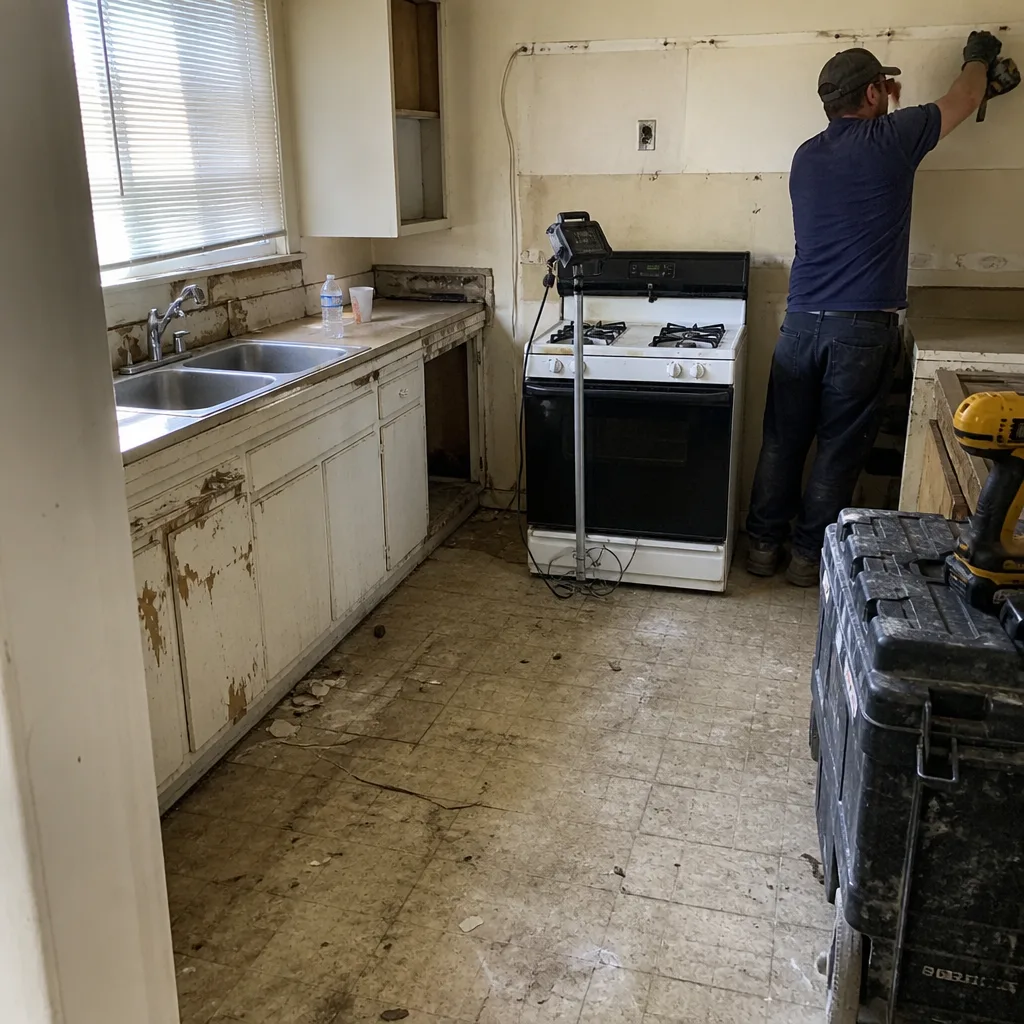 Before
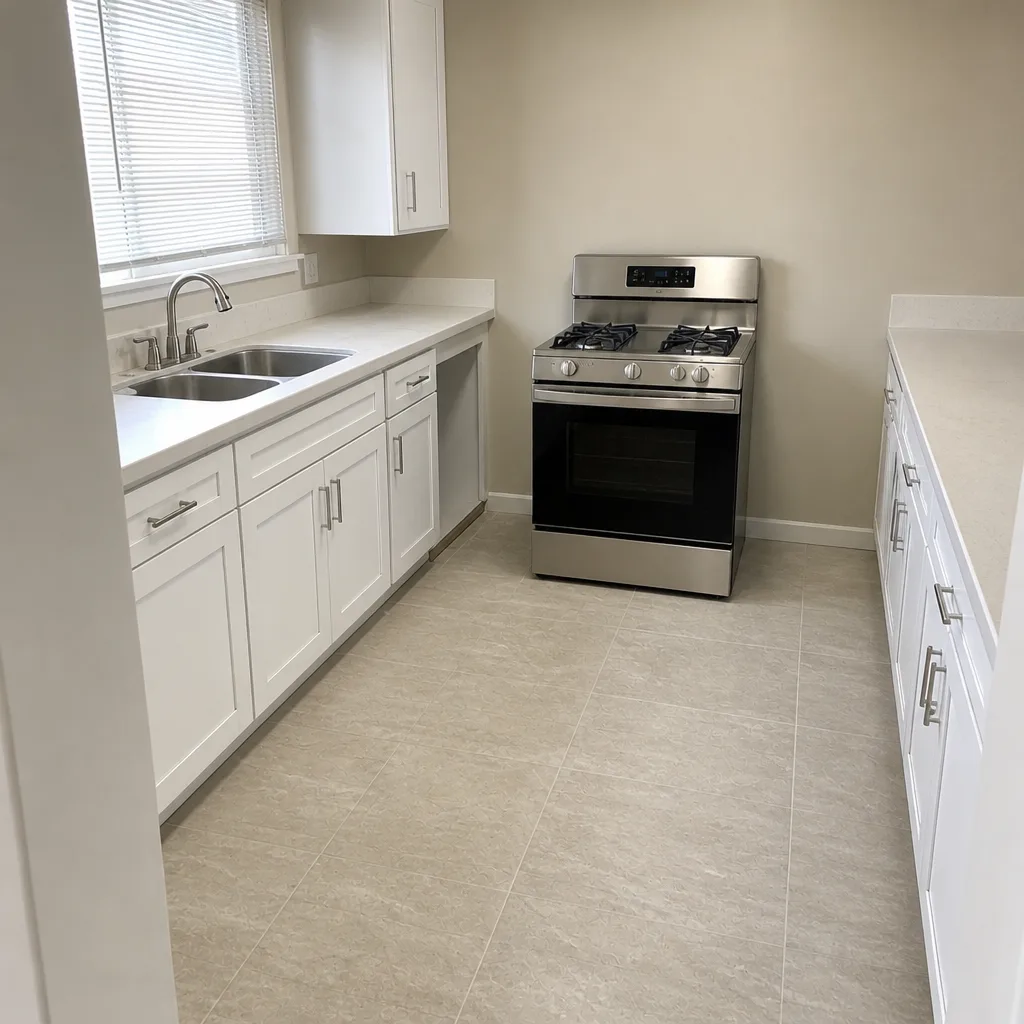 After
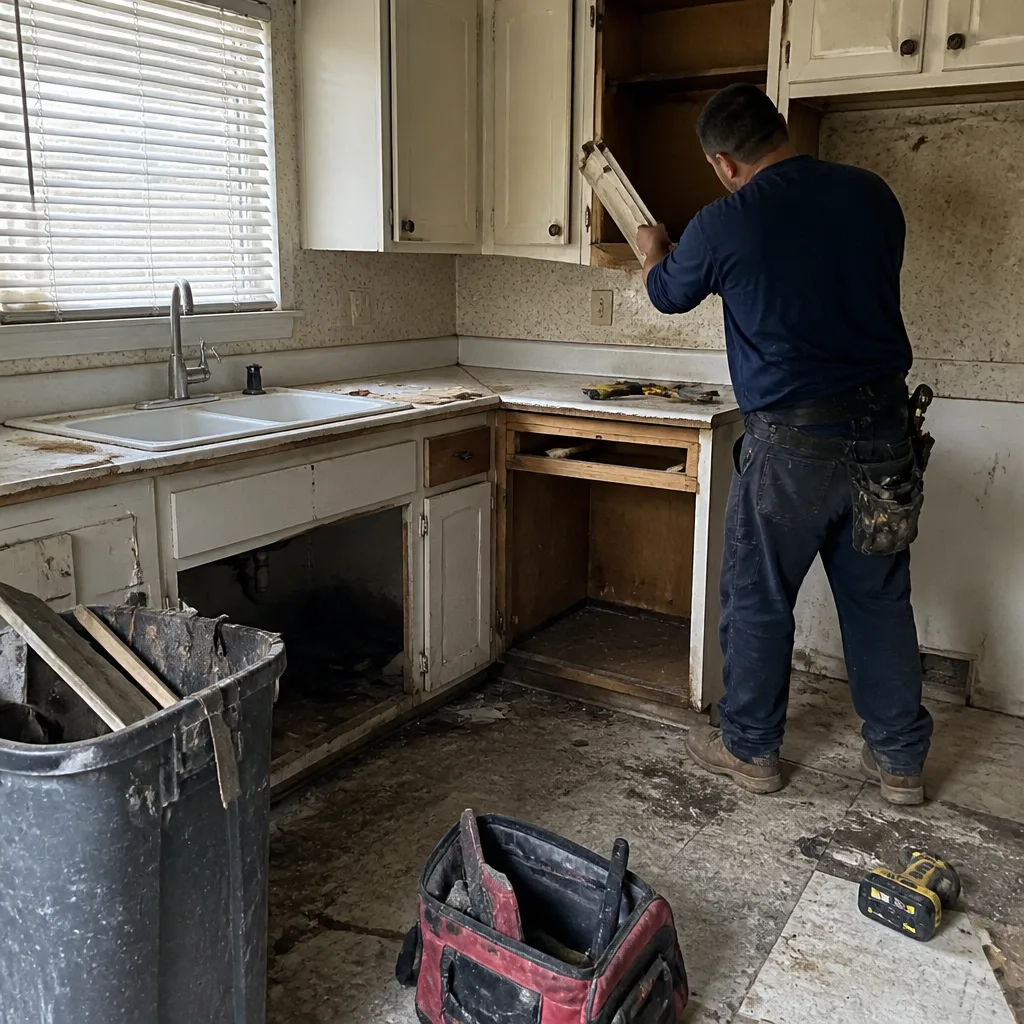 Before
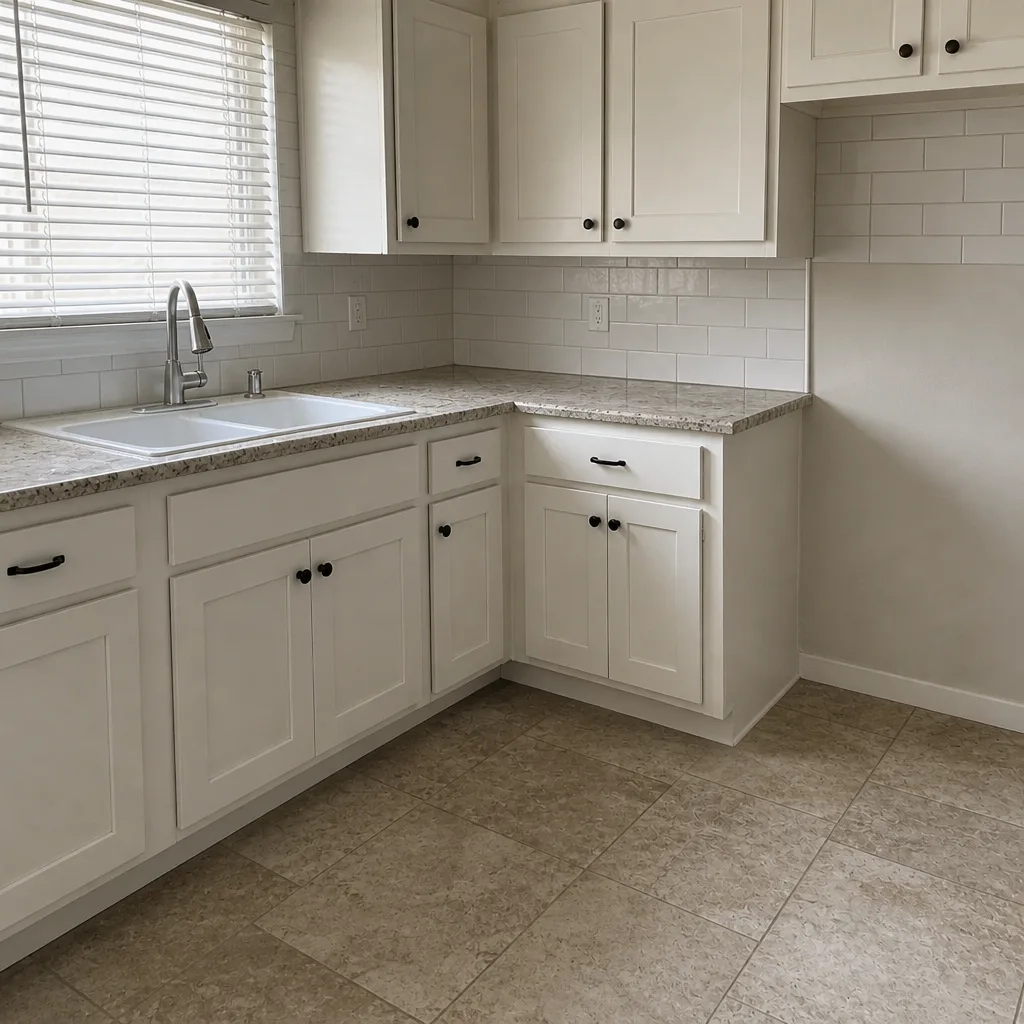 After
When to Call a Professional
Call a licensed contractor when the work involves any of the following: excavating and building a new base, changing the footprint, grade, or drainage, working within the public right-of-way, or installing a full driveway from scratch. Also call when an existing driveway is showing settlement, heaving, spreading, or joints that keep opening after re-sanding – those are structural, not cosmetic. And call when you’re not sure which category your project falls into, because the cost of guessing wrong is a rebuild. Groundwork Construction Co. of Anaheim offers free estimates in Anaheim – call (888) 300-3178. We answer calls live, 24/7, and every estimate comes in writing. Our technicians are background-checked and arrive in uniform, and every project is covered by the 730-Day Done Right Promise.
Frequently Asked Questions
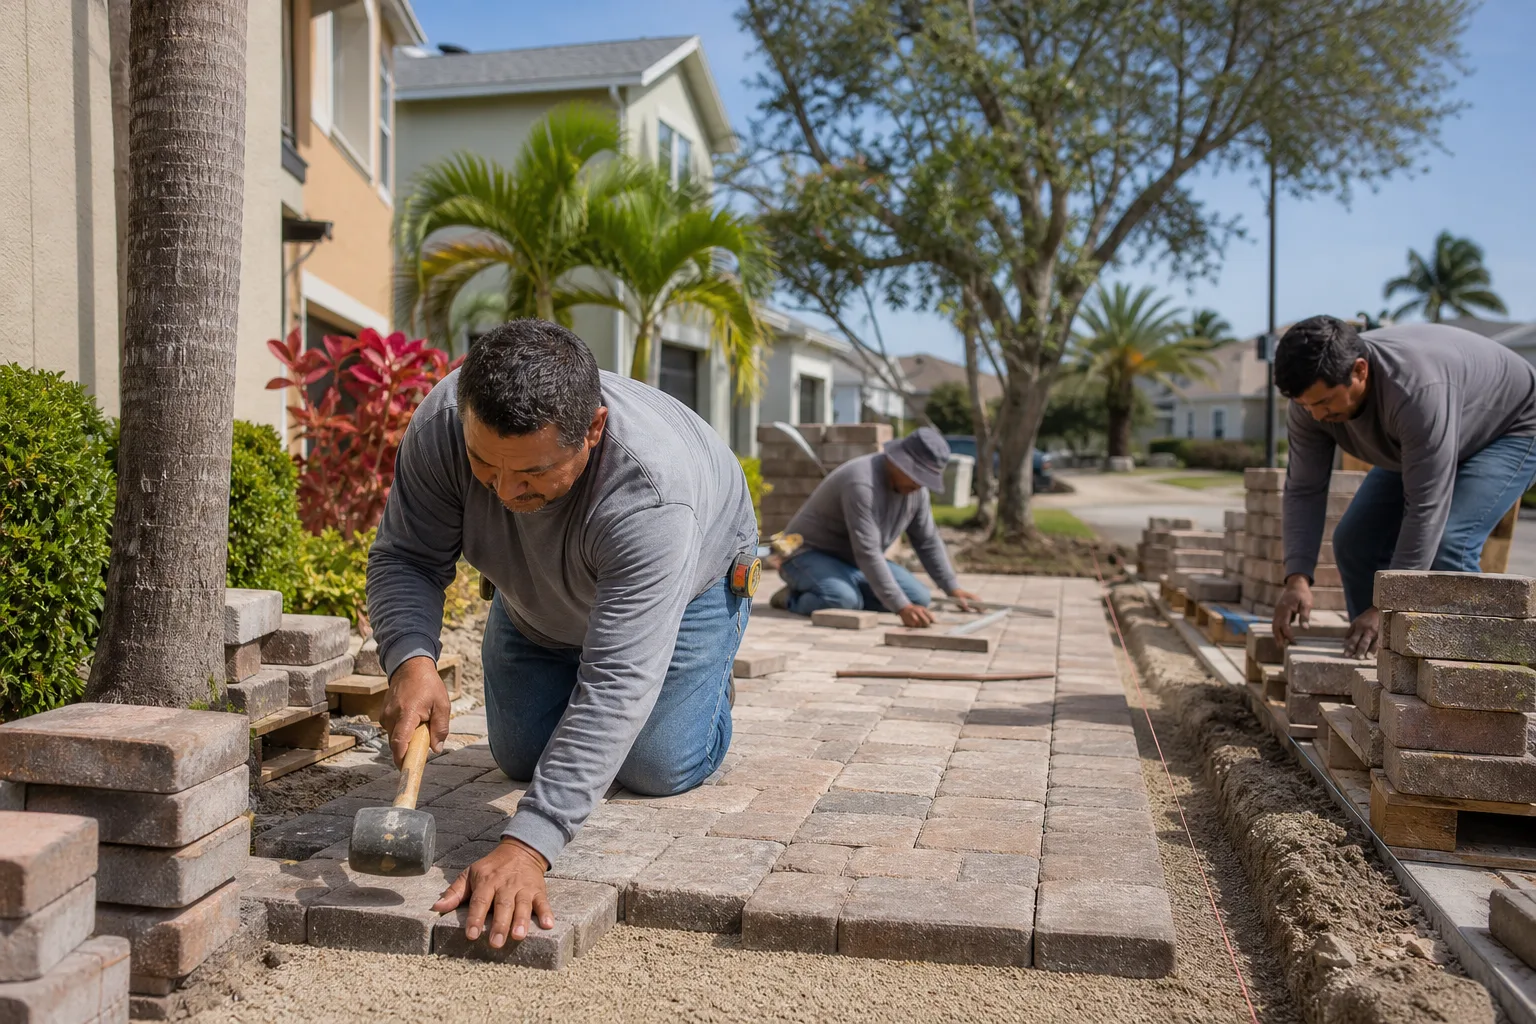
You can physically lay pavers yourself, but we don’t recommend building a full paver driveway as a DIY project. The base preparation and compaction phase is where DIY consistently fails, and that failure is invisible for one to two years before it becomes expensive to fix. Base excavation, grading, edge restraint, and field installation are best done by a licensed contractor; cleaning, sealing, joint sand, and single-paver swaps are genuinely DIY-safe. Call (888) 300-3178 for a free estimate if you want to compare numbers.
Full driveway replacement pricing depends on square footage, base condition, material choice, and whether the work touches the public right-of-way, so the honest answer is that it needs a quote. What we can tell you: we price up front and in writing, the number you see is the number you pay, and there are no change orders for surprises. There’s a free project estimate and design consult, plus $1,000 off projects over $10,000 and 0% financing for 18 months. Call (888) 300-3178 to schedule your free estimate.
If the settlement is local – a rocker, a small depression – the cheapest fix is usually lifting and re-bedding the affected pavers on fresh sand and re-compacting the base underneath. If the settlement is spread across the field, the base needs to come up and be rebuilt, which is a contractor job. Re-sanding and sealing alone won’t fix a structural problem. Call (888) 300-3178 to get an assessment before the problem grows.
It depends on what’s being replaced and how. A cosmetic resurfacing that keeps the same footprint, grade, and drainage is often permit-exempt; new construction, widening, grade changes, and any work within the public right-of-way typically require a permit, and right-of-way work usually requires a licensed contractor to pull it. Always confirm with the City of Anaheim before you buy materials or start demolition. We handle permits and inspections as part of our projects. Call (888) 300-3178 to talk through your specific situation.
A paver driveway on a properly compacted and graded base can last decades with routine maintenance. The pavers themselves last a long time; the base determines how long the driveway stays flat and true. On an under-compacted base, the failure window is often one to two years, and it shows up as settlement, joint spreading, and pavers rocking at the surface. Our work is covered by the 730-Day Done Right Promise – if it’s not done right, we make it right. Call (888) 300-3178 for a free estimate.
Polymeric sand binds together after it’s wetted, which means it resists washing out and blocks weeds better than plain sand. It also has a shorter window for installation – moisture has to be applied properly the first time, and if it gets contaminated or over-washed, it won’t bind. Regular sand is easier to apply but washes out faster. In Anaheim’s dry summers and concentrated rainy season, polymeric sand usually holds up better if it’s installed correctly. Call (888) 300-3178 if you want a look at your specific joints and what we’d recommend.
The Bottom Line
DIY makes sense for the maintenance layer of a paver driveway: re-sanding joints, cleaning, sealing, and swapping a cracked paver or two. It doesn’t make sense for the structural layer: base excavation, compaction, grading, edge restraint, and laying a new field. That’s where DIY fails most often, and where the failure is expensive because it shows up years after you’ve stopped thinking about it. The hybrid approach gives you the savings without the risk – take the maintenance, hand off the structure. Keep the 730-Day Done Right Promise in mind when you compare numbers: a properly built driveway is covered in writing, and a DIY build is covered by nothing. Groundwork Construction Co. of Anaheim offers free estimates, upfront pricing, and a free design consult; our technicians are background-checked and arrive in uniform. Calls are answered live, 24/7. Call (888) 300-3178 to schedule your free estimate and find out exactly where the line sits on your project.
Written by the team at Groundwork Construction Co. of Anaheim.