Last updated November 18, 2026








Free written scope consultation - allowances, timeline, and change-order rules on paper before a single trade is scheduled
Windows & Doors Warning Signs Every Homeowner Should Know
A window that fogs between the panes isn’t just an aesthetic problem. It means the insulating gas has escaped, the U-factor has effectively doubled, and that window is now performing like a single-pane unit from the 1970s. Most homeowners in Anaheim write that fog off as a cosmetic quirk and lose years of energy savings before they act. The same pattern plays out with doors that stick only in summer, gaps you can see daylight through, and soft spots near a threshold that feel like nothing until the subfloor gives. This guide covers how to tell cosmetic wear from functional failure, what each door gap actually means, when weatherstripping solves the problem and when it doesn’t, and the quieter signs that water is already inside the wall cavity. Every point comes from what we’ve seen on Anaheim jobs, from the older single-story tracts near downtown to the newer builds out toward Anaheim Hills.
Quick Answer
The warning signs that mean a window or door needs replacement rather than repair are: fogging or condensation sealed inside double-pane glass, a gap you can see daylight through when the unit is closed, water staining or soft drywall around the frame, doors that no longer latch without lifting or shoving, and visible rot or delamination at the sill or threshold. Cosmetic scuffs, stiff hardware, and worn weatherstripping are repair items. Structural movement, failed seals, and water intrusion are replacement signals. If you’re seeing two or more of the serious signs at once, get an inspection before the next rainy season in Anaheim.
Styles & brands we work with
- Kitchen remodeling
- Bathroom remodeling
- Home additions & ADU
- Roofing
- Windows & doors
- Driveway & pavers
- Fence
Table of Contents
- Cosmetic Wear vs. Functional Failure: The Tests That Tell Them Apart
- What Each Door Gap Tells You About the Underlying Cause
- Weatherstripping or Full Replacement? The Visual Tells
- Signs Water Is Already Inside the Wall Cavity
- Signs a Previous Installation Was Done Wrong
- Why Anaheim’s Climate Accelerates Certain Failures
- A Step-by-Step Window and Door Inspection You Can Do This Weekend
- Repair or Replace: How to Decide
Cosmetic Wear vs. Functional Failure: The Tests That Tell Them Apart
The confusion most homeowners run into is that a window or door can look fine and still be failing. Paint peels, paint gets redone. Weatherstripping compresses, weatherstripping gets swapped. But a failed seal or a shifted frame doesn’t announce itself with a crack or a noise, and that’s why it gets ignored for years.
Here’s how we separate the two on an inspection. Run these three tests on any window or door you’re unsure about:
- The dollar-bill test. Close the door or window on a dollar bill at four points: top, bottom, hinge side, latch side. If the bill slides out with no resistance at any point, air is moving through that gap. That’s a functional failure at that location, not cosmetic.
- The candle or smoke test on a windy day. Hold a lit candle (or a stick of incense) about an inch from the closed seam and watch the flame. If it flickers or bends, air is infiltrating. Do this on a day when the Santa Ana winds are pushing, since that’s when the leak will be obvious.
- The fog-between-glass test. If you see moisture or haze between the two panes of a double-pane unit, the seal is gone. It’s not a cleaning issue, it’s not a ventilation issue, and it won’t clear. A PGT or CGI unit that has fogged inside the glass has lost its argon fill and needs replacement, not a wipedown.
Cosmetic wear looks different. Scratched glass, chipped paint on the frame, a stiff lock mechanism, a worn sweep on the bottom of an exterior door – those are maintenance. Functional failure means the unit no longer does its two jobs: keeping conditioned air in and weather out.
What “functional” really means in this context
A window or door is functional when it seals against air and water, opens and closes as designed, and doesn’t leak energy. A unit can still open and close and fail the other two. A door can look perfect and leak air around the whole perimeter. A window can look intact and have lost its gas fill years ago. Those are the two failure modes we see most in Anaheim, and neither one shows up as something you’d call “broken” from across the room.
What Each Door Gap Tells You About the Underlying Cause
Where the gap is tells you what’s causing it. Homeowners tend to notice a draft coming from “the door” without realizing the location of the gap points to a specific failure, and that changes what the fix is.
Gap at the top of the door
A top gap on a door that used to seal is almost always hinge-related or settling-related. If the gap is wider on the latch side, the top hinge has likely loosened from the jamb or the jamb itself has shifted. In older Anaheim homes – the 1950s and 1960s stock near the Colony District – we see this where the header has settled over decades. In a newer home, a top gap that appears over 6 to 12 months usually means the frame has moved, and the cause is often poor shimming at the time of installation.
Gap at the bottom of the door
Bottom gaps are the most common, and they’re mostly about three things: an undersized door slab, a worn or missing door sweep, or an out-of-level threshold. If the gap is even across the whole width, it’s the sweep or the slab. If the gap is wider on one end, the threshold is tilted and the door was cut to fit an already-bad situation. This is a common finding in Anaheim remodels where a previous installer cut the door down rather than fix the threshold.
Gap on the hinge side
A hinge-side gap means the door is out of square to the frame, or the hinges have worn and the door is sagging on the pin side. On wood doors, check the hinge screws: if they spin without biting, the jamb is stripped and the door is hanging on the casing instead of the frame. That’s a repair, but only if the jamb is otherwise sound.
Gap on the latch side
A latch-side gap – especially one where the door won’t latch without a lift or shove – points to the same settling or hinge-wear issue as a top gap, plus a possible strike-plate misalignment. If the door latches fine in dry weather and won’t latch after rain, the frame is absorbing moisture and swelling, which is a sign the exterior seal has failed and water is reaching the wood.
Weatherstripping or Full Replacement? The Visual Tells
Replacing weatherstripping is a genuine fix when the weatherstripping itself is the problem. It’s a waste of money when the weatherstripping is a symptom of a bigger issue. Here’s how to tell which case you’re in.
Weatherstripping should be replaced if:
- The strip is compressed flat, cracked, or missing entire sections, but the door or window frame is intact and square.
- The gap is consistent around the perimeter and closes when you press the strip back into place.
- You can see the metal or foam backing of the strip still fully seated in its channel.
- The unit is less than about 10 years old and shows no other failure signs.
The unit likely needs replacement if:
- New weatherstripping won’t stay in place because the channel or kerf it sits in has rotted or warped.
- The gap isn’t consistent – it’s wider in one area even with fresh strip installed.
- The frame itself is bowed, cracked, or shows rot at any corner.
- You see daylight through the frame seam, not just around the door edge.
- Any part of the frame is soft to a screwdriver probe (this is the water-intrusion test, covered next).
The single most useful tell we use in Anaheim is the screwdriver probe at the bottom corners of the frame. The bottom corners take water first, and if a screwdriver pushes in and the wood gives, no amount of weatherstripping will fix what’s happening behind it. ES Windows and CWS make units that handle Anaheim’s heat and dry-wet swings well, but even a good unit will fail if water is getting behind the frame from the outside.
Signs Water Is Already Inside the Wall Cavity
Water intrusion into the wall cavity is the expensive failure mode. On the surface, the window or door looks fine. Behind it, the framing is getting wet every rainy season and drying out slowly, and wood rot takes hold before anything visible appears indoors.
Warning signs that water is already inside the cavity:
- Paint bubbles or soft drywall near the top corners of a window. Water wicks down from the head flashing and shows first at the corner where the drywall meets the casing. Bubbling paint in that spot means moisture is coming from behind, not from a splash.
- Discoloration on the ceiling below an upper-floor window. A brown ring on the ceiling under an upstairs window is water that has been traveling down the stud bay and finally hit a joist.
- Musty smell in a room that has no plumbing. A bedroom, hallway, or closet that smells damp is a wall cavity with water in it. If the only exterior feature of the room is a window, that window is the source.
- Soft wood at the sill or threshold. A screwdriver probe into the sill that sinks more than a sixteenth of an inch without resistance is decayed wood. The visible outside face can still look painted and intact while the inside is gone.
- Staining on the underside of the exterior door threshold. Get low and look up at the bottom of the threshold from outside. Staining or white mineral residue means water is passing under the door and isn’t draining out.
- Efflorescence or white powder on interior drywall or concrete near the opening. This is mineral deposit left behind as water evaporates, and it’s a direct sign of ongoing moisture movement.
If you find two or more of those signs around the same opening, the leak is not new. Water has been moving through the frame for at least one rainy season, and the framing behind it should be opened up and inspected, not just patched. We’ve seen Anaheim homes where a window that “looked fine” needed a header repair once the drywall came off, and the difference between catching it at that stage and catching it a year later is measured in thousands of dollars.
Signs a Previous Installation Was Done Wrong
Some of the failures we get called to inspect aren’t the window’s fault or the door’s fault. They’re the installation’s fault, and the tell is that the unit is failing in a pattern that a proper install would have prevented.
What a bad install actually looks like
- Diagonal cracks in the drywall above a corner of the opening. That’s movement, and a properly shimmed and fastened unit shouldn’t move. The installer likely missed shims at the corners, and the frame is flexing with every thermal cycle.
- Stucco or siding cracks radiating from the corners of the opening. The unit is pushing against the exterior finish, which means it was installed too tight to the opening without the right gap allowance for expansion.
- Water staining on the inside of the exterior wall only at the head of the opening. The head flashing was left off or installed over the building paper instead of behind it. Common on Anaheim retrofits done fast, and it always leaks eventually.
- The unit is visibly out of level or plumb. A four-foot level across the head of a window should show dead level. Any split means the original installer didn’t check, and every door or sash on that frame will fight you for the life of the window.
- Gaps between the frame and the rough opening that were filled only with spray foam. Foam isn’t a sealant against bulk water. If you can see exposed foam at any exterior seam, the unit wasn’t properly integrated with the weather barrier.
- Fasteners visible through the frame face. Screws or nails that punctured the face of the frame rather than the nailing fin give water a straight path into the wall.
When we’re called out to a window or door failure in Anaheim, checking whether the original install was done correctly is part of the inspection. If the framing around the opening has already been compromised, patching the window is throwing money at a problem that will come back. That’s also where our other services tie in: if window replacement reveals framing damage, it may fold into a broader repair, and if the home is due for exterior work, Home Additions & ADU in Anaheim projects often surface the same install issues in the first week of demolition.
Why Anaheim’s Climate Accelerates Certain Failures
Anaheim’s climate is a specific stress test for windows and doors, and it’s different from what homeowners picture when they hear “Southern California weather.”
The main driver is thermal swing. Anaheim sees inland heat in the 90s and 100s through summer with cooler coastal air at night, and the daily swing is often 25 to 35 degrees. A window frame expands and contracts with that swing every single day. A frame that was installed with too little shim clearance or too little perimeter gap will eventually crack the sealant, loosen fasteners, or open a hairline gap at the seam. That’s why some failures in Anaheim happen in years rather than decades, even on a good unit.
The second driver is the dry-wet pattern. Anaheim’s rain comes in concentrated bursts through winter, and between storms the wood dries out fast. Wood that swells on Tuesday and shrinks by Sunday stresses its joints and finish repeatedly, and any water that got in at the sill during the storm is still in there while the outside dries. This is the mechanism behind the soft sills we find on 1980s and 1990s Anaheim homes.
The third is sun exposure. West- and south-facing doors and windows in Anaheim take direct UV for most of the year, and weatherstripping, glazing seals, and finish coatings on that side degrade faster than the same materials on a shaded elevation. When we do inspections in Anaheim, we always check west-facing units first, because that’s where the failures cluster.
Building code context for Anaheim
Anaheim follows California Building Code, Title 24 energy requirements, and Title 20 appliance standards. Replacement windows must meet current U-factor and Solar Heat Gain Coefficient minimums for the climate zone – Anaheim sits in a zone that demands decent solar control, especially on west-facing glass. A contractor who swaps glass without checking the SHGC is installing a window that passes a visual inspection but fails the energy code on paper, and that can become a problem at resale. Any window replacement in Anaheim should also be permitted where required, and the permit inspection is where improper flashing and missing nailing fins get caught.
For homes with exterior doors, the code-compliant threshold has to sit above the exterior finish grade with the correct sill pan and flashing. A quick, cheap installation that skips the sill pan is the number one source of the water intrusion we see on Anaheim exterior doors.
A Step-by-Step Window and Door Inspection You Can Do This Weekend
You can do a full inspection of your home’s windows and doors in about two hours with a screwdriver, a four-foot level, a flashlight, and a windy day. Here’s the sequence we recommend, and it’s the same order we work in on a paid inspection.
- Walk the interior perimeter of every exterior opening with a flashlight. Look at the drywall or plaster within six inches of the frame for bubbles, cracks, staining, or efflorescence. Note any spots you find on a clipboard or your phone.
- Probe the bottom corners of every window sill and every exterior door threshold with a small screwdriver. Press gently. A properly sound sill resists. Any spot that dents more than about a sixteenth of an inch is decayed, and that opening is already a water-intrusion candidate.
- Do the dollar-bill test on every exterior door and operable window. Four points per door: top, bottom, hinge side, latch side. Mark the ones that fail.
- Check every double-pane window for fogging or a haze between the panes. Look at an angle in daylight. The bottom of the glass shows it first.
- Go outside and look at the head and sill of every opening. Check that the flashing is intact, that the caulk line is continuous, and that no fasteners are visible through the face of the frame. Look specifically at the corners, where the flashing meets the building paper.
- Check level and plumb on the units you’re most worried about. A four-foot level across the head and down one jamb will show you whether the frame has moved or was installed out of level.
- Note the west- and south-facing units separately. These will show failures earlier and should be replaced first if you’re doing this in phases.
Bring the notes from that walk to a professional inspection. A contractor with a moisture meter and a framing probe can tell you in 20 minutes whether what you found is a repair or a replacement, and that’s the difference between a few hundred dollars and a few thousand.
Repair or Replace: How to Decide
The decision is usually cleaner than homeowners expect once you have the right information. Here’s how it shakes out.
Repair is the right call when:
- The only issue is weatherstripping, a sweep, a lock, a crank, a sash balance, or a screen.
- The frame is sound, level, and plumb, and the probe test comes back clean.
- The unit is a single-pane window or a standard wood door, and only hardware or finish is failing.
- The glass seal is intact (no fogging) and the failure is at the moving parts.
Replacement is the right call when:
- Fogging or haze is inside a sealed double-pane unit. That gas fill is gone and can’t be restored. The only real fix is new glazing or a new unit.
- The probe test finds soft wood at the sill, threshold, or any frame corner. Water has been in there long enough to rot, and the source has to be corrected along with the window.
- The frame is out of level or plumb, or the drywall and exterior finish show movement cracks related to the opening.
- The unit is a bad install – missing flashing, no sill pan, visible fasteners. Even a good window in an incorrectly installed frame will keep failing.
- Two or more serious signs are present at the same opening. At that point, the repair bill typically approaches the replacement bill, and you don’t get new performance out of the old frame.
For a window replacement in Anaheim, plan on a realistic range of roughly $450 to $950 per unit for a standard vinyl or fiberglass replacement, and $1,100 to $2,200 per unit for a wood-clad or premium product from a brand like PGT or Marvin. Exterior doors run $900 to $2,500 for the unit and install, and more if the rough opening has to be corrected. Those numbers are a planning guide, not a quote – the actual price depends on the size of the opening, the condition of the framing, whether permits are required, and whether the exterior finish has to be repaired around the unit.
If you’re already planning a broader renovation and window replacement is part of it, it’s worth folding it into the larger scope rather than doing it twice. Many of our whole-home clients in Anaheim discover window and door failures during a Home Remodeling in Anaheim walkthrough of the home, and the sequencing matters: windows and doors get done before interior finish work, not after.
Common Mistakes to Avoid
- Treating a fogged window as a cleaning problem. The fog is inside sealed glass. No cleaner, defogger, or coating restores a failed seal, and waiting a year costs you energy every month the failed unit stays in the wall.
- Caulking over a gap instead of finding the gap. Heavy exterior caulk over a failing frame looks tidy for one rainy season and traps water against the framing the whole time. Anaheim’s dry-wet pattern makes this worse because the caulk dries and cracks while the water is still inside.
- Replacing weatherstripping on a warped frame. If the frame is bowed, the new strip will compress unevenly and fail within a season. Fix the frame before the strip.
- Choosing the cheapest quote on a window replacement. The cheapest install is frequently a “set it and caulk it” job with no sill pan and no proper flashing, which is exactly the installation pattern that produces the water intrusion we get called to fix two or three years later.
- Ignoring west-facing failures because “it’s just the sun.” Sun exposure accelerates weatherstripping and glazing seal degradation in Anaheim, but a failed seal on a west-facing unit is still a failed seal. Check those first, not last.
- Letting a permit-required replacement skip the permit. Window replacements in Anaheim are subject to permit review in many cases, and skipping the permit is a problem at resale and at insurance claims, not just with the city.
- Folding a window or door repair into a broader renovation without inspecting the framing first. The drywall comes off during renovation, and if the water intrusion and rot aren’t found at that stage, they get buried behind new finishes.
See the difference
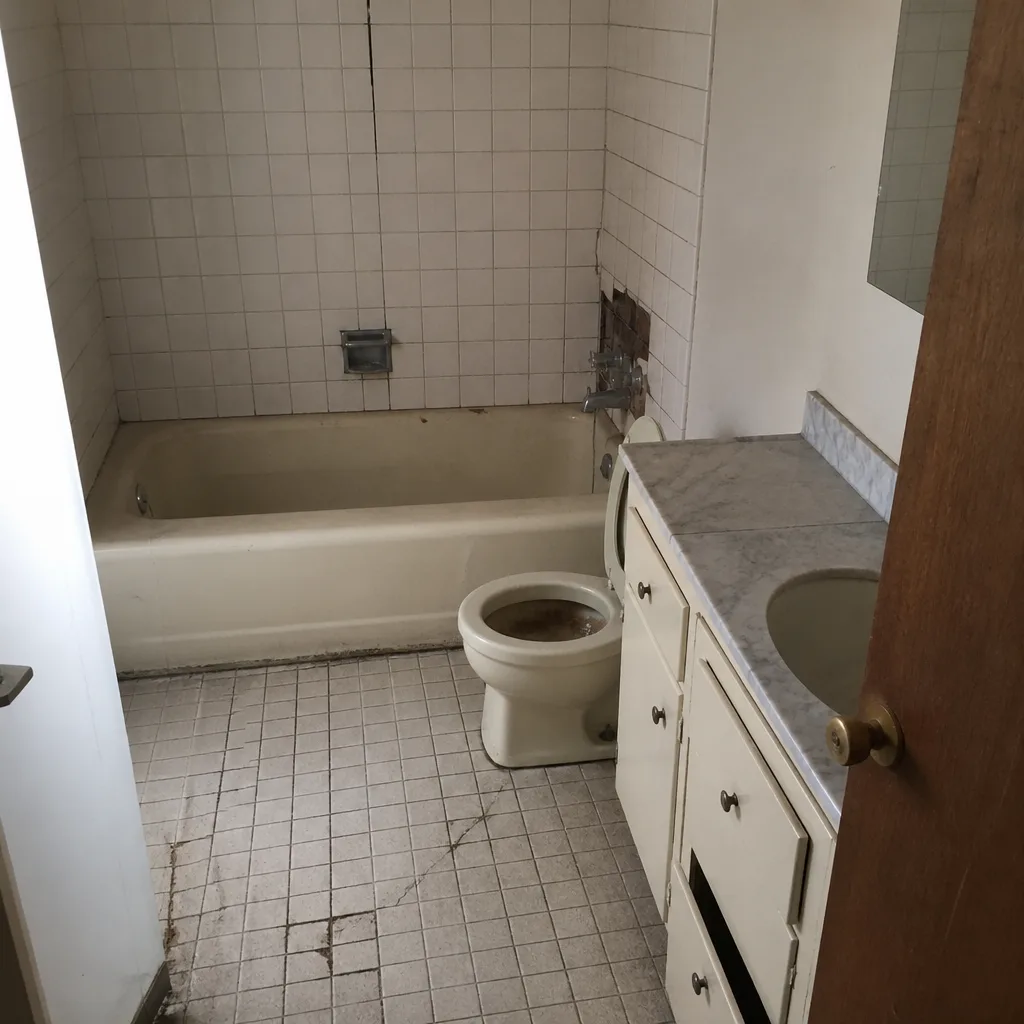 Before
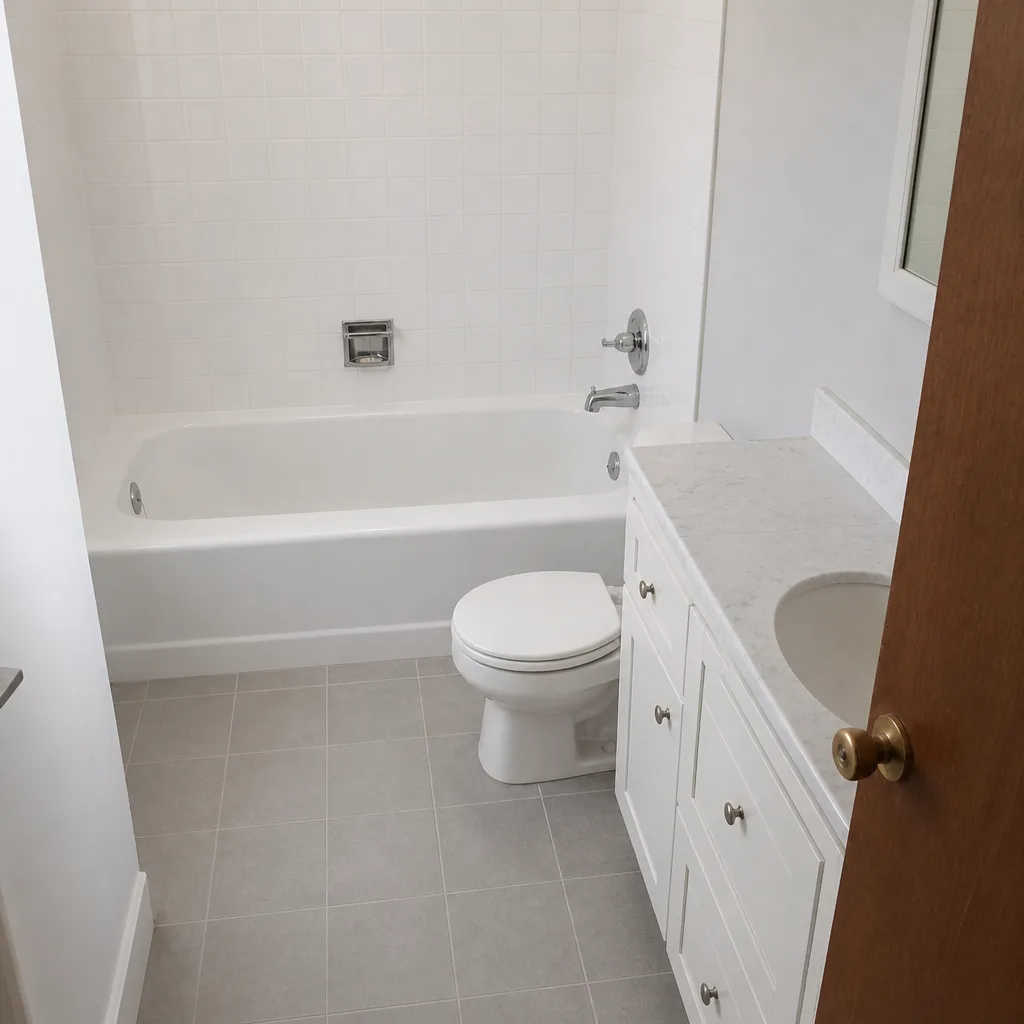 After
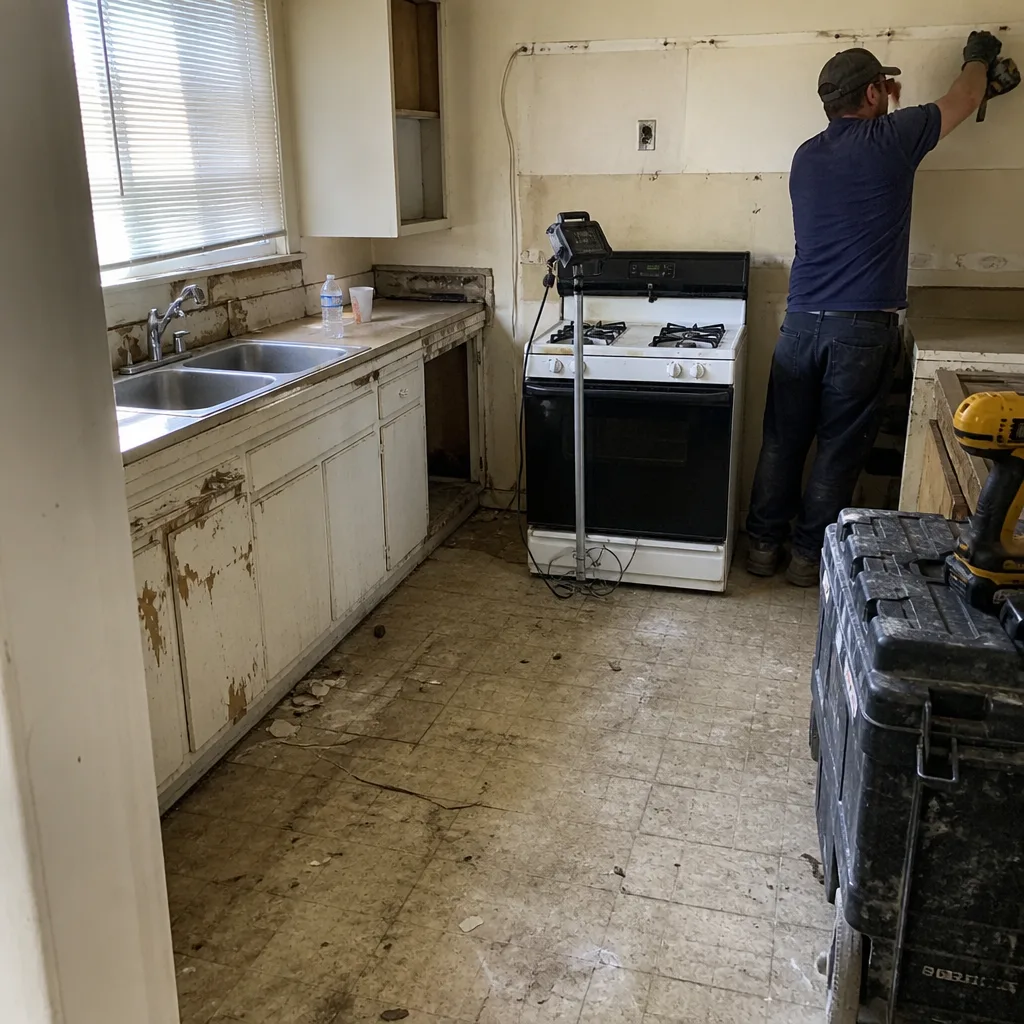 Before
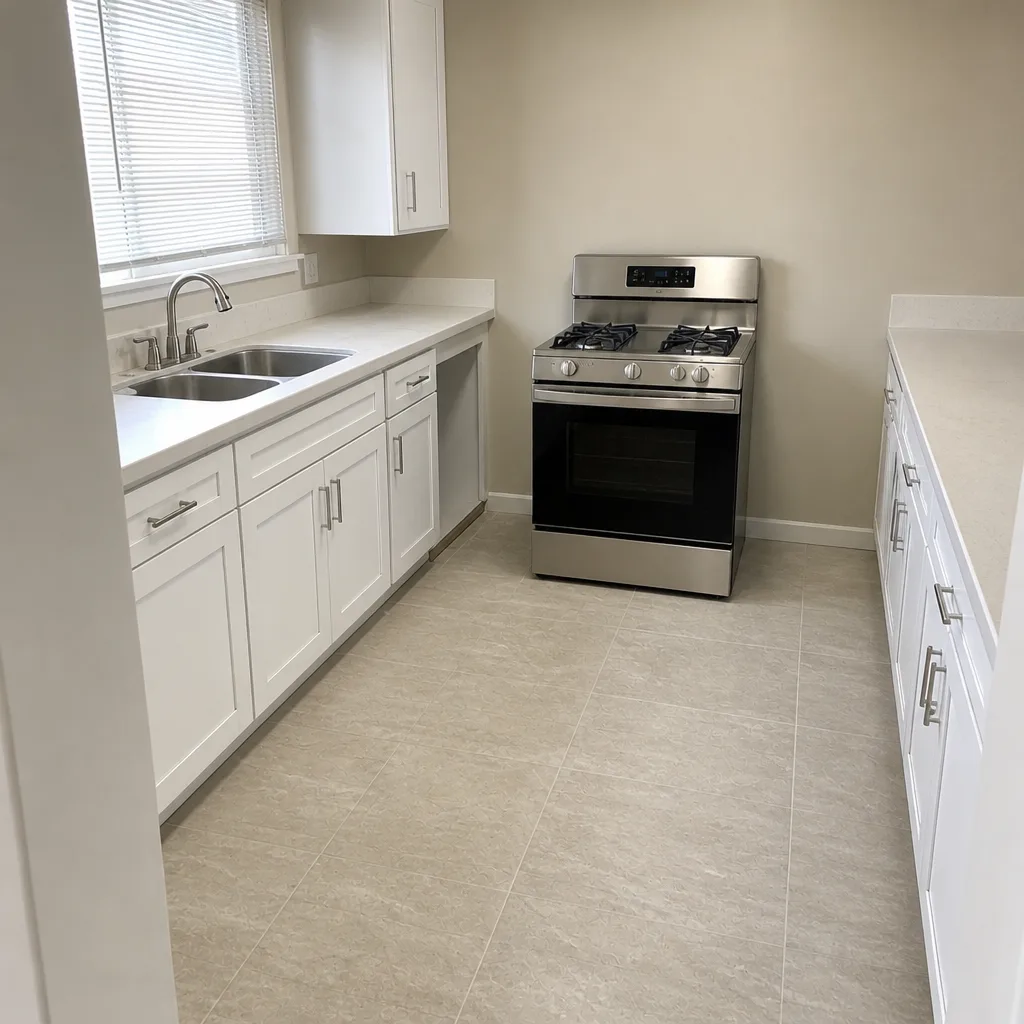 After
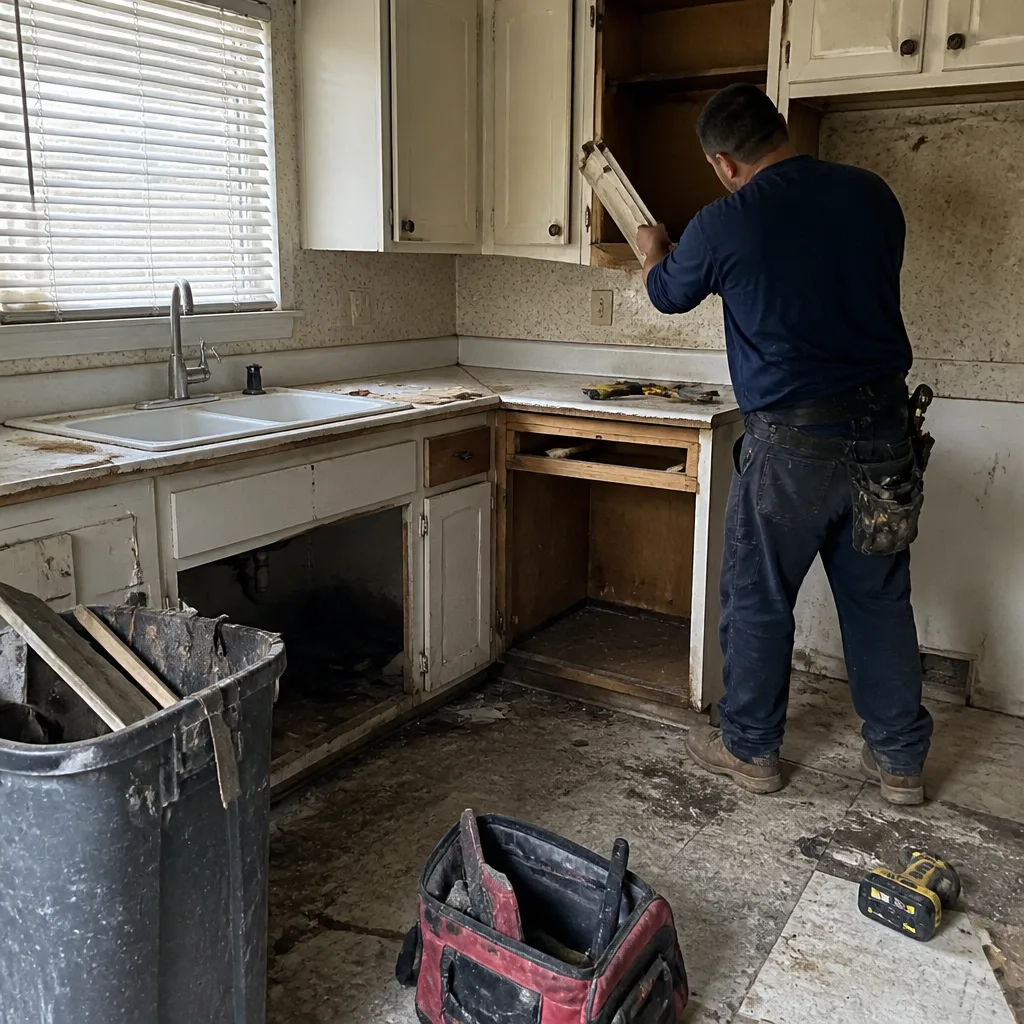 Before
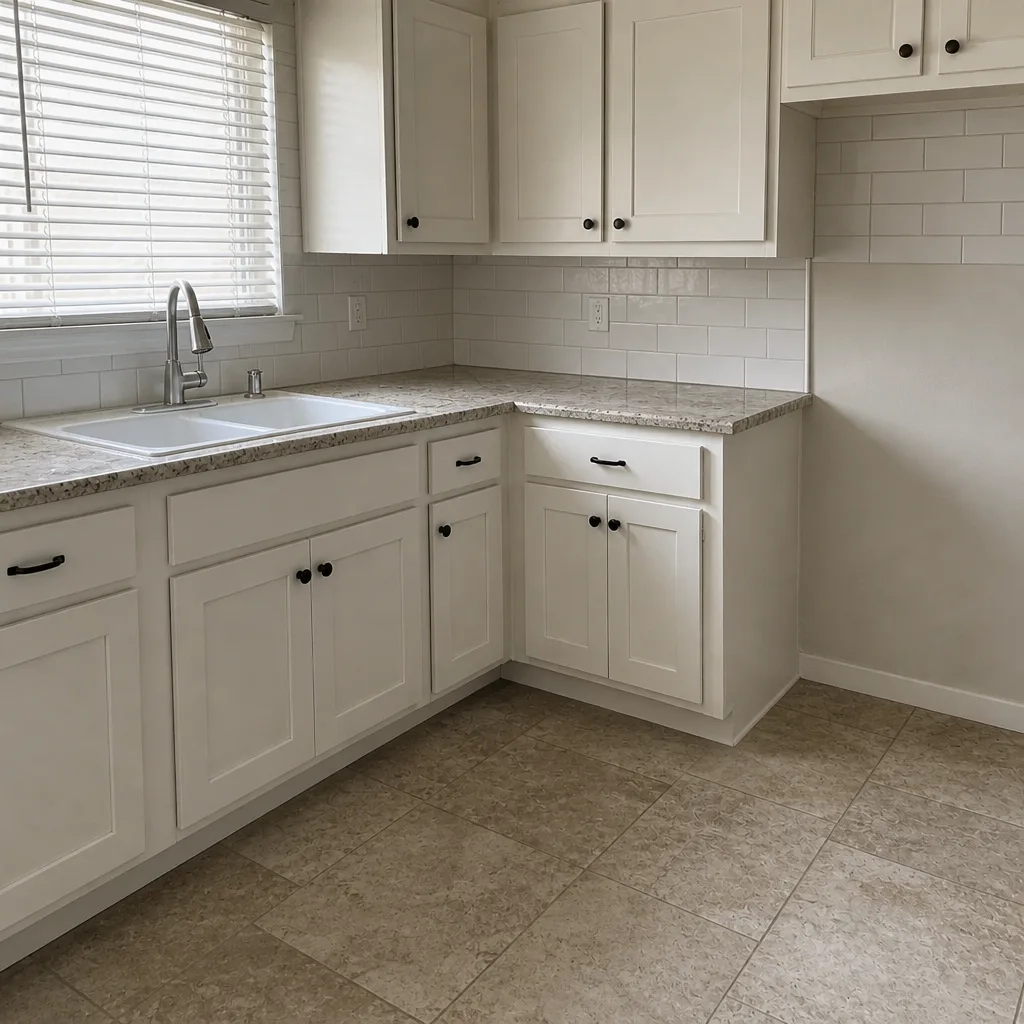 After
When to Call a Professional
Call a professional when any of the following is true: you found a fogged double-pane unit, the probe test gave at a sill or threshold, you see daylight through a closed door or window, you found water staining on interior drywall or ceiling near an opening, the frame is visibly out of level, the door won’t latch without a lift, or you suspect water is already in the wall cavity. These are not weekend repair scenarios. The inspection is quick, and the cost of missing a water-intrusion problem is much higher than the cost of the inspection.
Groundwork Construction Co. of Anaheim offers free estimates in Anaheim – call (888) 300-3178. Our technicians have up to 12 years of experience, they’re background-checked and arrive in uniform, and every project is backed by our 730-Day Done Right Promise: if it’s not done right, we make it right. Calls are answered by a live person, 24/7. We quote with no-hassle upfront pricing, so the number you see is the number you pay, and projects over $10,000 can take $1,000 off with 0% financing for 18 months.
Frequently Asked Questions

A foggy double-pane window needs replacement of the sealed unit or the whole window. The fog is moisture inside the sealed glass assembly, which means the perimeter seal has failed and the insulating gas fill is gone. No cleaner, sealer, or drill-and-drain trick restores that, and the unit is now performing closer to a single-pane window on energy. If the frame is sound and the rest of the opening is clean, you can sometimes replace just the glass unit (the IGU) rather than the whole window. If the frame is out of level, the sill is soft, or the frame shows rot, replace the whole assembly. Call (888) 300-3178 for an exact quote – estimates are free.
A gap at the top of the door usually means the hinges have loosened or the frame has settled. In older Anaheim homes, settling is the common cause. In newer construction, it’s often a hinge or shim problem from the original install. Check whether the gap is wider on the latch side (settling or worn hinge) or even across the width (warped door or frame). If the gap appeared gradually over months, get it inspected before the door’s weatherstripping and threshold follow it into failure. Call (888) 300-3178 for a free estimate in Anaheim.
Window replacement in Anaheim typically runs $450 to $950 per unit for standard vinyl or fiberglass replacement units, and $1,100 to $2,200 per unit for wood-clad or premium brands like PGT or Marvin, installed. Whole-house replacement usually lands between $8,000 and $25,000 depending on the number of openings, the product tier, and whether the framing needs repair. That’s a planning range, not a quote – the exact number depends on your home. Call (888) 300-3178 for an exact quote – estimates are free.
Sometimes, but only if the intrusion is caught before the framing is damaged. If the water is getting in from failed exterior caulk or missing flashing at the head, and the frame and sill are still sound when probed, the exterior can be reflashed and resealed without replacing the window. If the probe finds soft wood, the interior drywall shows staining, or there’s a musty smell in the room, the framing is already compromised and the window has to come out to correct the source. We recommend a moisture inspection before assuming the cheaper repair will hold.
In many cases yes. Anaheim window and door replacements are subject to permit review, and the permit inspection is where flashing and code-required energy performance get checked. Some like-for-like replacements with the same size and same energy rating qualify for a streamlined path, but the safest answer for your specific address is to ask during the estimate. A contractor who pulls the permit is doing you a favor at resale and at insurance claim time, and a contractor who suggests skipping it is telling you something about how they work.
A single window or door replacement in Anaheim is typically completed in one visit. Whole-house replacements take one to three days depending on the number of openings and how much exterior finish has to be repaired around each one. If the inspection finds framing damage or a bad previous install, add time for the repair before the new unit goes in. A realistic schedule gets set at the estimate, and no crew should be guessing at it on the morning of the job.
The Bottom Line
Windows and doors give you months of warning before they fail. Fog between the panes, a gap that won’t seal with new weatherstripping, a soft spot at the sill, staining on the drywall above a corner – each one is a signal, not an annoyance. Do the weekend walkthrough with a screwdriver, a level, and a flashlight, and pay attention to what the probe test tells you. If you find two or more serious signs at the same opening, or any sign of water intrusion, get the opening inspected before the next rainy season. Groundwork Construction Co. of Anaheim offers free estimates and can inspect every opening in your home with the right tools. Call (888) 300-3178 today.
Written by the team at Groundwork Construction Co. of Anaheim.